Evolution of a hobby – initial efforts
at boatbuilding
Or
Could this be becoming an obsession?
by Dave
Schau
Boat #1 –
beauty is in the eye of the beholder
After reading and surfing and ordering plans and more reading
and surfing and corresponding with some experienced boat builders
I finally decided it was time to try my hand at boatbuilding back
in the spring of 2002. I decided that a nice 12 foot Pirogue would
be a good project to start with.
I ordered several sets of plans
from different web sites. Some were much better than others. I
took design elements from many and started construction. I wanted
to eventually work my way up to stitch-and-glue construction,
but not right off the bat, so I decided to use screws, chine logs
and good old Gorilla Glue.
The first boat layout and construction
went okay, but as you can see from the results the boat had what
one polite and much more experienced builder called “interesting
lines”.
The hull came out quite angular
– I guess that would be good for angling? Well, maybe not…..
Here’s another shot of it
from another “angle”…
Okay, so it wasn’t all that
sleek, but the finish was very nice, it didn’t leak (or
sink) and the 14 year old boy I gave it to paddled around all
summer long on the pond on his farm. That alone was incentive
enough to keep going. I know I would have loved to have a boat
like this when I was a kid.
A few things I wanted to improve
on for the next project were:
-
Obviously those lines
– a nice smooth hull would be the goal
-
Slightly lighter weight
– Boat #1 had ¼ plywood sides and decks, 11/16
plywood flooring – total weight was probably 60 pounds
or more, a little heavier than I wanted
-
A more comfortable
seat!! That one is functional, but no padding – after
paddling for several hours one day I decided to go for something
more comfortable
-
Join the hull panels
with scarf joints, not butt them together with a rib like
this project
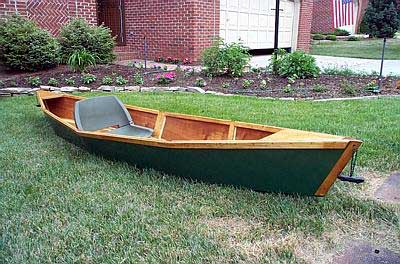
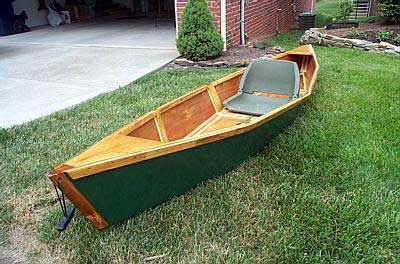
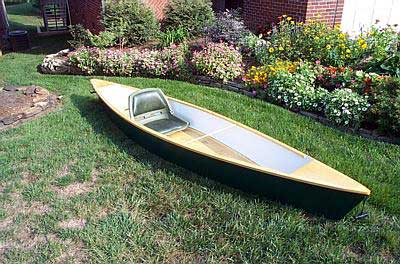
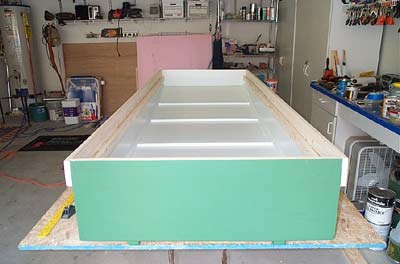
Boat #2 –
quite an improvement (thank goodness)
Keeping all the improvement goals in mind for the next project,
I pieced together enough ¼ plywood to make 12 foot hull
sides – using scarf joints. I wish I could find a picture
of them – they may have been the worlds ugliest scarf joints,
however they held together – somewhat (more on that later).
Did I mention that one half of each side of the hull panels was
Birch plywood and the other half Oak? I was using up whatever
wood was left in the shop (formerly a garage, but now a boat building
shop!!) The bottom was again made from 11/16 A/B plywood –
really nice stuff (used for soffets or something), but still a
bit too heavy.
Construction went smoother
this time. Have I mentioned how much I love sanding? The lines
of the boat were much more pleasing to the eye also. I made the
bottom a bit wider on this boat – 28 inches (boat #1 was
24) and it was much more stable on the water. It came out pretty
good I think – what do you think?
No ribs this time – but I
used spreaders to keep the hull flex to a minimum. These small
spreaders had to be replaced – too many people were trying
to pick the boat up by them, so I replaced them with nice solid
oak 1x2’s. (I should have got a picture of that)

So, boat #2 came out much better.
It paddled and tracked great. It’s a really nice boat. I
actually did some fishing from it also.
I made some of the improvements
I had hoped for:
However, it was still a bit heavier
than I had hoped for, and the scarf joints didn’t hold as
well as they should have. I ended up sanding (did I mention how
much I like sanding?) them down on the outside of the hull and
sealing them with epoxy and fiberglass tape, then fairing that
down with auto body filler. The hull came out nice and smooth
– nothing noticeable on the scarf joints at all.
I built this boat in the Fall of
2002 and kept it until Spring 2003 when I refinished it, cleaned
it up and actually sold it!! Yes – an actual sale on my
second project. Okay, so I sold it for less than it cost to build,
but it was for a very good cause, a Church rummage sale –
plus I needed the room in my shop to build the next project.
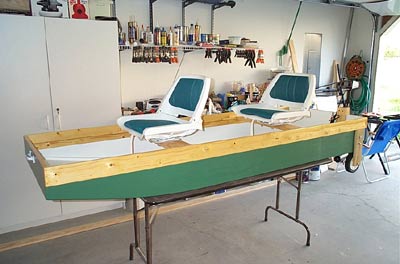
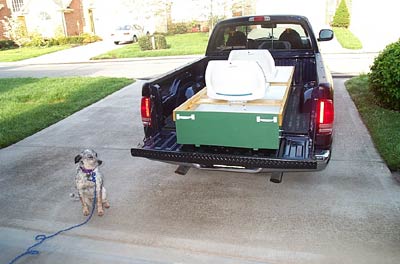
Boat #3 –
the $12 boat
I saw this boat on Duckworks and in the 2002 project listing $12
boat and decided this would be my next project. I was looking
for a boat I could use a trolling motor on (eBay winnings), tote
around in the back of my truck easily and fish from. After seeing
the article
on Duckworks I wrote to the builder and asked him in which month’s
issue did this article run – he wrote back: Popular Science,
March 1966 - and I was off to the library to get a copy of the
plans. Luckily they had the issue – and good old eBay once
again, I found the magazine and got it and a bunch more from 1966
for $8.
Construction was pretty simple
on this boat – not as much sanding either.
I put some additional features
into this boat:
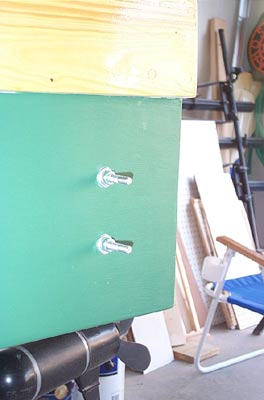
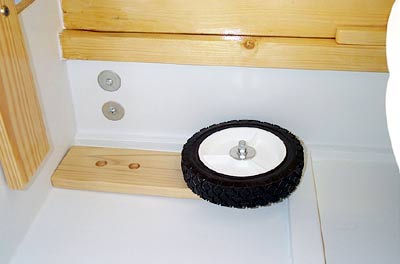
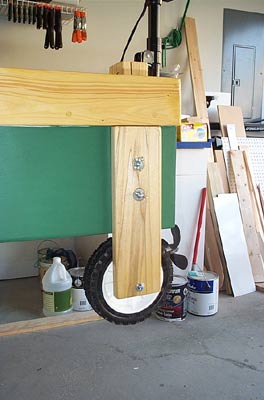
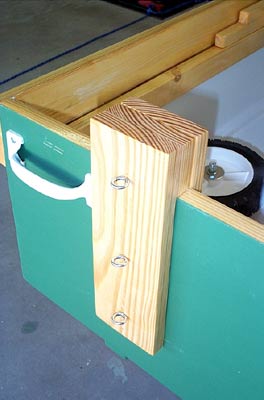
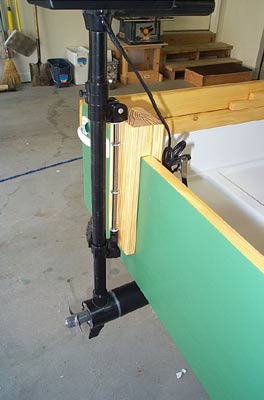
Okay – it didn’t
work all that great, but it wasn’t bad either, I did end
up using a standard transom mount trolling motor on the boat however.
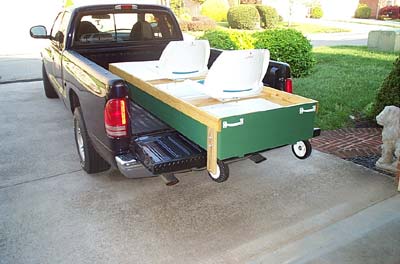
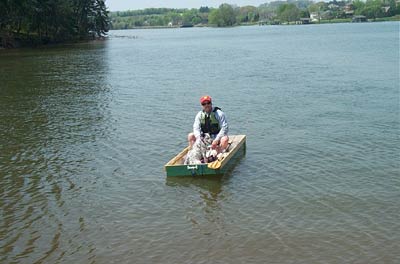
Overall, boat #3 was quite a success.
Easy to tote to and from the old fishing hole, very stable, zipped
right along with a trolling motor, and paddled quite well with
a kayak paddle also.
Some things to note about this
boat:
-
All ¼ inch
plywood construction
-
Gorilla Glue used
everywhere – that stuff works great – no leaks!!
-
This boat is definitely
NOT a 2 person boat in my opinion – one man one dog
is about all it will hold safely I think. I weigh about 165,
Lucky goes about 45 pounds, so I wouldn’t load too much
more into a boat of this design
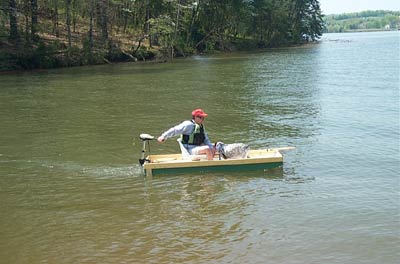
(Does that life jacket make
me look fat?)
Boat #3 was given away to a good
home, making room for boat #4, which is under construction now.
Another 12 foot Pirogue, made from all ¼ plywood and using
stitch-and-glue construction. The goal is to get the final weight
down less than 40 pounds and to get better overall results.
Results to be posted soon!!
|