Hello Chuck! Thought I would send you this series of photos
of the two Larsboats
that I decided to build.
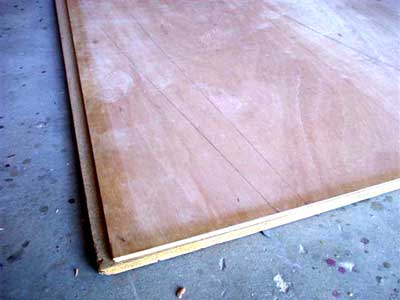
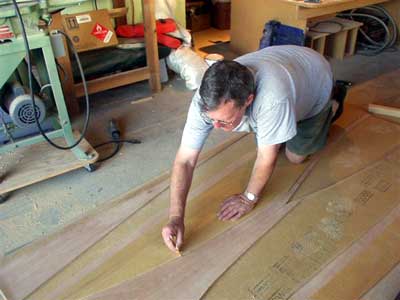
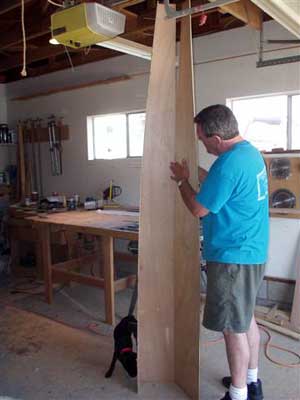
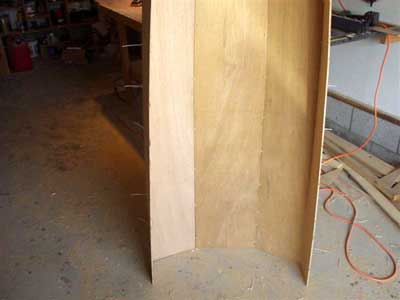
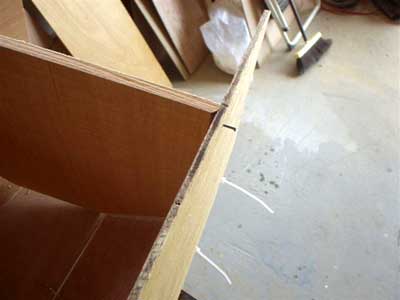
The first two photos shows (2) 8x4 5 millimeter
meranti sheets just butted together and held with some duck
tape underneath to stop them from moving.
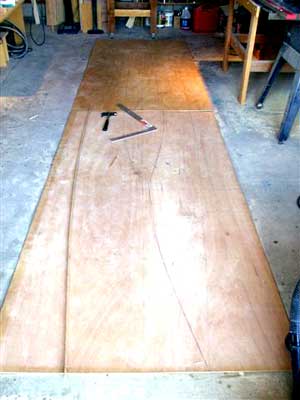
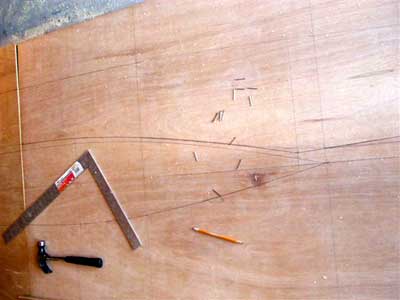
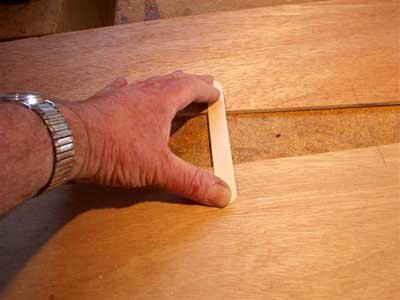
This shows the 30 inch stretch from the Toto
and as the dimensions are the same, the lofting batten is held
flat by the square.
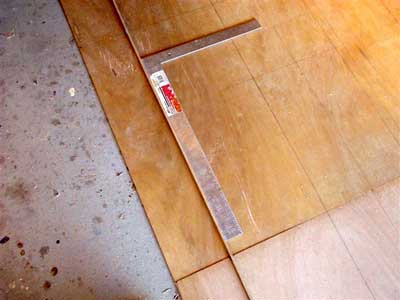
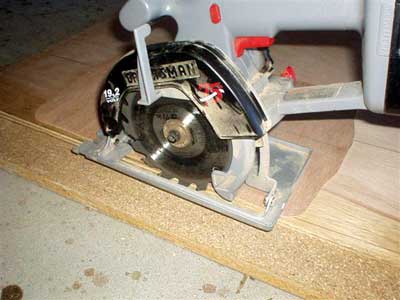
I use a 3/4 inch particle board 8x4 laid on
the floor as my cutting base.
8x4 panels laying on the "sacrificial
" particle board as I am making 2 boats at the same time.
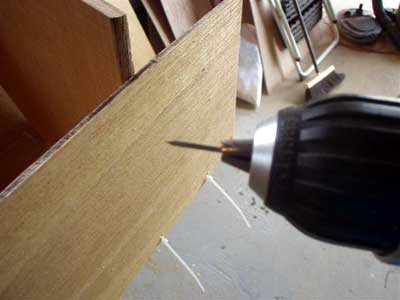
This shows the depth setting on the saw by
placing a 1/8 inch scrap of ply under the base of the saw and
then dropping the blade onto the particle board. When you cut
the panels the saw blade will be just 1/16 inch below the depth
of the panels.
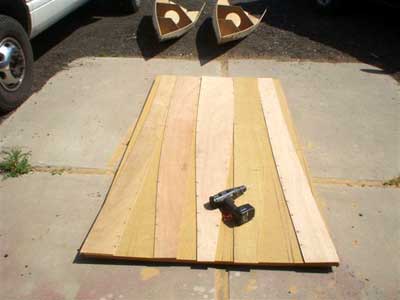
cutting to the lofting line (everybody should
invest in these cordless saws, they are wonderful to use).
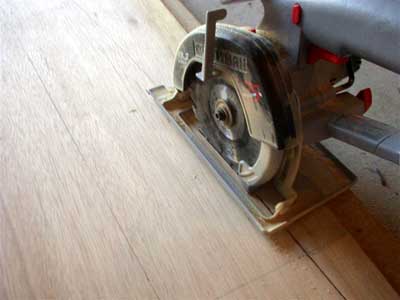
the cuts in progress.
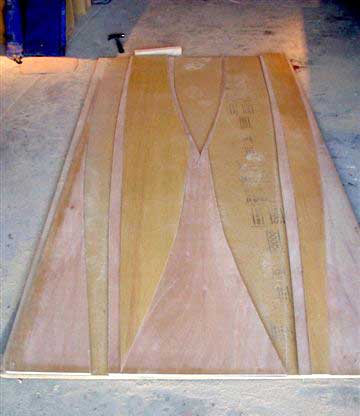
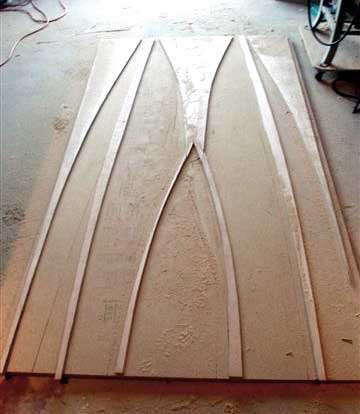
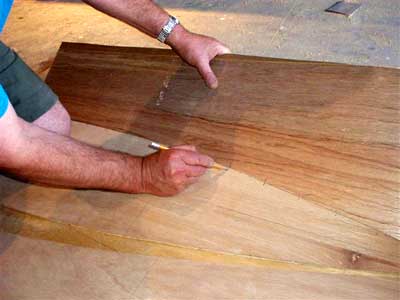
using the cut panels to mark out the mirror
images.
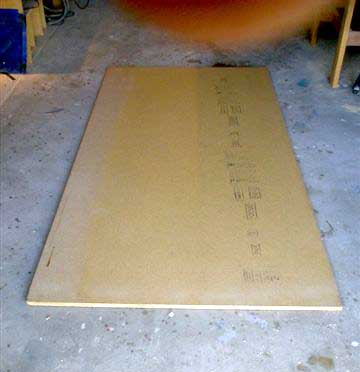
all that is left from a pair of 8x4 sheets.
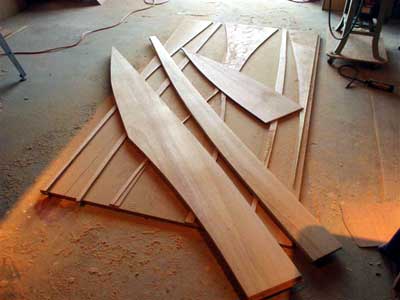
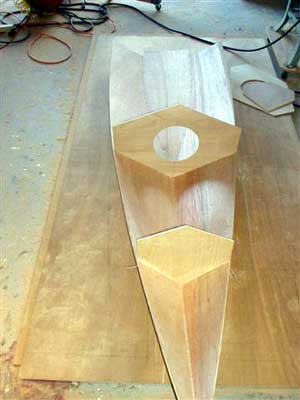
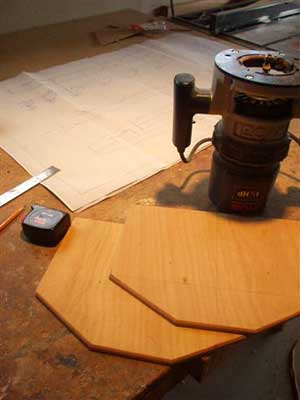
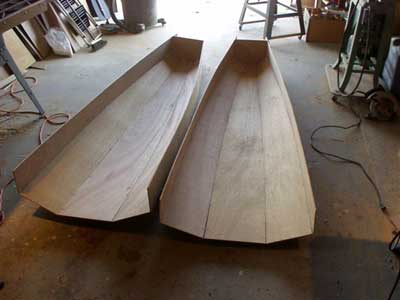
The bow sections of the lars boat cut out.
All that is left is the stern section and will follow the same
sequence. Then stack the pieces together and belt sand them
to a fair curve.
Bow Sections
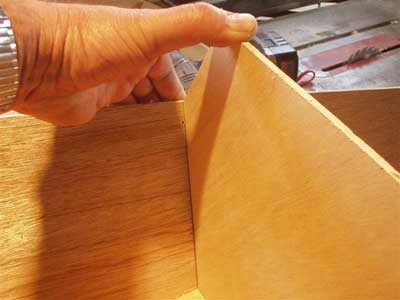
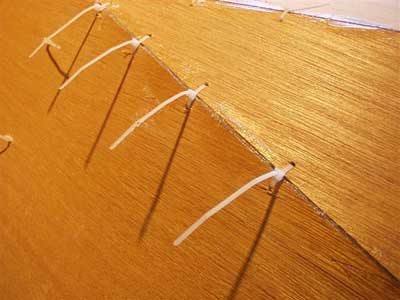
This set of photos shows the final stitching of
the Larsboat
Bow section. This is the first time I have used plastic ties,
always used copper wire before (and have the marks to prove
it!) the ties worked so much better , easy and cheap , I hope
I can pull off building this boat in 2 parts then fixing the
2 halves together , Its so easy to work on a small section at
at a time, we shall see
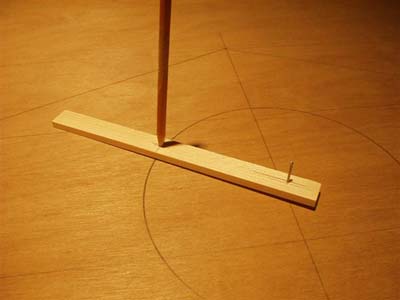
A poor mans compass
Placing temp form in bow (in fact this will
stay in boat and will I add flotation to the forward compartment)
First mark position of bulkhead and drill just 2 sets of stitching
holes , then zip tie and snug up tight
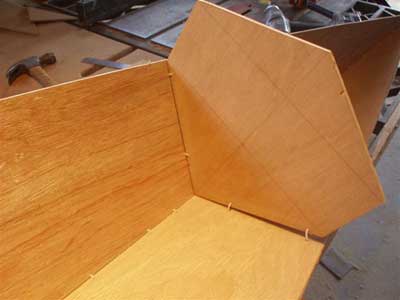
Marking the bottom panel and chine panel for
the stitch holes by holding the chine in position
The rest of the photos show the shear panels
in position and all zipped up ready to epoxy the inside seams

Stern Sections
Had a busy weekend. I have another batch of photos
for you.
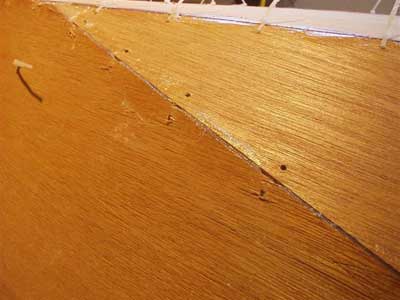
(Spot welding) with epoxy the panel edges between
the ties so that the ties can be removed when the epoxy goes
off and apply epoxy to the small area that is left. This spot
welding is remarkably strong and will hold the boat together
if you handle it carefully.
The next photo shows the panels laid out on my sacrifical 8x4
sheet and marked and drilled for the stitch holes.
This is the way I line up the holes when the panels diverge
from each other
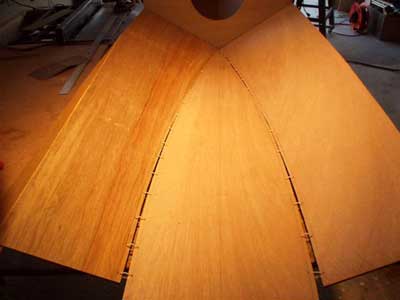
I found this the best way to stitch up the panels by standing
them up and placing 2 or 3 stitches just so the panels stay
up on their own. Then it's quite easy and fast to place the
rest of the ties. I just snug them up at this stage.
The next photo shows the panels during stitching. This went
really fast and no stooping or bending.
This is the Transom panel and my way of overcoming
the beveled edges that are often required. I used 1/2 inch material
for the Transom and then rounded the inside edge with a 1/4
round overcutter in the router. This allows the side panels
to sort of roll to the right position on the Transom.
Using a nail as a drill (a nail chucked into
a drill makes a excellent drill bit) I positioned the Transom
and drilled thru the panel into the Transom and then tapped
the nail ( the same nail size as I used as a drill bit) to secure
the panel to the Transom.
The rear end with the Transom in position.
I set the ties nice and tight and all that is left is to epoxy
it in postition and an area about 12 inches forward to make
it nice and strong.

The next job will be the forward bulkhead done
the same way. Having a round inner edge to this panel means
a lot of the epoxy ( the fillet) can get between the two panels
a strong joint .
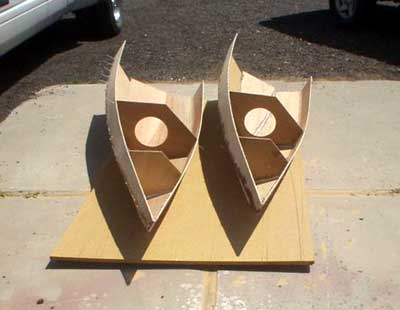
Shows the two stern sections of the Lars boat.
Also 004 the two bow sections epoxied and drying
in the sun.
Regards, Steve
Dandridge