Littler Breton Update Part 3
Part 1 - Part 2 - Part 3 - Part 4
Chuck:
Here is the latest installment on the cradle pram.
Friday evening the sheer strakes were added. The only clamping
needed was at the ends and that was accomplished by one screw
to each end.
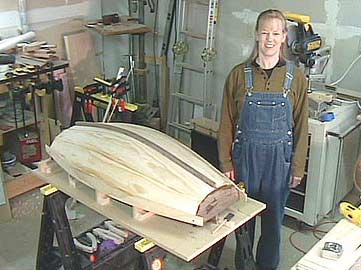
Saturday morning I took the picture with the Kari, mother to
be before I'd even trimmed the planks to length. She hides the
pregnancy rather well.
Saturday morning I made the rubrails. They are
walnut. 1/4" by 5/8" with a round over on the two
outer edges. I made a mistake and left one clamped to a sheer
strake while I went to buy some more lumber. Eveidently the
epoxy hadn't cured enough from the night before and it pulled
the plank away from the bow transom. The epoxy was all stringy
like what you'd see after stepping on chewing gum on a sidewalk.
The epoxy did manage to cure to a hard state after the plank
pulled away. That set me back a little on Saturday but by Sunday
morning I was back on track.
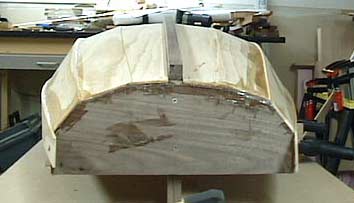
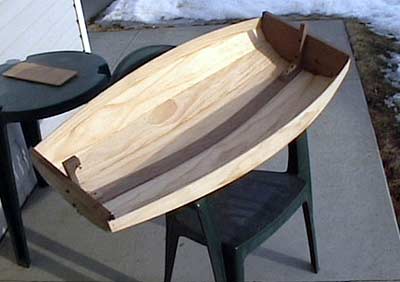
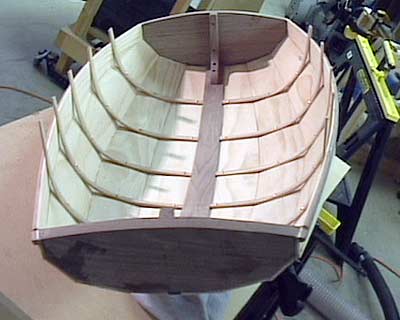
I just couldn't wait to see the inside of the
cradle so I unscrewed it from the strongback and took it outside
in the light for a little bit. the cradle is very light and
surprisingly stiff as it sits in the pictures.
Then I returned the cradle to the strongback to install the
rubrails and fill some screw holes.
A friend of mine graciously sent me some bronze holdfast nails
which I will use in the ends of the planks as kind of a belt
and suspenders thing.
The next Friday evening I milled the ash for
the ribs and bent a couple of them to see how they would go.
Rather than build a steambox, I thought I'd try just using hot
water in the kitchen sink. Since the longest ribs are less than
15 inches, I was able to fit them diagonally in the basin.
Hot water is kind of slow but it gave me time to get things
ready. For the test I only used the hottest water I could get
from the tap. I changed it once as it cooled. A stainless sink
isn't the greatest vessel for keeping hot water hot. After about
an hour I was able to bend the two forward most ribs into place.
Saturday I did the rest of the ribs. This time
I also boiled some water in the electric kettle although I don't
know if that really sped things up much. To keep the ribs submerged,
I used a kitchen pot filled with water. This worked quite well
and the worst part of the whole thing was the long trek from
shop to kitchen to shop with the intervening stairs.
I made my rove setting tool from a 1/2"
x 3" bolt by drilling a hole in it longer than the longest
rivets I have. It works quite well although I think riveting
would be less work if it had more mass. I was thinking of setting
it in a cylinder of lead and then wrapping the whole thing in
tape so I'm not handling the lead.
Riveting was something I was nervous about doing
but found its not that hard to do. I can see it would be easier
to do if you had a helper even on a little boat like this. It
was difficult to hold the boat still, keep the bucking iron
in place and mushroom the end of the rivet over the rove.
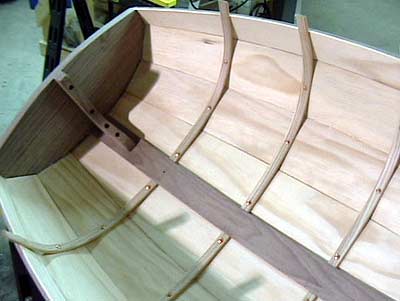
One thing I didn't anticipate with this design
is that the points of contact between the planks and ribs do
not occur at the seams as shown in all the books I have that
talk about riveting. Instead the contact points happen mid plank
so that's where the rivets are. Like the sheer thing, I don't
believe this would be good for a full sized boat but I think
it will work in in this cradle.
Dave Richards