Ladybug
When we last looked in on the Ladybug,
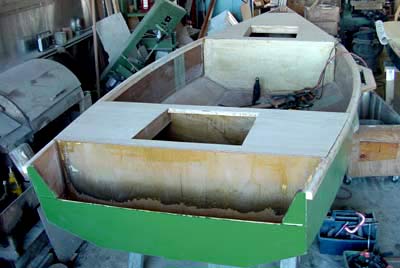
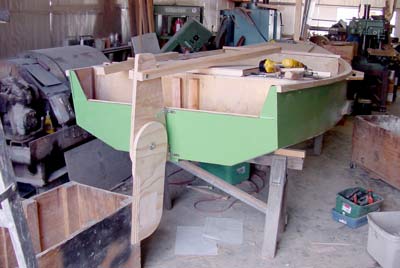
boys and girls, Sandra was giving her a nice coat of John Deere
Green paint. We have a deal: Sandra helps me with all the boat
painting, and I let her pick the colors. It saves me a lot of
work, and she seems to enjoy the painting, and frankly she has
better taste than I ever will. Note the two drain holes near
the stern on the bottom. These drain the slosh well.

Once she went over (after letting the bottom paint
cure for a couple of weeks), the decks were glued on....
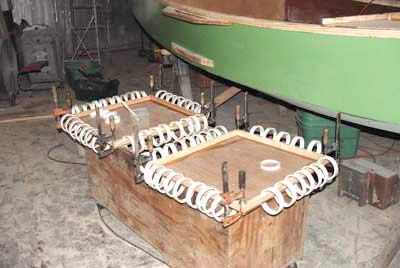
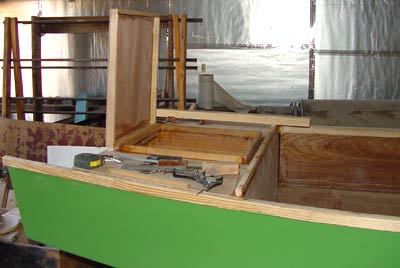
Then I fabricated the hatch covers. Note the extensive
use of PVC pipe clamps. I used 4 inch sch. 80 pipe cut to about
an inch wide. That seems to give about the right tension. I
used ss screws only at the corners.
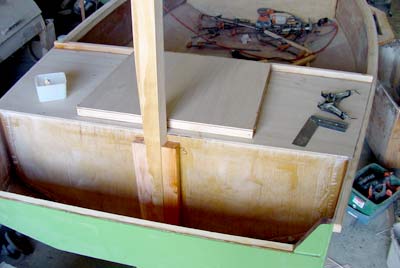
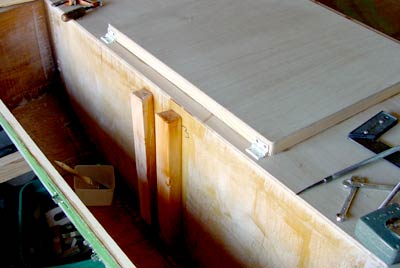
A regular boom tent is out of the question on
this boat, since it has a balanced lug main, therefore, I opted
for mast/boom crutches fore and aft. This shows how the rear
one works. This crutch will be high to support the cockpit tent,
and I will make a short one for transporting.
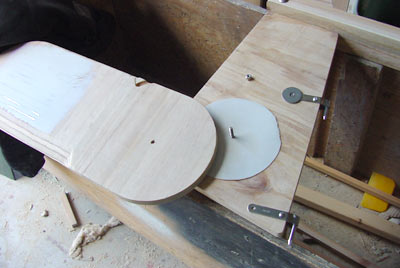
In the picture below, you can see that I have
dry fitted the rudder and tiller. I used the stainless pintles
and gudgeons from Duckworks. They seem sturdy enough
and don't cost too much.
The blade is weighted with several pounds of scrap
stainless steel. Between it and the stock is a big disk of teflon
to reduce friction. I could have used UHMW, but had the other
on hand. The plastic in there makes the action smooth as silk.
It's about 6" in diameter.
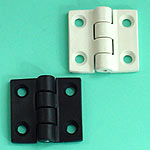
I decided to hinge the hatches, so I used some
of the fiberglass filled Nylon
hinges from Sea-Dog. These are very sturdy and
will never rust as the pin is stainless steel.
We are planning some one and two night cruises
in this boat, so the storage campartments fore and aft will
hold a lot of gear. The trick will be making the boom tent.
Since we are used to the bug free space in the Caprice,
mosquito netting will be manditory. It'll be fun.
Chuck