| 
Building Guppy
(part 2)
by Steven Lewis
Part 1 - Part 3 - Part
4
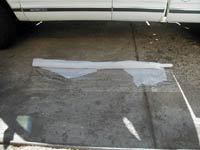
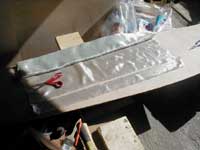
Today we join the bottom panel parts together. I have some very heavy plastic (for covering windows in the winter). This is used for two purposes. The first is to prevent the supporting pieces of wood from becoming a permanent part of the boat, and the second is to create a nice smooth surface to the finished FG butt. I cut 4 strips off, about 6-8 inches wide and long enough to give me about 12 inches of overhang on each side of the edges of the panels.
(click images for larger views)
Next I cut my strips of Fiberglass cloth. These strips are about 2 inches wide or about an 8:1 ratio to the thickness of my plywood (1/4"). You can go more, but I wouldn't recommend less.
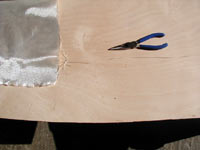
There are a couple of ways to do this: First is to use FG tape and the other is to use strips of cloth cut from a bolt. The simplest way to cut cloth from a bolt is to pull 2 or 3 strands out of the cloth, giving you a nice band to cut along, and it guarantees a relatively straight cut.
You will need 4 strips of cloth for the 2 joints, long enough to overhang the edges by an inch or two.
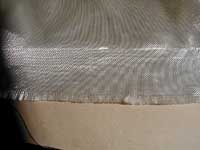
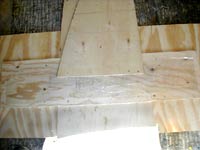
Mix up some resin (2-3 oz depending on your ratios) and start laying out the joint "sandwich". First down is a piece of scrap ply, then comes a piece of plastic. Lay your cloth in the middle of the plastic.
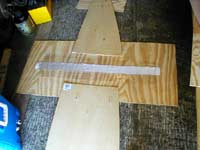
Wet out the cloth to a point wider than the panels and with some excess on the plastic wider than the cloth itself. The cloth should become transparent.
Next we wet the plywood that will be laid into the cloth with resin and butt the two ends together in the middle of the tape. Make sure you wet the endgrain in the butt edges with epoxy too.
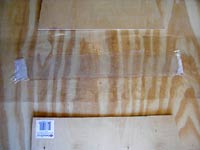
The next step is to wet the top of the plywood joint and lay your next piece of cloth on top of the joint. Smooth it out and wet it well, then lay your second piece of plastic on top. Smooth out any air bubbles and then lay a piece of plywood on top of this. This is the first panel complete. To apply pressure to the "sandwich", Put in some screws around the outside of the joint, pinning all of the layers together and stabilizing the assembly.
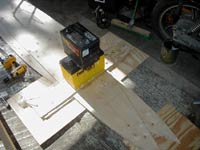
To continue, lay your third piece of plastic on the top piece of plywood and do the procedure all over again. Top the whole thing off with something heavy (trolling motor batteries a pretty good, as is Cinderblock or weights) to compress and apply even pressure.
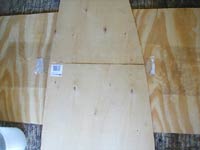
The exact same procedures are used to cut out and assemble any other panels that are needed for the boat. We will address this as we come to it.
One note: Make sure you pair up the correct panel parts prior to assembly. Sometimes this can get a little tricky if you just have a stack of parts and things will not work if you mix up the left and right panel parts with each other. This is experience talking here.
Steve
|