|
Building Clancy |

|
|
By Vince Hoffmann - Colorado - USA |
Hello Chuck!
 Thanks for your interest in this little boat. Clancy is a class sailing skiff which was designed by Rich Kolin and developed by Bob Pickett. Thanks for your interest in this little boat. Clancy is a class sailing skiff which was designed by Rich Kolin and developed by Bob Pickett.
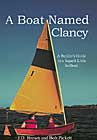
There is a very good book published by Mr. Pickett titled "A Boat Named Clancy".
This is a very concise construction guide in which the boat can be built, but with plans provide by New Yankee Workshop, becomes somewhat easier!
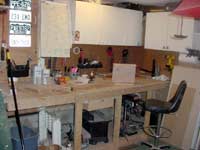
I've included a couple of pictures of it under construction, one of which was taken tonight. I started this boat 1 week before Thanksgiving, and I anticipate its completion and maiden sail at the end of February. I'll be sure to send you some pictures from that sail!
Vince
 |
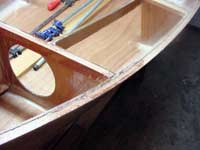
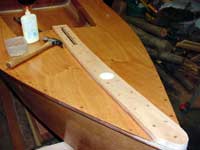
The daggerboard case is completed and ready to install onto the keelson ahead of the front bulkhead.
(click images for larger views) |
|
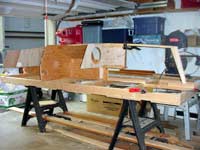
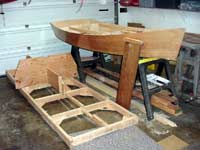
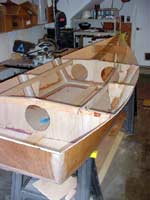
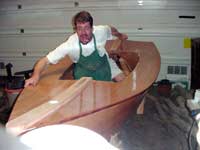
The skeleton is upside down on the jig which holds all of the parts in position until the bottom and sides are in place.
|
|
|
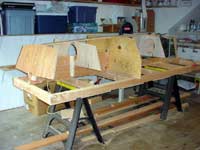 |
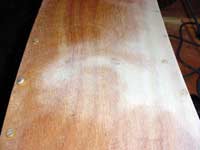
All materials are either marine grade mahogony plywood, solid mahogony or clear douglass fir. The jig is just plain old 2x4 lumber and 1/2" cdx plywood.
|
|
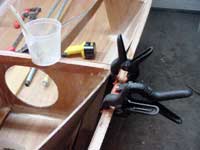
| Marine adhesive is spread onto all of the bottom surfaces. |

|
|
 |
Bottom panels are attached to the keelson and transom with marine adhesive and bronze screws every 6" (with a couple extra in the daggerboard box)
|
|
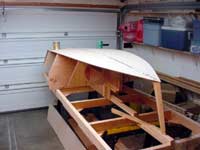
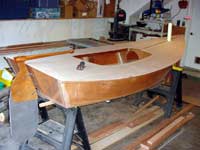
| Sides are attached. I'll let the epoxy cure a bit before I take down the edges and fiberglass the corners. |
|
|
 |
Glued and screwed to the transom and stem, the sides are tacked to the edge of the bottom with hot glue. It'll get fiberglass cloth over the corners later.
|
|
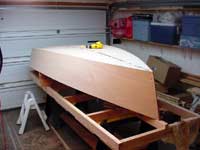
| Fiberglass strengthens and waterproofs all of the wood to wood connections. |
|
|
 |
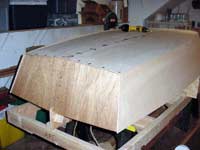
After the first coat of epoxy, thickened epoxy is used to create a cove between the keel and bottom.
|
|
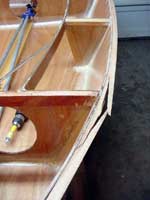
| The most important part of the boat! |
|
|
 |
The keel is faired after the first coat of epoxy, the second coat is really bringing out the shine. The third coat of epoxy will make the surface as smooth as glass.
|
|
| Carlins are placed between the forward and aft bulkheads to test the fit, next comes bulkhead doublers, kingplanks, and partial bulkheads. |
|
|
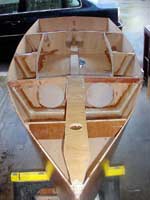 |
filleting and taping the inside - All interior pieces except for the aft kingplank are in place.
|
|
| Busted gunwale - The starboard gunwale bent around the hull with no problems. Not so with the port gunwale. |
|
|
 |
This should fix the break and allow the gunwale to flex around the side toward the bow without breaking.
|
|
| The excess epoxy is scraped and sanded off and the port gunwale is put in its place. |
|
|
 |
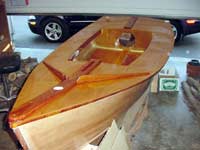
Test fitting the deck panels - shown from aft with the rudder assembly in place
|
|
| Both halves of the deck are in place, affixed by marine adhesive and bronze screws every 4" along every bulkhead, carlin, kingplanks and hull edges. The first of three coats of epoxy has been rolled onto the deck. Tomorrow, screw holes will be plugged with mahogony plugs. |
|
|
 |
The plugs on the right have been trimmed and sanded. A coat of epoxy on the deck keeps me from sanding through the top layer of ply.
|
|
| Foreward kingplank in place - 1x5 mahogony with 2" bronze screws and plugs for the screw holes. |
|
|
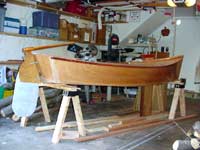 |
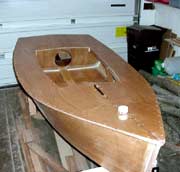
Daggerboard and rudder in place, the boat is nearly compelete!
|
|
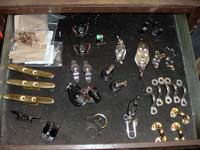
| Rigging and hardware collection. I think I have everything I need. |
|
|
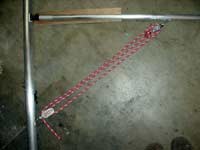 |
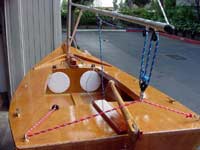
A 3:1 boom vang setup, which should be more than enough for this boat. I used 5/8" line for this setup, but the real thing will have 1/4" line. It looks like I'll need a bit longer piece than I have here! This red line is destined to be the traveler.
|
|
| Zoom zoom!!! |
|
|
 |
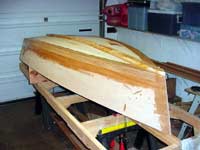
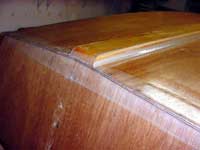
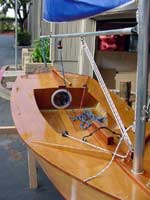
The darker wood is mahogony, which appears reddish brown with amber highlights when seen up close. The lighter wood is okoume marine ply. Only the deck has been varnished so far.
|
|
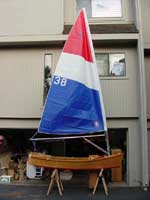
| Sail up! She is about ready to sail. |
|
|
 |
Looking aft...
|
|
| ... and forward |
|
|

|