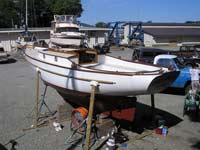
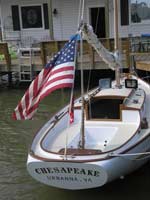
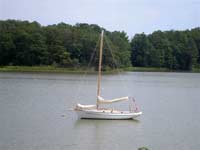
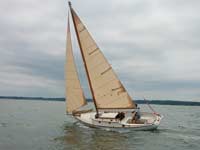
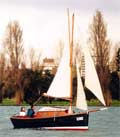
| Bob Means spent the better
part of a year restoring this old boat. We
have published a couple of previous articles
(article1;
article2;
article3)
about this project, but there were quite a
few photos left over that we thought should
be shown. |
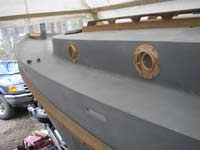
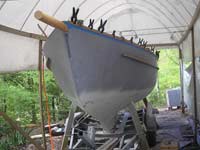
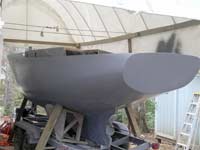
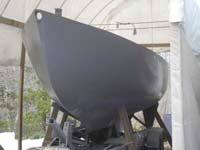
March 17:
Chuck, after much work on the transom, we finally
got it looking like this. We're pretty happy with
the results. The whole boat looks a lot better after
the primer went on. All the hard work is over so now
we are looking forward to putting all the pieces back
together.
 |
|
Click
images for larger views |
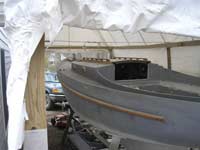
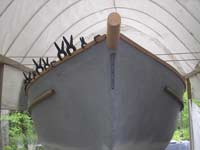
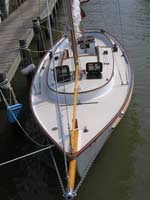
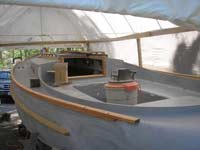
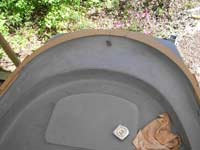
April 5:
Chuck, here is an update as promised. The rub rails
make a huge difference in the look of the boat and
gives it it's own personality. Had to look around
for some good affordable white oak but a friend, John
England came through when needed. We sawed these out
of a twenty foot two by four that had been under his
pile for years. I shaped them in my garage, drilled
and counter sunk before we attached to the hull with
Stainless 14" bolts through the hull with nuts
and fender washers. Now that the hard part is over,
sanding, filling, sanding, filling, I'm really beginning
to enjoy this project.
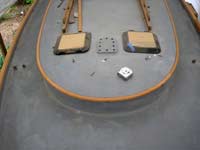
We also attached the companionway runners and hatch
cover. I used the same runners that came with the
boat. Because there was a double hatchway I had to
reshape them plus I added the handrails to the top
rather than the side. You can also see some of the
below decks work going on. In this space I will be
installing my portapottie for the girls.
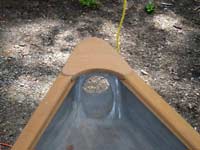
May 10 - Trip Work:
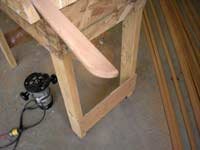 |
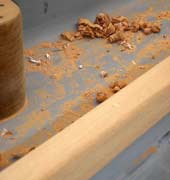
First I ripped a 1x10x 18'
piece of mohagany down to the size needed, some
inch and a half some one inch, and then shaped
the edges. |
 |
Then I epoxied
and clamped them to the inside and outside edges.
|
 |
Using sheetrock
screws with washers I epoxied the cap piece
to the side pieces,
|
 |
Then I began
to sand them all into shape,
|
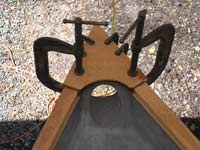 |
I cut out the
nose piece and clamped into place...
|
 |
... and began
to work out the transom piece by making a pattern
|
 |
While all that
was setting up I cut inthe eyebrow for the cabin,
|
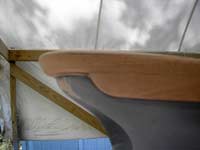 |
When the nose
and transom pieces set up I shped them
|
July 30:
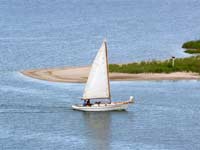
August 20 - New Sails:

More Articles by or about
Bob Means:
|