
 Custom Search
|
| sails |
| plans |
| epoxy |
| rope/line |
| hardware |
| canoe/kayak |
| sailmaking |
| materials |
| models |
| media |
| tools |
| gear |
| join |
| home |
| indexes |
| classifieds |
| calendar |
| archives |
| about |
| links |
| Join Duckworks Get free newsletter CLICK HERE |
|
|
| Gill 12 Tugboat - Part Two |
by Ed (Chief Redbear) Davis - Melbourne, Florida - USA |
|
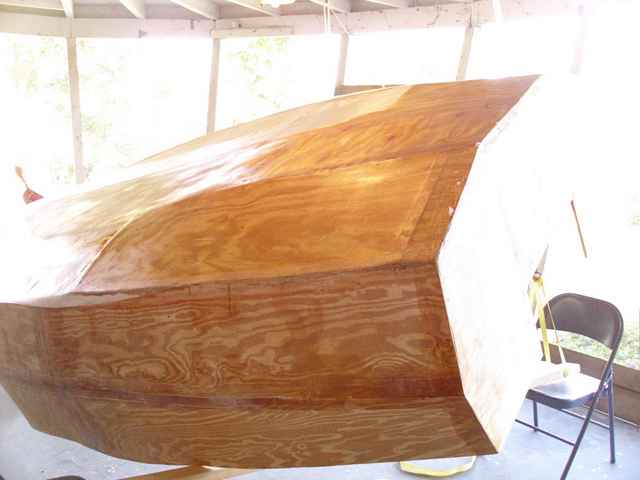
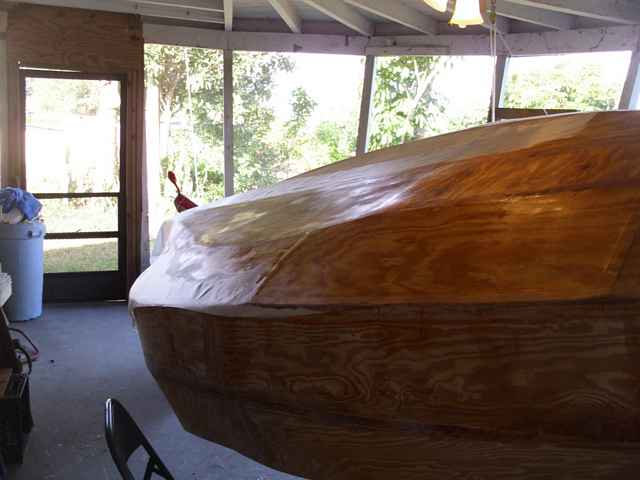
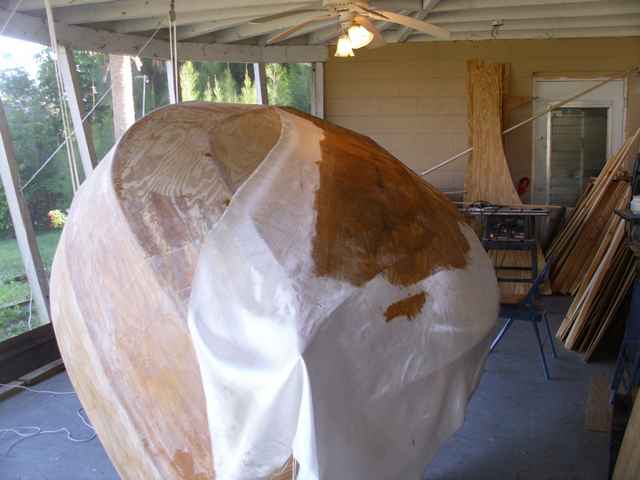
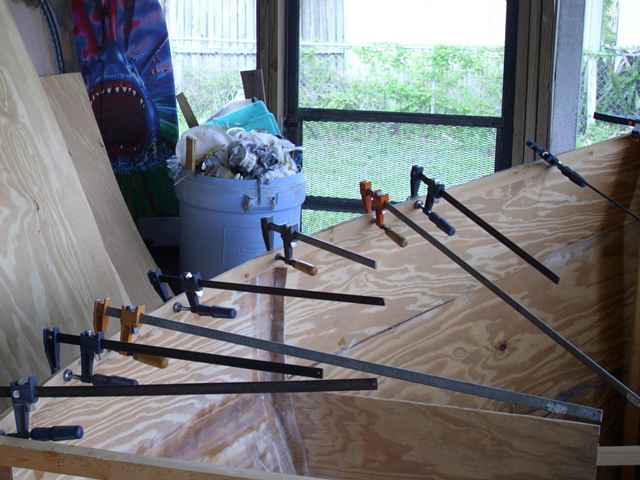
When we last saw our intrepid builder he had attached the Sheer to the Gill 12. Now we find Him hunched over the hull with resounding grunts and expletives slicing the air. OOH, my back he exclaims! Why did I start this? Its December the chill is in the air, even here in central Florida. Since my last post, Piloting class has continued and should be finished in Jan 2012. I made a Holland America cruise with family and scattered my wife's ashes off St Thomas. Nothing else special has happened. But you didn't come for a family report; it's the boat you want. Slowly it evolves, tape to the sheer joints, sanding, filleting, sanding, etc... I've followed what Mike said and rolled the hull to the side. That helps with the epoxy runs and my back pain. It was easy to hoist the side with the Harbor Fright block n tackle. Slide a 2x4 under the side and support on a saw horse. This really proved to be quite stable. My hope is that I can hide all my goofs with glass and paint. When I started it sounded like such an easy thing to cut out the parts and stitch them together. I was not seeing how much would be required in the stitching process. That's ok; it makes a good boat. I've got more pictures, but there's not much to show except that the work progress. No detail shot's for this stage it's all epoxy, sand, epoxy, sand.
To progress further the hull is again upside down. I'll glass the whole bottom. Install the keel and rub strakes, then fair the bottom and finish with the carbon laced epoxy. That should protect the bottom from strikes and barnacles. Saw horses were too high, the folding chairs are just right.
Still not decided about the color scheme. If I start at the bottom with black, white and red boot stripes. What should the hull primary color be??? There was a nice red boat shown in Duckworks plans - what was that - OH! A rescue Tug Boat! Red with white trim. That's Paul Fisher's "Rufus 17". As my grandsons would say "Swweeeeet".
I took a five minute break in the middle of this layer of cloth. It's hard to reach across that hull to the middle of the boat. So I raised it up like a horse lifting a leg to get a stone removed. I finished the epoxy and trimmed the cloth. It's now ready for another coat tomorrow. We are looking at two more days of temps over 70 before lunch. That's just enough time to set the epoxy. You know that old saying; about mice and men and their plans? Well - the lady that works from 0700-1230 when I come in, took sick. I've worked every day this week and lost all that 70 degree day time temps. Oh well, were due some 70 temp days next week. I need two coats of cloth before I can fair the hull then paint. Once I get it faired and painted I need to move it to the front porch till I get a trailer. I'm working on the pilot house during the cold days. I'm not into that cabinet making thiing. What's that called? Joinery? The joinery has begun -
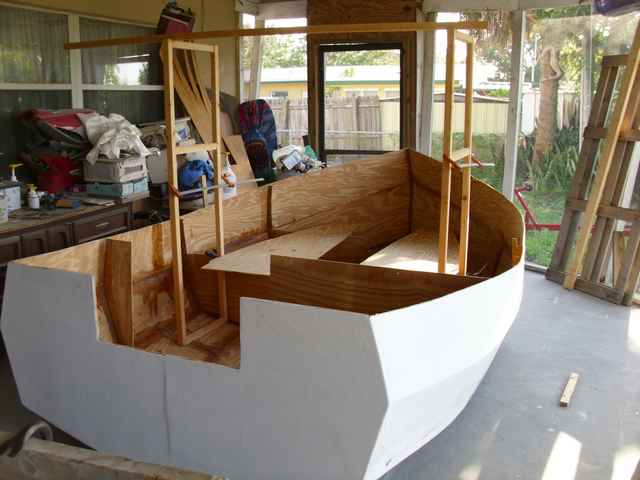
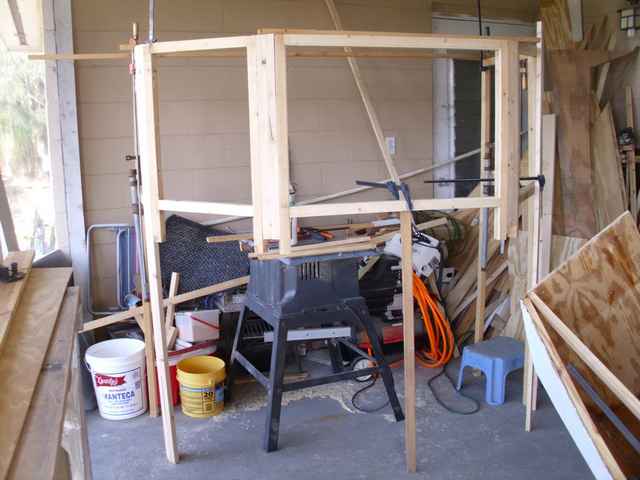
I cut two 2x4"s in half then put spacers to form the two sides of what will be the cabin. I cut 22.5 deg angles in their sides to form the five sided bay window of the cabin. That proved to be too small a cabin for my needs so I increased the front window to 33 in. wide. With a height of 22 in. that will make an excellent size for the front window. The deck house extends from sta. 6 to sta. 9. Station 9 to transom will be open for bench seats. The 2 plywood sheets show where the bunks will be and help for planning the size of the forward cabin. I've got to cut another 18 in. off the height of the bunks base.
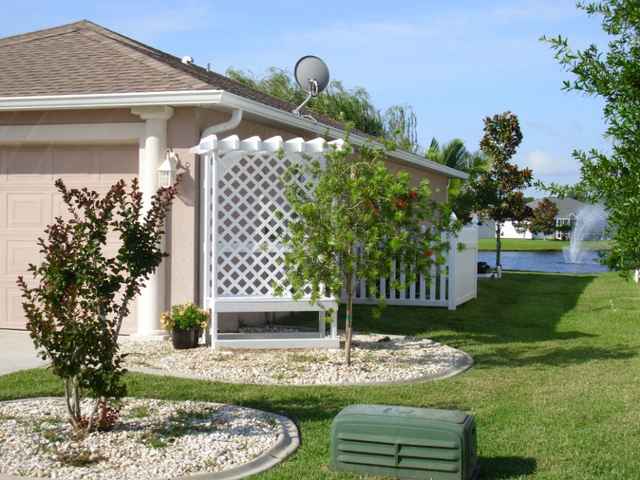
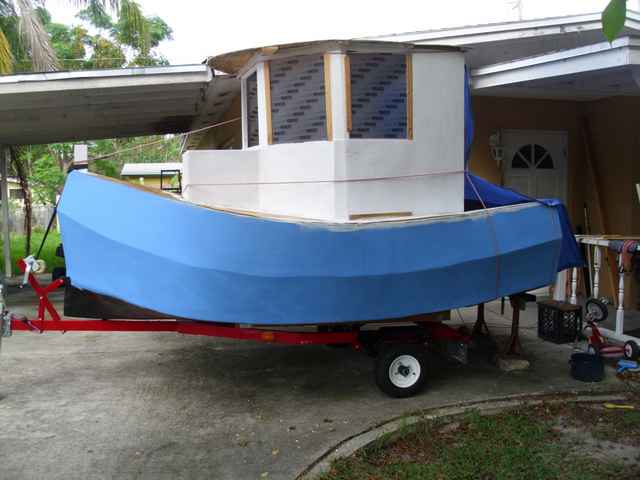
I had to take time out to keep my Lady Friend happy. She had a dead tree on the corner of the garage. The new tree didn't satisfy her taste and she went looking for a concrete bench. Which were overpriced and plane looking! This pergola bench has a lot more class and looks perfect on that corner. No, sorry I don't have plans. It was an easy job, 4x4 base (hidden under the gravel) 2x4 uprights, 2x4 frame for bench ,1x3 slats and a 4 ft x8 ft lattes on the back. Note the 1x3 behind the lattice, you can lean back and not feel like you're falling thru. Now back to our regular program. The boat has moved! Sorry no pictures, but it was not as bad a job as I expected. It only took three men and a moderate amount of effort. Use the block and tackles to hoist on its side then pushed to the screen. Set down on its side and moved the block closer to the exit. Lift again and slide out the screen. Slide across the grass in line with the trailer, then up on the bunks. Now finish the cabins and apply some paint. Paint????? What color??? OH! rats - more decisions! Well it's been several weeks/months since my last visit to the log book. The boats on the front porch with its cabin attached. I've painted the hull blue, for lack of any other acceptable color on hand - oh well. The cabin is in white for now. It's just the under sheeting. I'm going to finish it with bead board in a natural finish. It will look better as the finishing touches are put on. I've started the rear wall. With that will come a floor in the stern sheets? It'll just be about 3" off the hull, but will seal up the house from rain water.
Can you believe it's October! The Georgetown Wooden Boat show was on the 20 OCT. I do believe a good time was had by all. I spoke via e-mail with a lady from the organisation and she said to bring the boat even though it was not finished. I had to finish the rear wall as fast I could. That gave them the view of how the cabin was to be finished. I'm using bead board with a natural stain and water based polyurethane finish. That covers the rear wall and will be applied over the rest of the deck house. The windows are Lexan they have the covers still on to protect the finish. Lexan is a great product; It cuts like plywood, doesn't shatter, and will not yellow for ten years. Hope I'm still around to replace them. I guess this is verbose enough. I hope all of you have enjoyed the tale of my build so far. I guess the next essay will be the splash report. Mostly, all I've got to do are finish details. I've lined up a motor, bought life vests, dock lines, still need lights, but those can be add on's. OH! I have to quit this. I've already used over 1300 words. I almost failed high school English because I couldn't write a book report. I guess I've improved with age. Ed "Chief redbear" Davis, DSC USN RET |
|