
 Custom Search
|
| boat plans |
| canoe/kayak |
| electrical |
| epoxy/supplies |
| fasteners |
| gear |
| gift certificates |
| hardware |
| hatches/deckplates |
| media |
| paint/varnish |
| rope/line |
| rowing/sculling |
| sailmaking |
| sails |
| tools |


| join |
| home |
| indexes |
| classifieds |
| calendar |
| archives |
| about |
| links |
| Join Duckworks Get free newsletter CLICK HERE |
|
|
| March Treasure Chest |
SawingSawing large timbers for wooden boats. Chuck Five
This was contributed by John Owens at J O Woodworks: Chuck Cutting Thin Plywood
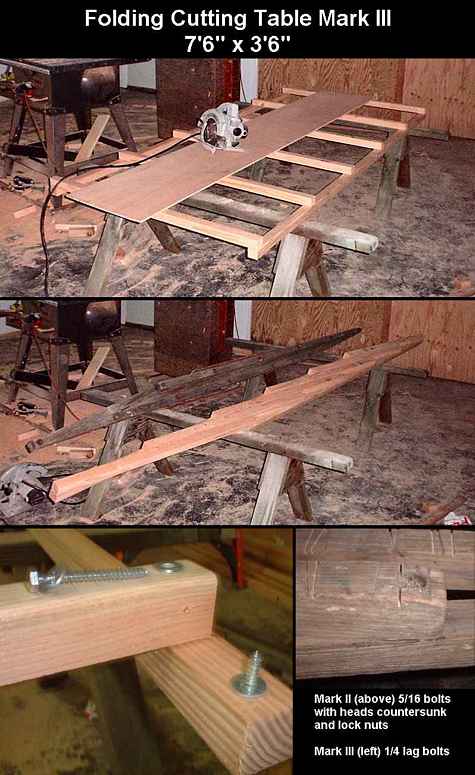
For cutting thin plywood with a circular saw lay a sheet of the cheapest foam insulation board on your work table (I use my folding cutting table), then lay the plywood on top of that. Set the saw depth just slightly deeper than the plywood is thick and cut away! The plywood will be evenly supported and the foam won't slow down or dull the saw blade. The foam is sacrificial, but will last for many, many cuts if you're careful storing it. I thought up neither the folding cutting table nor the foam trick, I heard about them somewhere... John Kohnen Tongue Extension
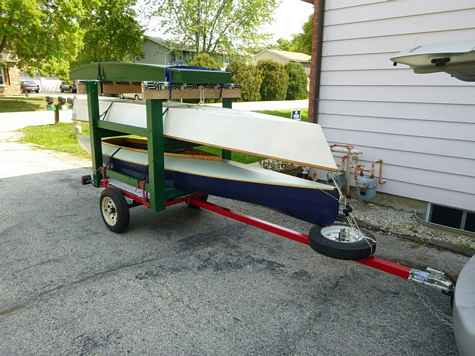
Extended the tongue to 10ft on a HF mini trailer, makes a nice (cheap) canoe hauler. Joe MastI just read Richards explanation of how to build a mast in MAIB's. He did a really good job of describing it. He was skeptical when I told him that this is the way to do it but it does really work. Here's the one I sent out a while back and it shows that these things really are light. Maybe if you publish this again it'll convince the skeptics that it's really not hard to do.
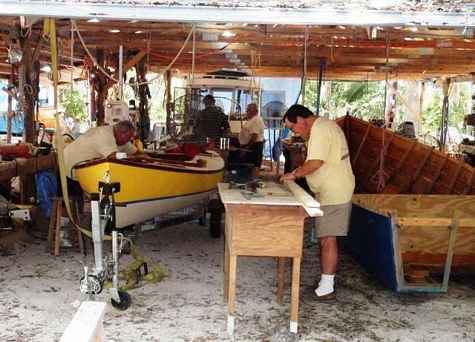
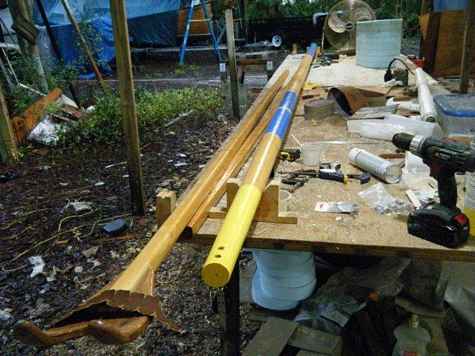
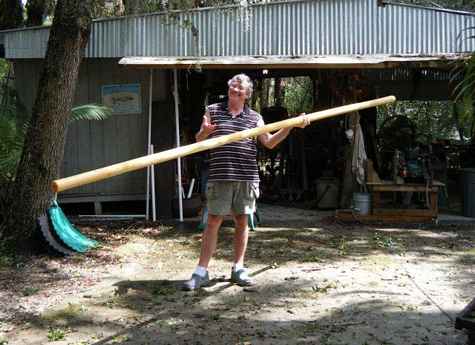
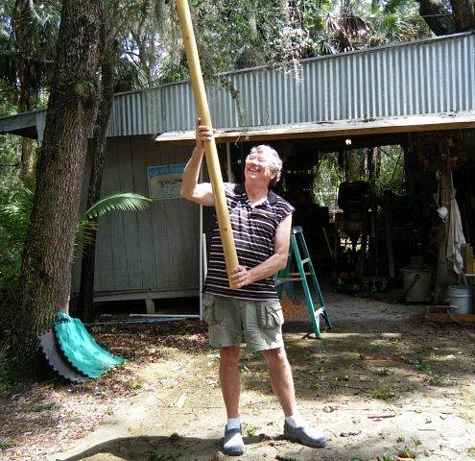
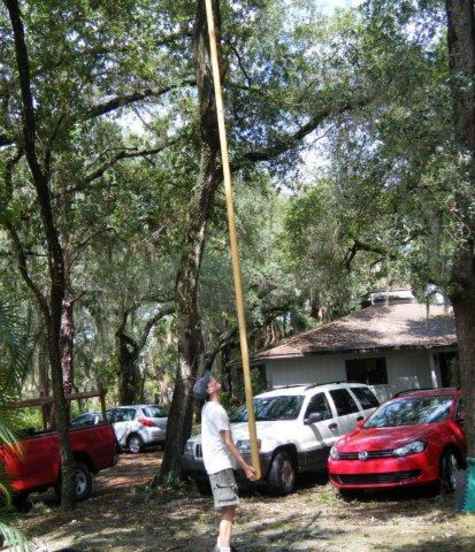
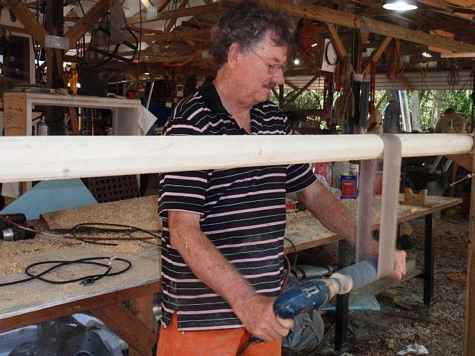
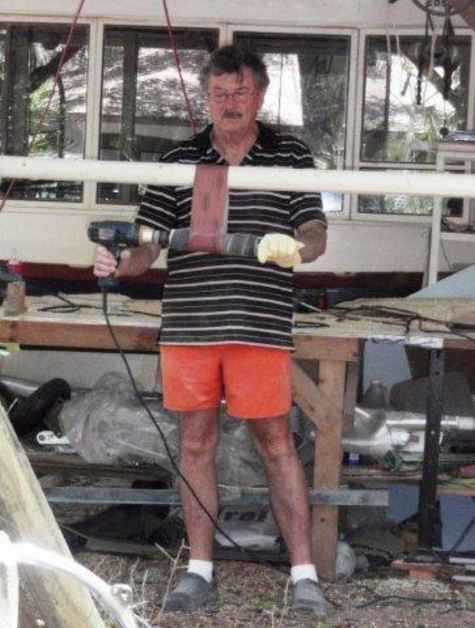
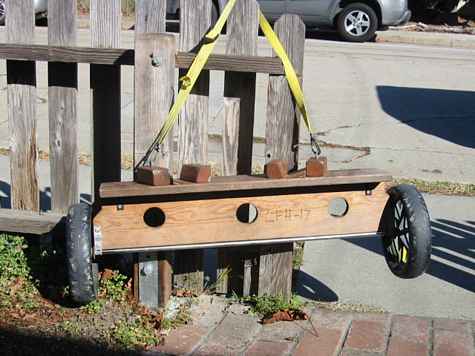
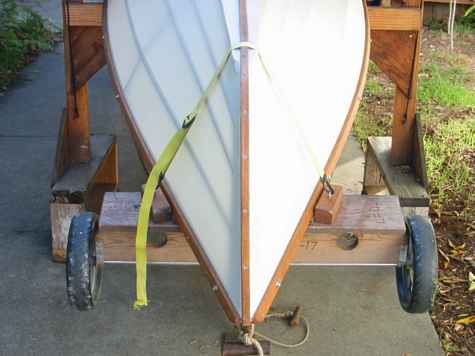
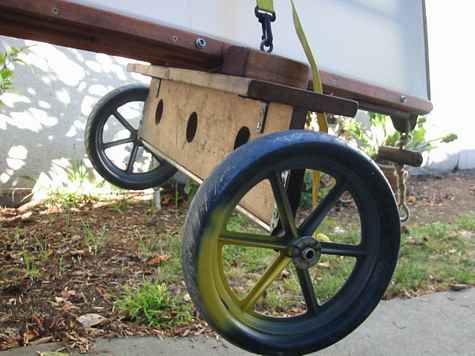
Now on to mast building. It's been a while since I've made one so when Peter the Plumber said he wanted to swap out his oak tree for a better mast I jumped at the chance. Wally had just finished the yellow one so I had a refresher on how to do it; mine is the bright one. Most of you think it's a big deal to make a mast for a small boat so I'll tell you the easy way to make one of these sixteen footers that are three inches at the bottom tapering to two at the top. First go to Lowes or Home Depot and pick out two sixteen foot "whitewood" 2x4's. Not yellow pine or cedar or fir, just the cheap ass stuff. Pick out ones with the smallest knots and straight. They cost about $6 each and are light. Lay them on your bench and route a one inch half circle down the middle of each one about two feet from each end. Get your chalk line and snap lines angling from three inches up to two inches at the other end; get out your circular saw and cut the line. Mix up some epoxy with a little silica to thicken it up some and smear it on both halves and clamp the hell out of the two halves. So far this has taken you about two hours and no super human skill. The next day you get your grinder and smooth off the hard epoxy that oozed out the seam then snap lines on that side. The bottom is already three inches so go from there to the two inches at the top. Saw the line leaving it all a little big. Set your saw to 45 degrees and eyeball off some of the square sides. Don't worry about getting this perfect, the next step takes care of that. Now the fun part; get your power planer out and go up and down the long stick for a while to get it half shaped. Then, I can't believe I'm saying this, get your long hand plan out (I don't own one but Wally does ) and make a bunch of passes to get the humps out. Now for the sanding. Go get a wooden rolling pin, pull off one end and put in a big screw so that end won't turn, take a bicycle inner tube wrap it around the pin and staple the ends. Chuck it up in your drill, turn a belt sander belt inside out and go to town. It'll be smooth and slick in about an hour once you get the hang of it. Like everything else there is a learning curve. That's it except for the finish. I wrapped the bottom with a couple turns of 9 ounce 60 inch wide cloth and then put two coats of UV resistant epoxy on the whole thing. You can see how heavy it turned out. I can hold it straight out with one hand and Steve is balancing it with three fingers. It weights about 15 pounds and will turn your boat over before it'll break. The only ones ever to break were the ones some dumb guy backed under tree limbs while backing down for a beach launch somewhere. Go for it, it really is fun and we've found these to be stronger and stiffer for masts this size than birds mouth masts made from fir. The total cost will set you back about $20. Dave Lucas Launching Dolly Here's a launching dolly built to carry at least half the boat's weight while moving it around. I carry these boats inverted on top of my pickup camper shell, so this dolly works very well for that use. How its put together.
Webbing with clip into screw eye in block. Cinched down on stern end, approx. 16" to 18" from stem.
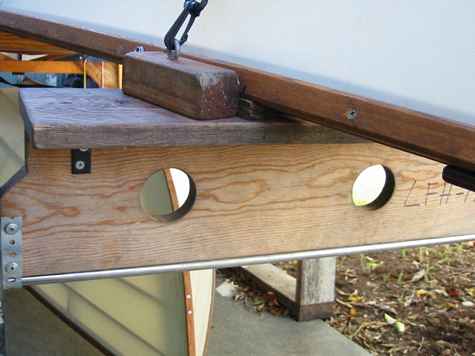
Side view in place with axel ends, washers, linch pin, etc.
Some detail of axle attachment, and braces connecting upright to flat top.
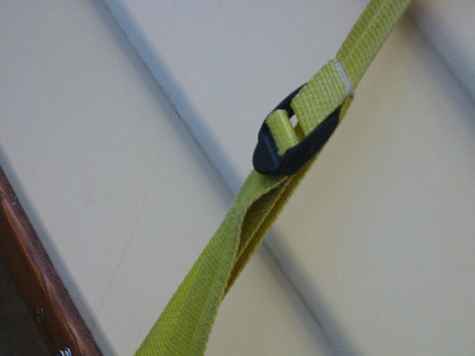
2X leverage webbing. Ladder loc attaches to web in loop on right, feeds down to clip and back up to ladder loc on left. Pull on loose end to tighten. Lift tab on ladder loc to release.
Materials List for Double Ended Rowboat Dolly: 1. Two plastic wheels 9" to 10" diameter (I got these from here (WZ1-25EVA). Steve Chambers Great advice from Tracy at Headwater BoatsEpoxy should initially be wet sanded with ammonia to wash off any amine blush that may have developed when the epoxy is curing. It is cured enough when it can be dry sanded and there is no dust loading on the sandpaper. I paint after I varnish because you can run the varnish onto the area that will be painted and then mask the varnish and paint to it, but you can't work the other way around, which requires masking twice. BIG NOTE on Paint/Varnish over EPOXY: ALWAYS add 1-2 drops of cobalt drier to each ounce of oil based paint or varnish before you apply it over any epoxy surface, even if it has cured for a year! You can get cobalt drier from any art supply store. The most common brand is Grumbacher. The cobalt drier should be treated like a catalyst: measure out the amount of paint or varnish you think you will need for area you will be coating during your work session and add drier to this amount only. Do not return any leftovers to your original can or you will have a can of jelly in 24 hours! The paint manufacturers add the minimum amount of drier that will cause the paint or varnish to dry in a reasonable amount of time, but no more. (This extends the shelf life of the product.) The problem is, the free amines in the cured epoxy react with the driers put in the paint at the factory and pretty much destroy them. That is why you have to add driers when finishing epoxy! (I actually use cobalt drier any time I use oil based paint or varnishes, as it speeds up the cure, especially in cold weather.) Tracy Dust FilterA friend showed me yesterday his dust filter for varnishing in his dusty shop. He got a 20" square box fan from Goodwill for $3, and mounted a furnace filter to it, and it does a great job taming the dust! John VanderSchalie
|
To comment on Duckworks articles, please visit one of the following:
|


 |