Part 1 - Part 2 - Part 3 - Part 4 - Part 5
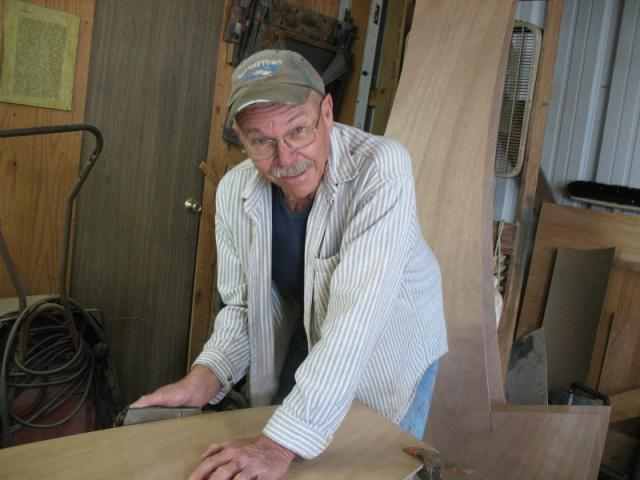
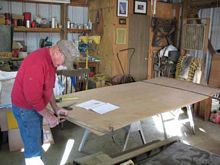
I finally got started on the new MiniPaw dinghy. I've had the stuff for for almost a year now. I've been working afternoons on it.
|
Starts with a stack of plywood. Both sides and both halves of the bottom get cut together, so they are exact duplicates. |
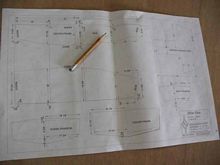 |
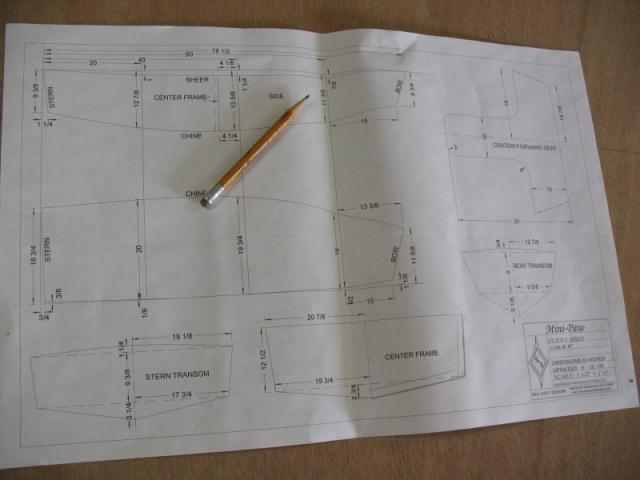
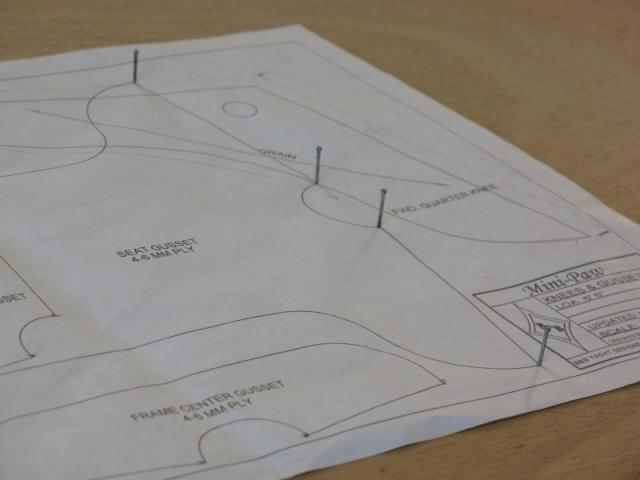
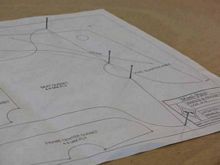
And of course, a set of plans. |
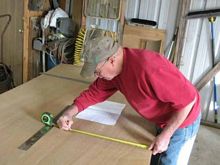 |
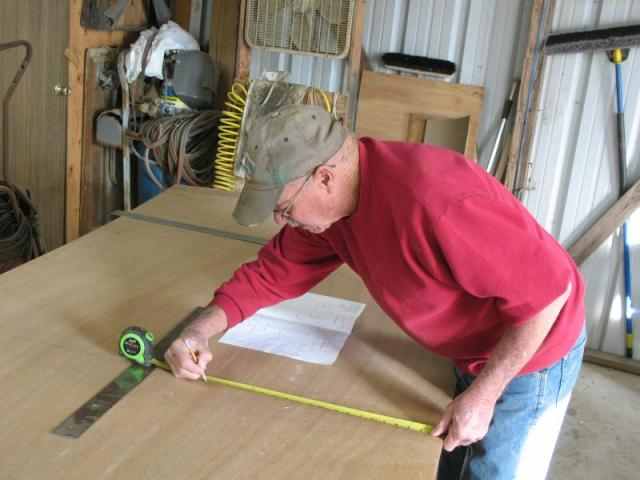
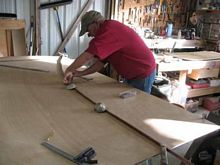
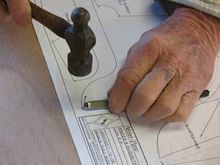
You do some measuring |
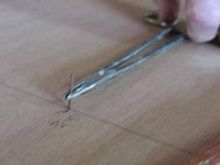 |
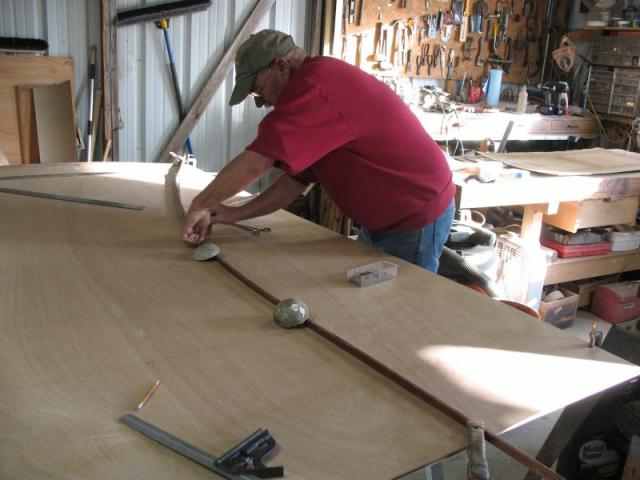
set some nails at certain points |
 |
spring a batten on the curve |
 |
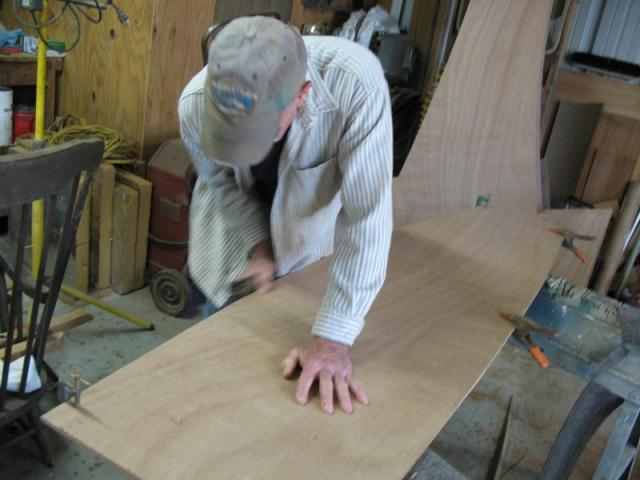
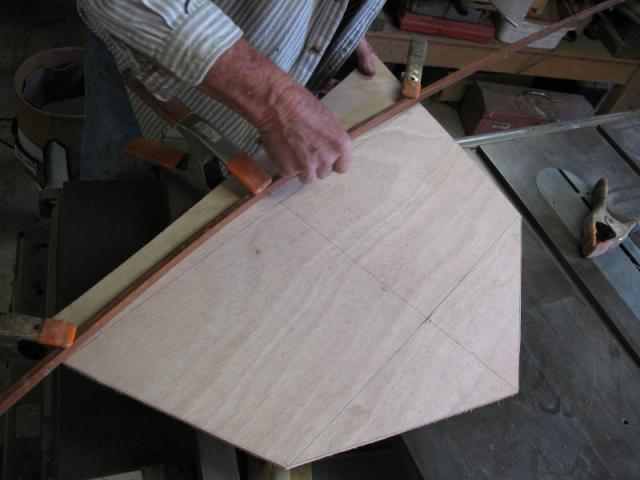
cut out the panels |
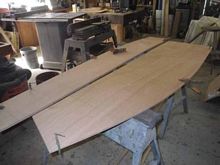 |
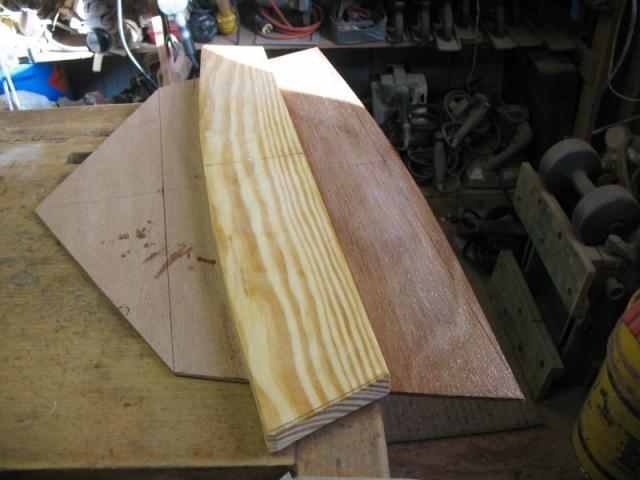
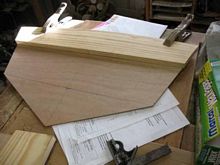
and here's the finished sides and bottoms, rough cut. |
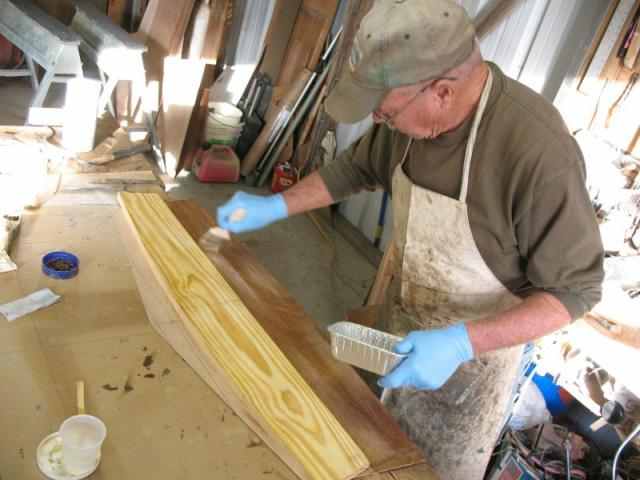
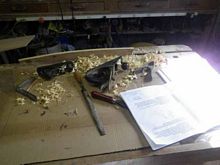
Yesterday we left with rough cut panels. Now we need to smooth the edges to the exact lines, which is best done with a hand plane.
 |
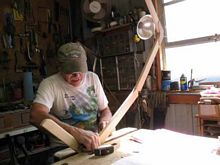
Isn't this fun? My shoulder is yelling at me. |
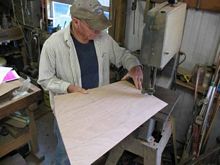 |
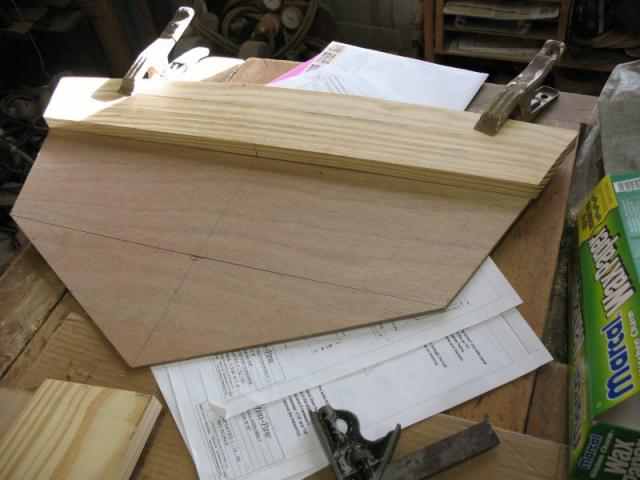
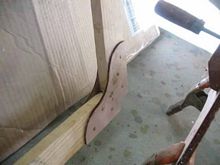
Layout and cut out the bow and stern transoms. |
 |
Again, spring battens for curves. |
 |
Some more nails on points to transfer patterns. |
 |
Transferring a pattern. |
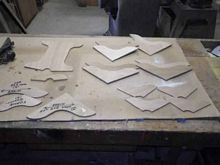 |
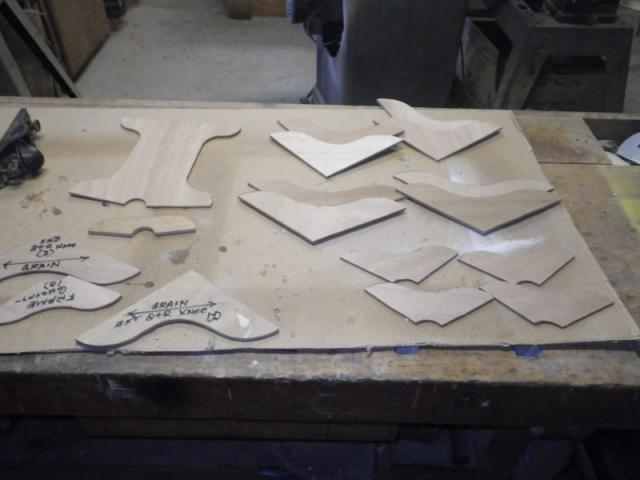
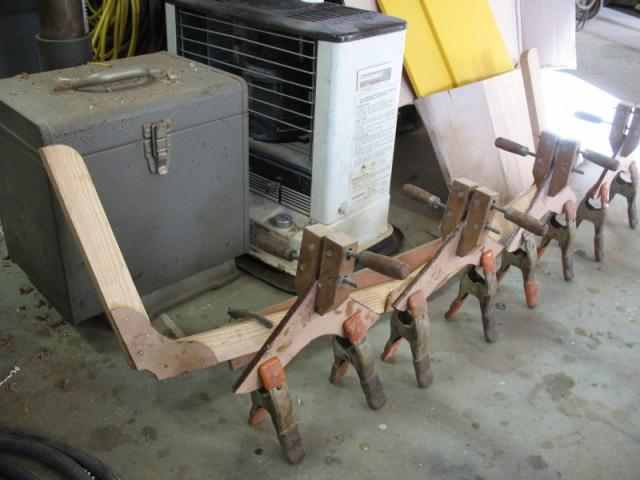
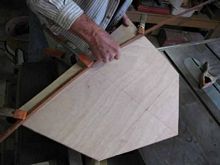
And all the knees and gussets are done.... in just as few minutes. |
 |
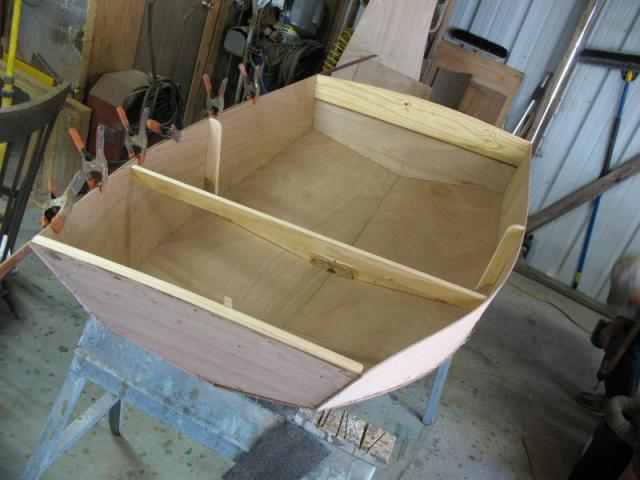
The boat gets a center frame of solid wood, with corner gussets and all those knees get glued together. |
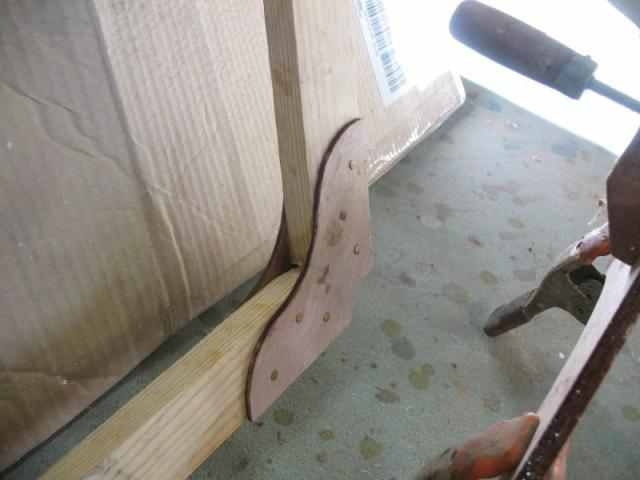
 |
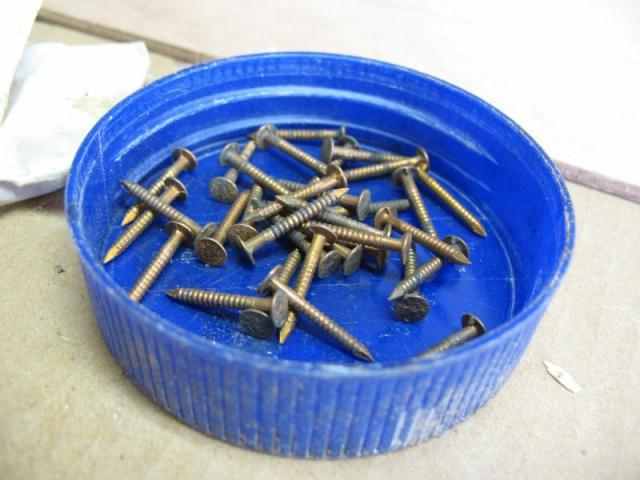
Gusset's are epoxied and nailed with bronze boat nails. |
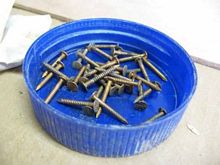 |
Boat nails are ring shanked - once in, they aren't coming out! |
 |
Transoms get reinforcing pieces of solid wood across the tops. |
 |
All epoxied |
 |
And nailed |
 |
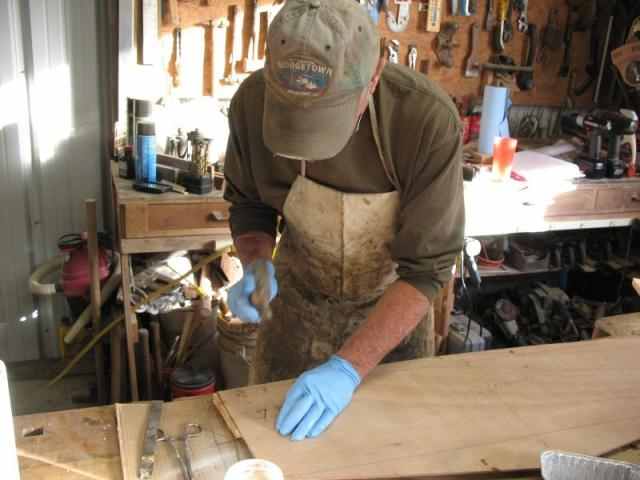
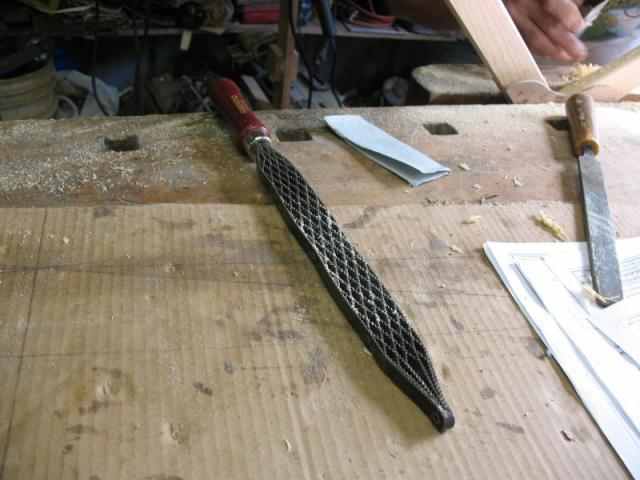
Remember that center frame? Well, it all needed rounding and smoothing before going into the boat. |
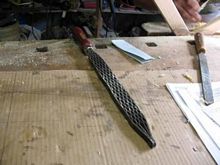 |
And the tools of choice. A Shinto Rasp, a bastard file, and sand paper. |
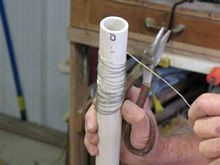 |
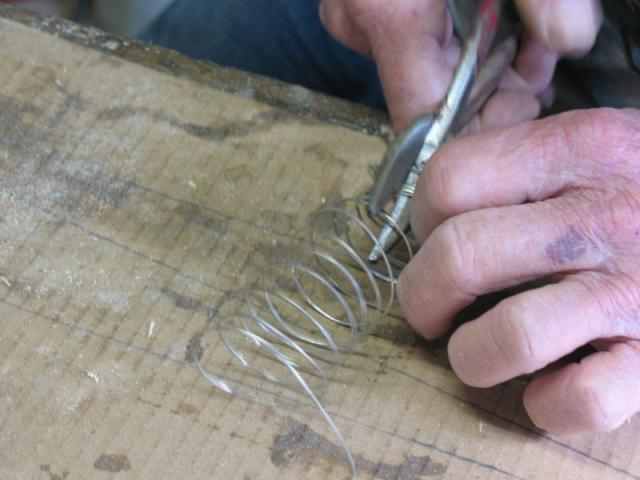
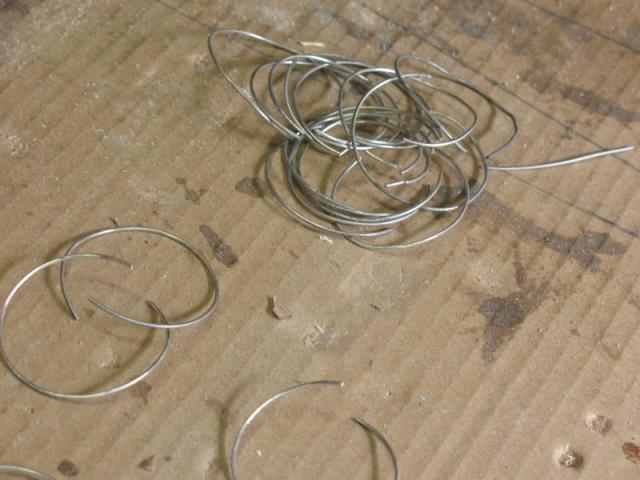
We're gonna wire the boat together, so we need many short pieces of wire. The simplest way to get them is to wrap them around a 1" rod many times, slide the coil off, cut along one side, and end up with a bunch of rings. |
 |
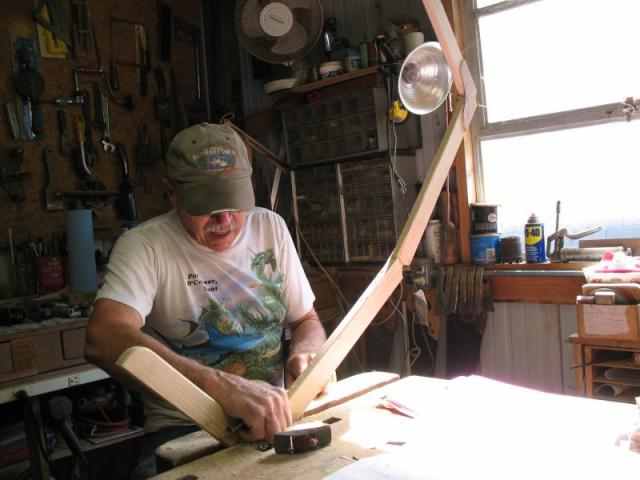
And those doublers on the bow and stern transoms need to be worked down to the correct size. More hand plane work. |
 |
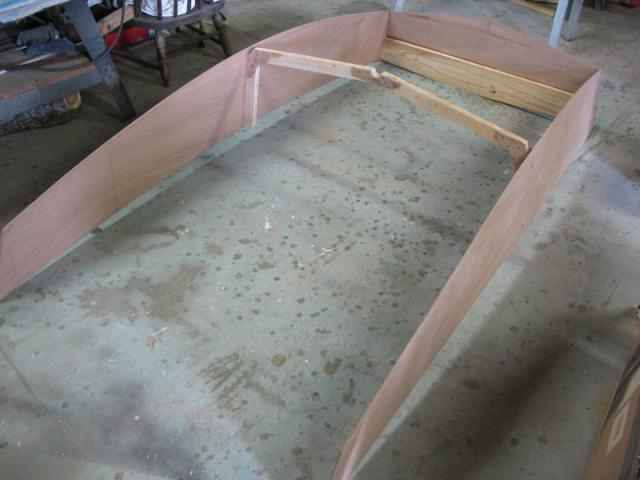
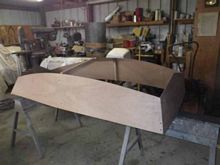
And now, finally, we begin to actually build the boat.
Here's the beginning of what we call "going 3D". |
 |
Transoms are in. |
 |
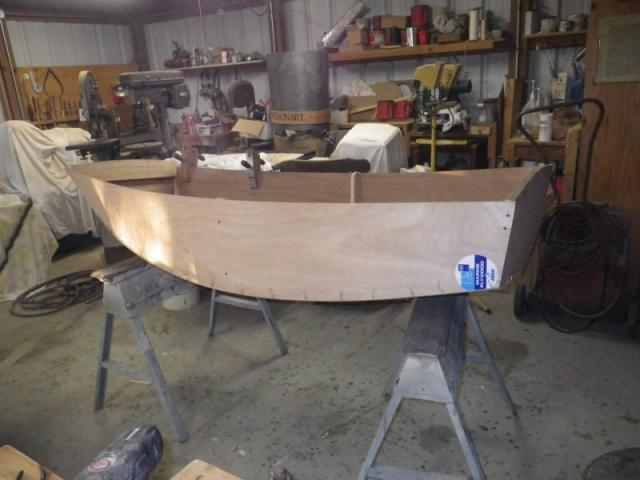
Side view with bottom installed. |
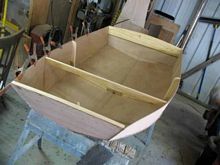 |
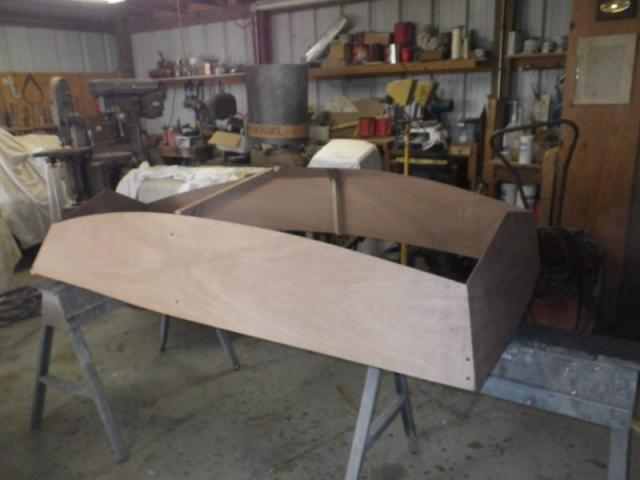
All 3D |
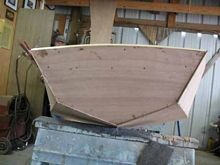 |
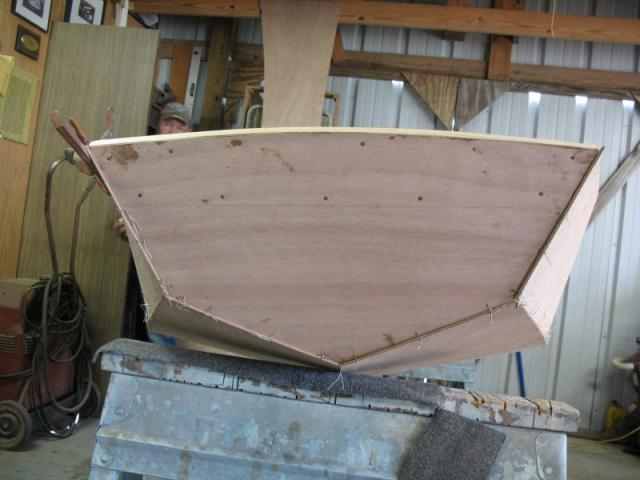
Here's the up front end. Ya gotta be careful now, or you'll look like you were in a cat fight from all the wires. |
Next Time: Filleting and taping; fitting interior parts
|