Part 1 - Part 2 - Part 3 - Part 4 - Part 5
I took a few days off and played. Beach party on Saturday night, and staying aboard a friends boat was a great weekend. But here's a few pics of what has happened lately.
 |
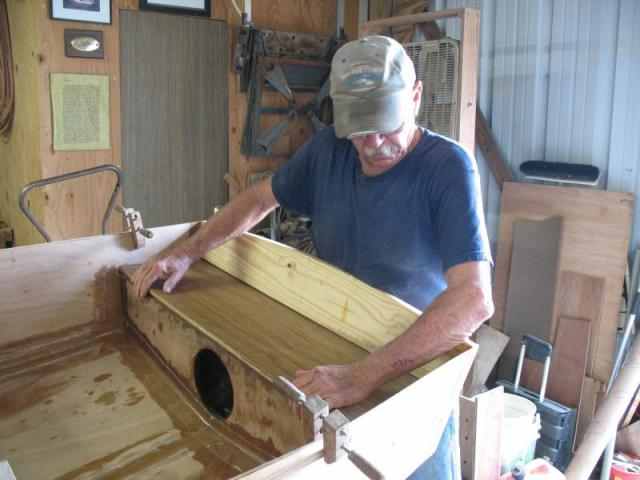
Fitting the stern thwart. |
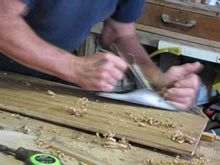 |
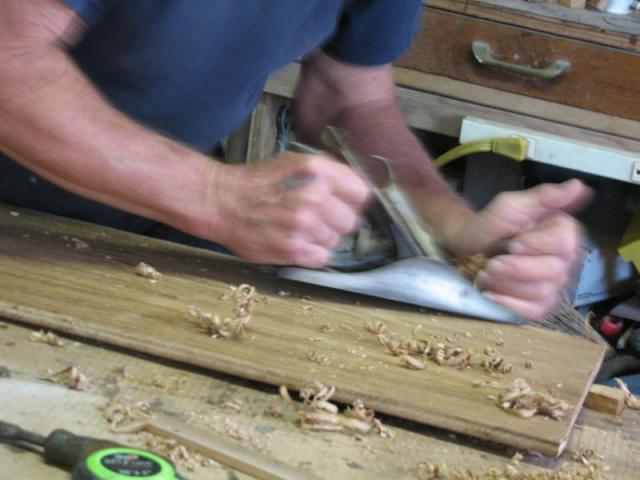
Planing to fit along the rear edge. |
 |
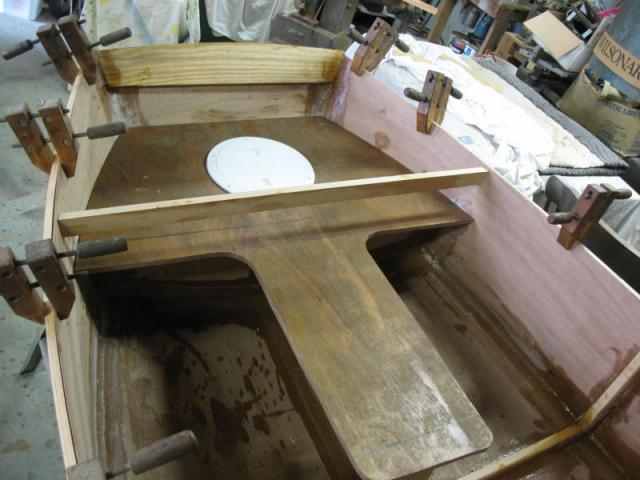
Making the pattern for the forward rowing thwart. This is a modification I made, as it goes all the way forward creating a dry stowage area. |
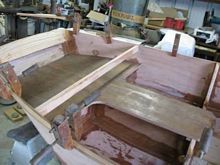 |
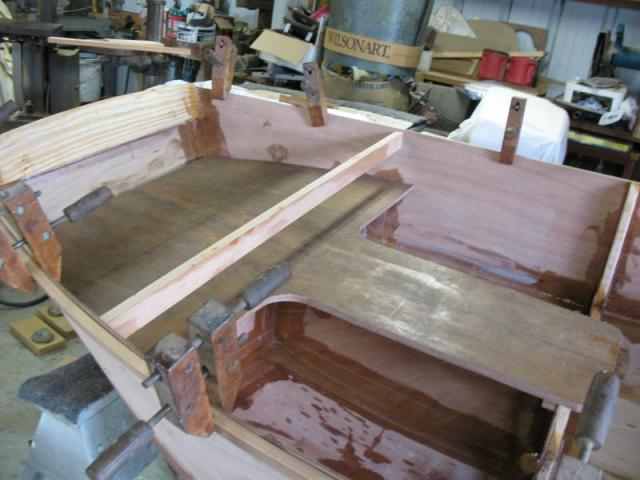
Rough fitting the thwart. Original plans had the seat ending at the heavy black line. I'm building in dry stowage there, and under stern thwart. |
 |
Showing the fit at the forward corner. |
 |
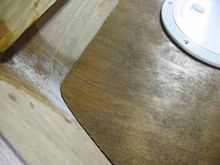
Here's the front thwart in place, with the deck plate laying in it's spot. |
 |
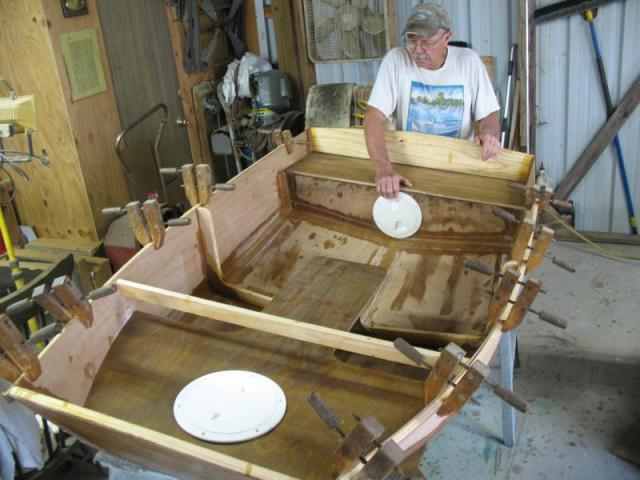
And an overall view of the thwarts. They can't be permanently installed until the keel and bilge runners are installed. |
 |
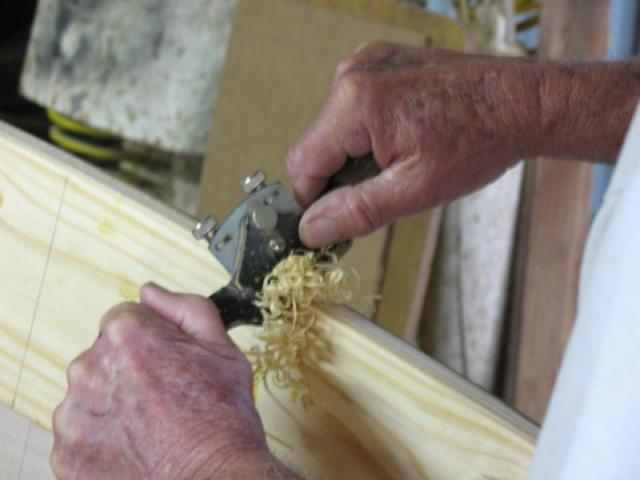
Rounding fore and aft transoms works well with a spoke shave. |
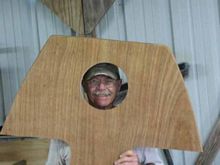 |
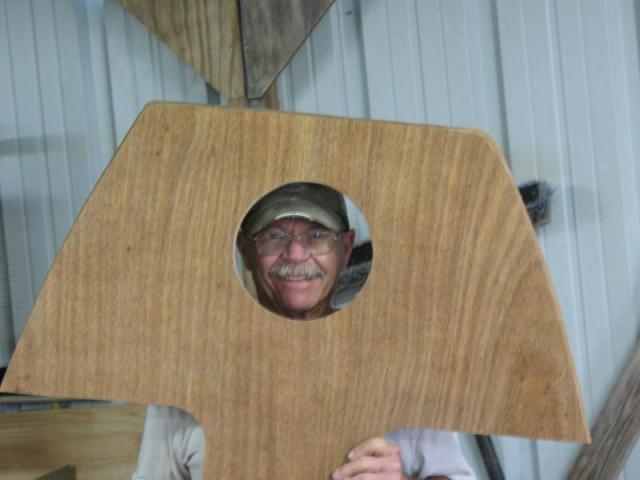
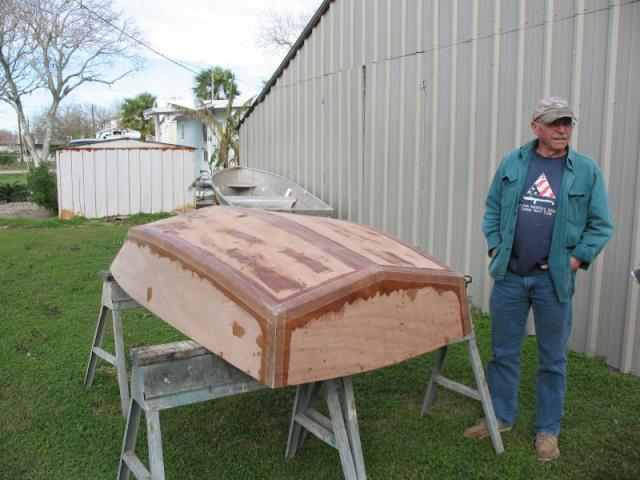
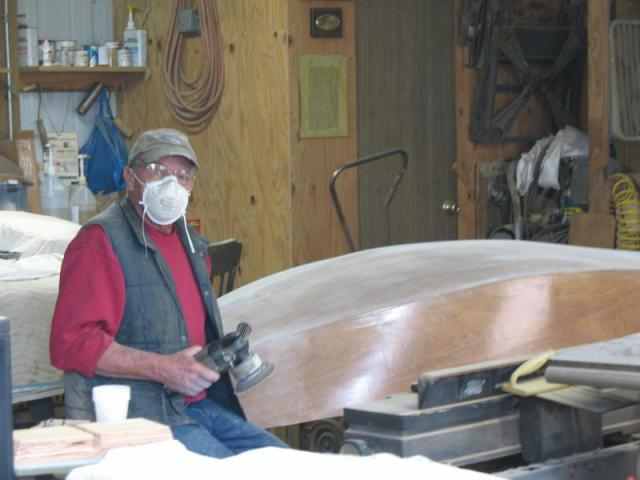
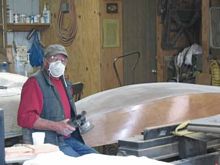
And a final shot of yours truly clowning a bit. |
I had to face the "grind". Grinding glass that is.
 |
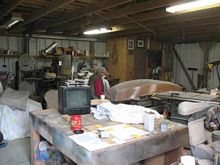
I brought the dinghy outdoors so the fiberglass dust wouldn't foul the shop. |
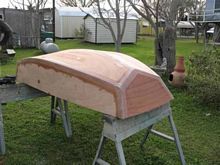 |
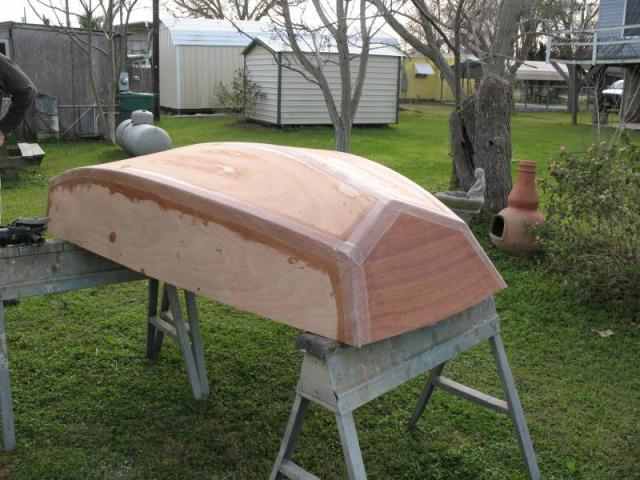
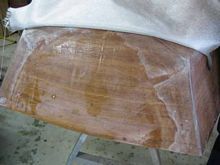
A view from the bow, before grinding. |
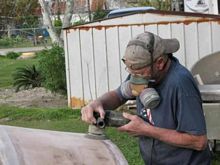 |
After grinding the tape edges, I used a random orbit sander to feather it all. Isn't this what every 72 year old guy does on his birthday? |
 |
And then, after dusting it all off, I went back into the shop while waiting for fiber glass cloth and epoxy resin to arrive. |
Next step - sheathing the exterior with fiberglass cloth.
The dinghy was begun 15 days ago on Weds the 23rd. I was pretty much out of epoxy, and needed the fiberglass too, so it's been a wait kinda time. I did use up the very last of the epoxy to coat the forward thwart.
 |
It needs sanding, but then it will be ready to paint. |
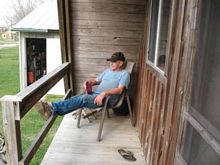 |
So what does a boat builder do while waiting materials? They sit on the deck, in the sun, sipping iced tea, and waiting. |
 |
Materials arrived late yesterday, so today I got cranked up again.
First thing is to check how the glass will fit best. |
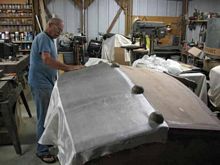 |
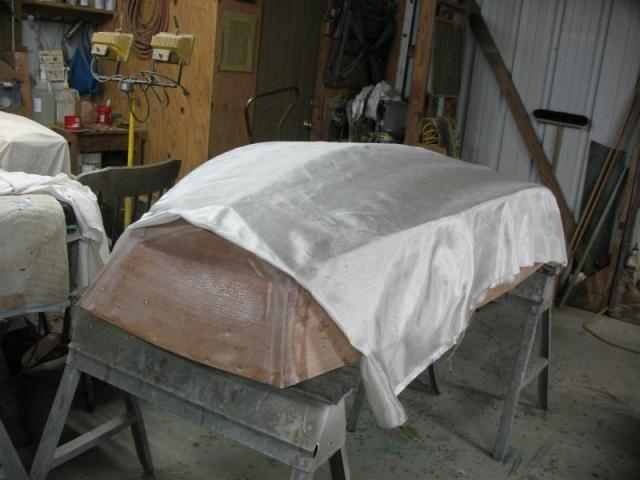
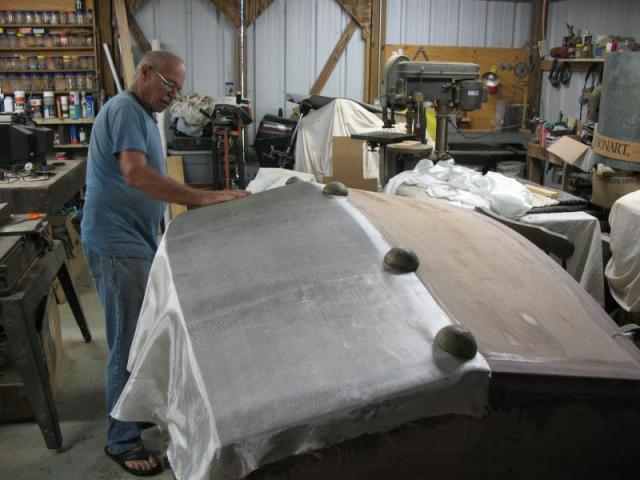
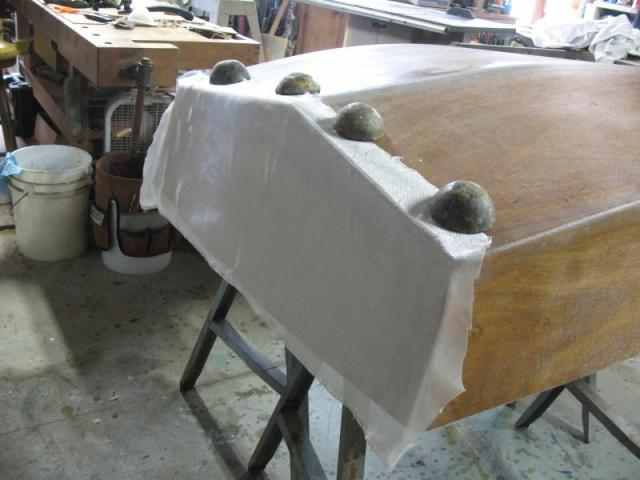
I begin laying it out on one side of the boat. It'll be continuous from keel line to gunnel. The round objects are lead weights I cast long ago to do things like this - keeps the cloth from sliding around. |
 |
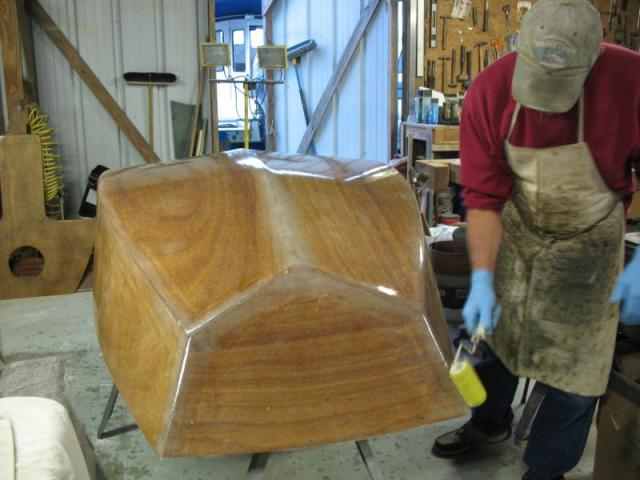
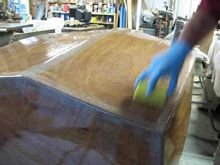
And then you wet it all out with neat epoxy. I almost always use a squeegee, with a brush used around the edges. |
 |
After the first half had hardened a bit, I laid out the glass on the other side, and wet it out. |
 |
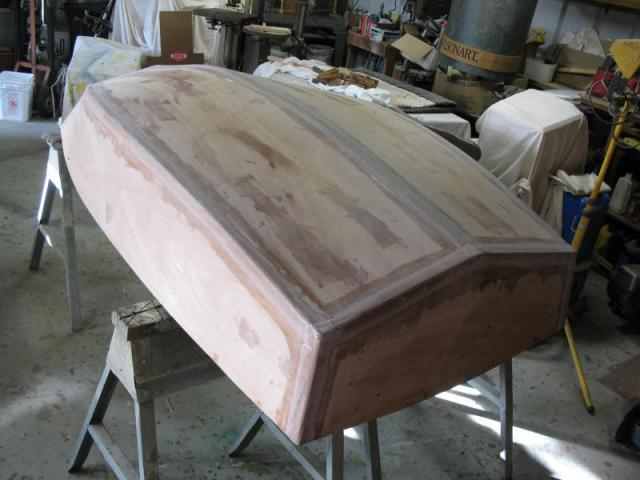
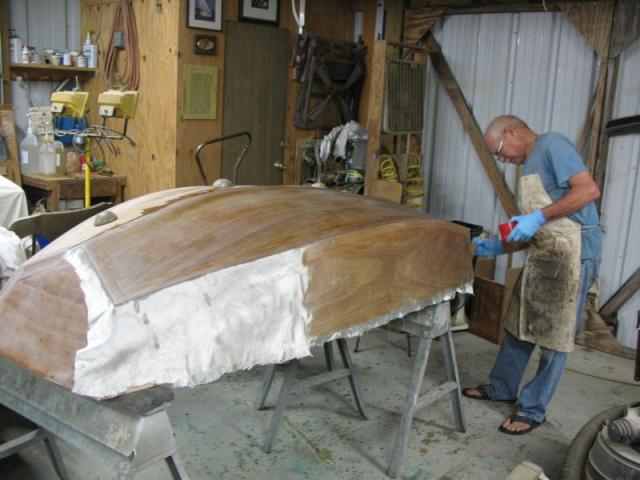
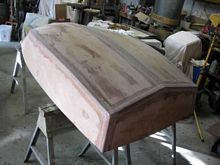
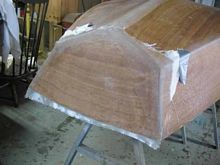
And here it is with hull bottom and sides glassed. Transoms get done tomorrow, after some sanding around the edges - feathering down raw glass edges. |
Next after that is filling the weave, and making the keel and runners and installing those. Then I can finish out the inside.
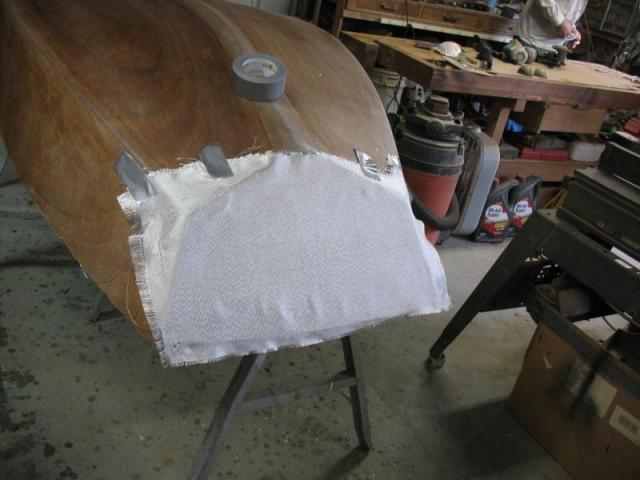
The epoxy was still pretty soft from yesterday, but I did get the bow and stern transoms glassed.
 |
I laid out the glass for the bow, and stern, after feathering the edges of the glass on the bottom and sides. |
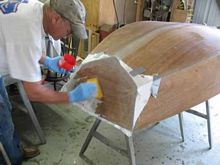 |
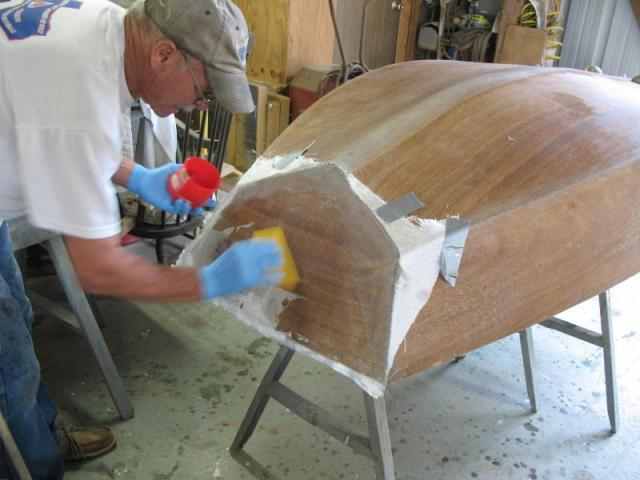
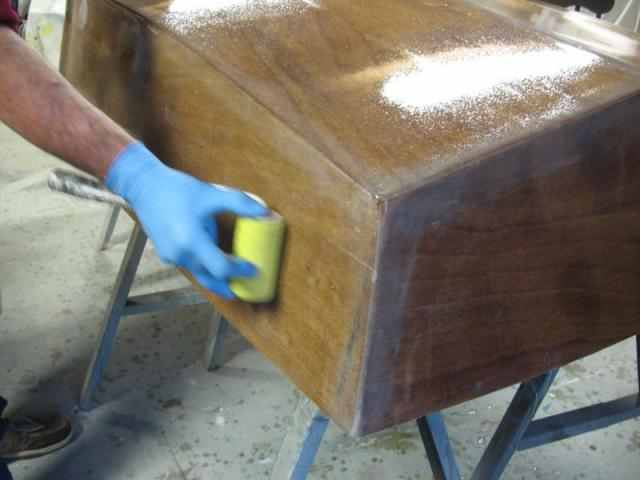
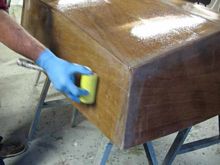
I wet out the glass using the plastic squeegee. |
 |
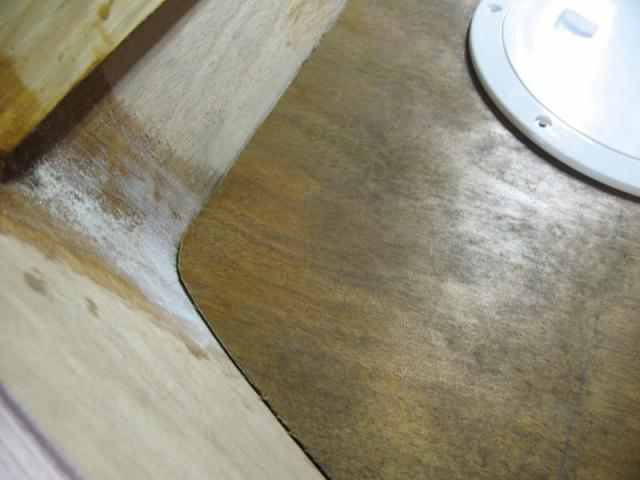
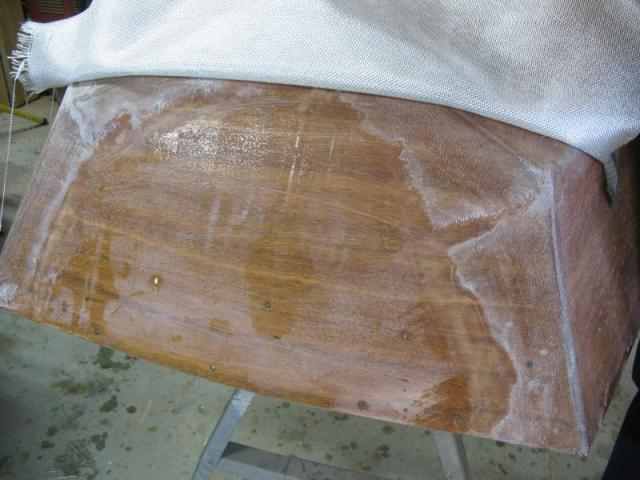
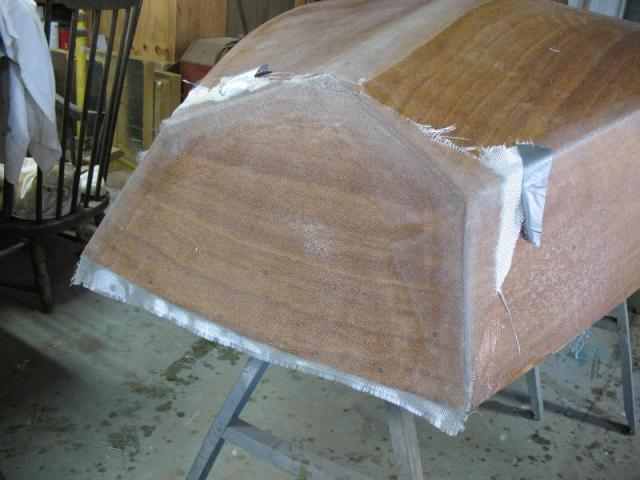
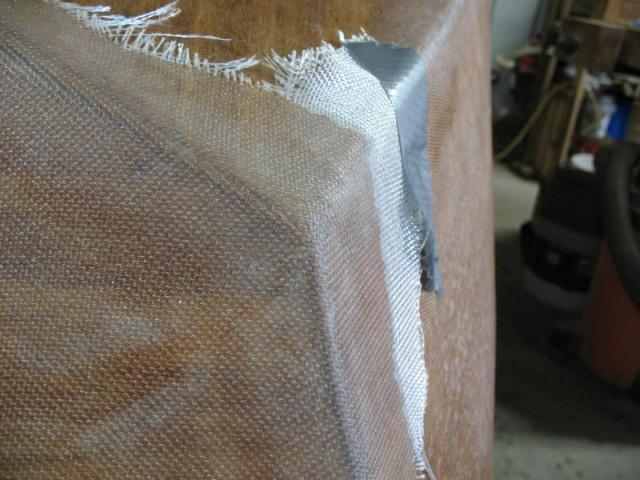
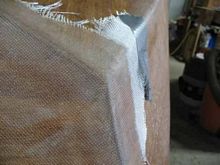
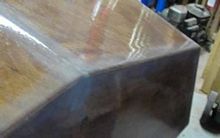
And the finished glassing looks like this. |
See how the glass lays around the corner? That's because in this instance, it's "on the bias" so it will stretch smoothly. It won't always do this, but often will, particularly on a "soft" corner.
 |
If it won't lay nicely, I just do as best I can, then sand it smooth and lay a circle of cloth over the corner, laying it "on the bias". Does the same thing. Inside corners work pretty much the same way. |
Calendar wise, it's been 24 days since the first line was drawn.
The last pic showed the last of the glassing being done. Once that cured, of course it had to be sanded, and filled. Then sanded again.
 |
A sander is probably the MOST used tool in boat building. |
 |
It does get a bit dusty. |
 |
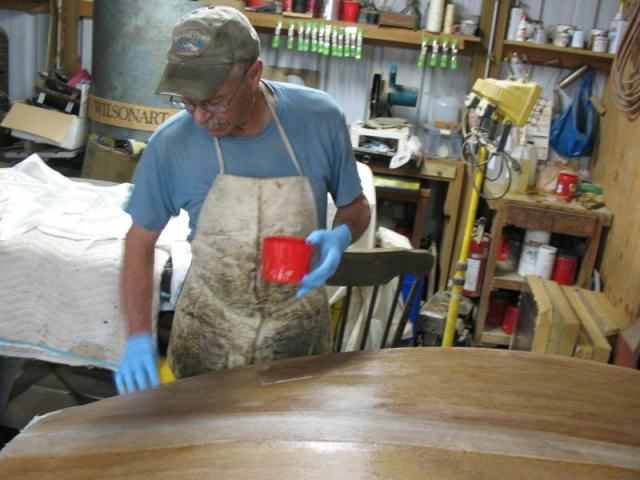
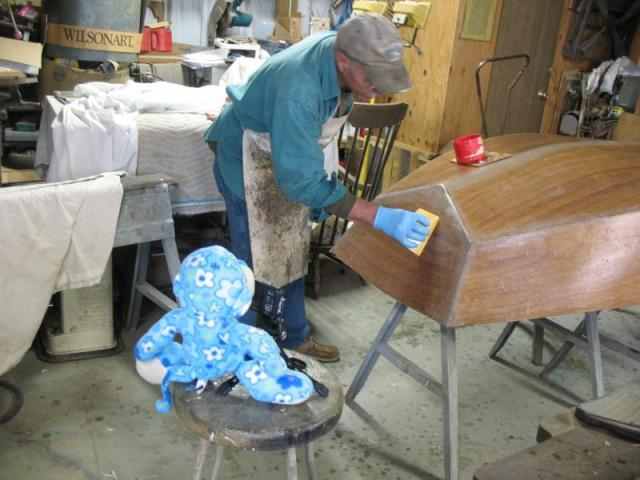
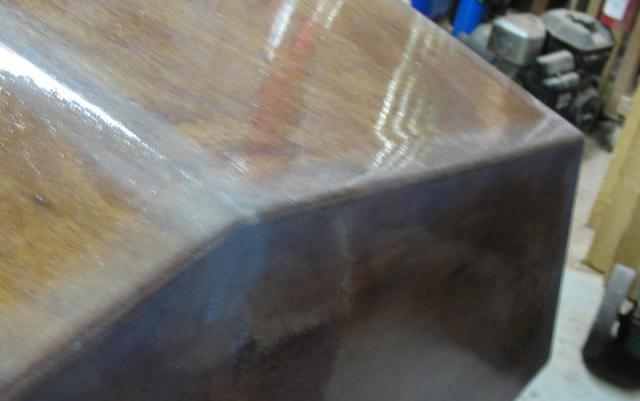
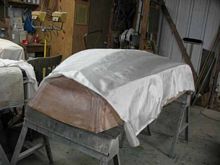
Once all sanded, then it gets a final coat of epoxy, rolled on. |
 |
The bubbles that result get tipped off. The simplest way to tip off epoxy is to just grab the roller, and drag it lightly across the surface. |
 |
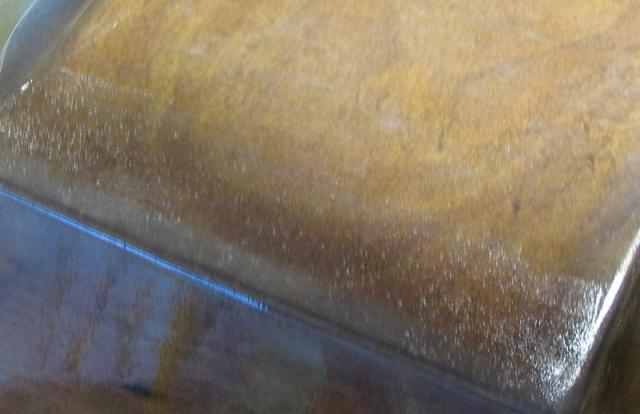
Here's a section I rolled just to show the bubbles. |
 |
That section being tipped off |
 |
A final shot with no bubbles left - makes final sanding a lot easier. |
 |
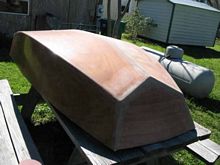
Some of the following will not be in exact order, but were set to show a sequence of events. The rolled on coat of epoxy from the last step took some time curing, since it was pretty cool, so the dinghy got carried outside to bask in the sun for two days.
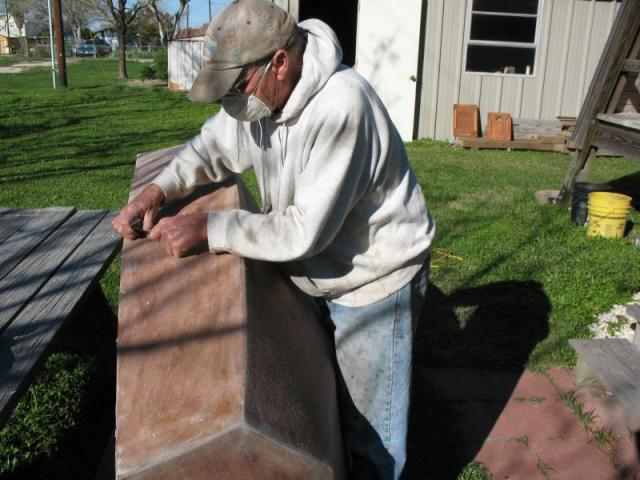
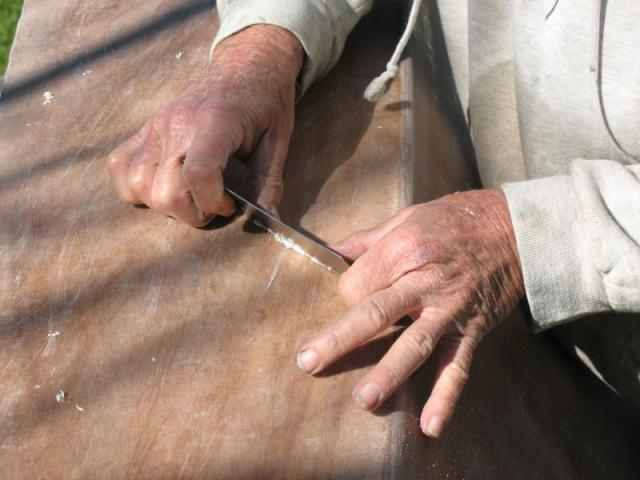
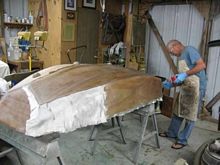
Once it had cured enough to work, if first had high spots taken off with a cabinet scraper. |
 |
Then, of course, the sanding began again. This being the final sanding before painting. |
 |
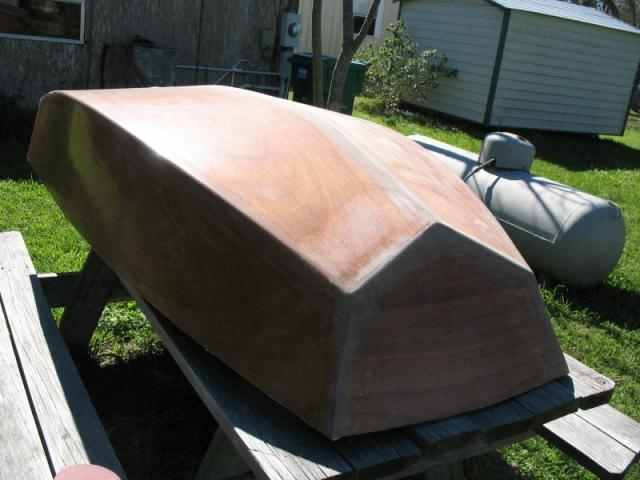
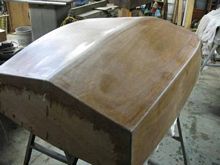
The sanded hull. |
Next Time: Keelson, stringers, breasthooks, seats
|