Part 1 - Part 2 - Part 3 - Part 4 - Part 5
I've been working on this half days, attending to other chores mornings, so this is really 2-1/2 full days.
 |
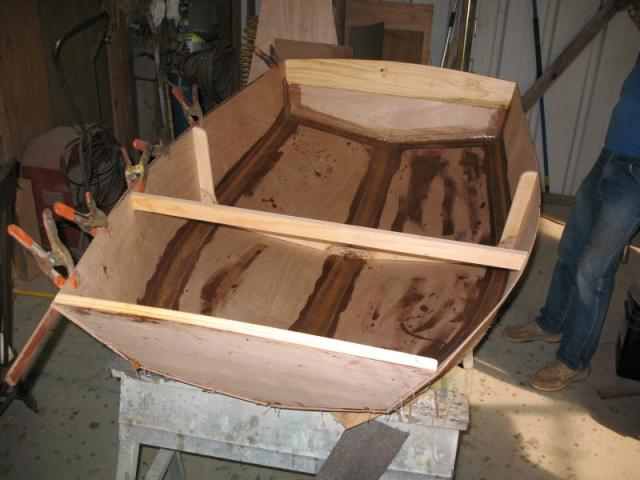
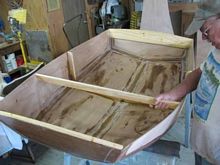
I needed to install a spreader up forward to hold the hull at proper spacing. You then spend a good while tightening wires and leveling the boat so it would not be twisted. I measured diagonals corner to corner, and used a level across at the bow and stern. Here's the spreader going in. |
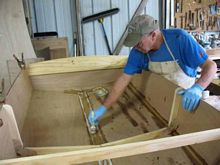 |
Then we get to play with the epoxy. Filleting and taping the interior seams. |
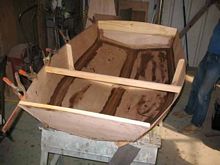 |
And the boat all taped inside. |
 |
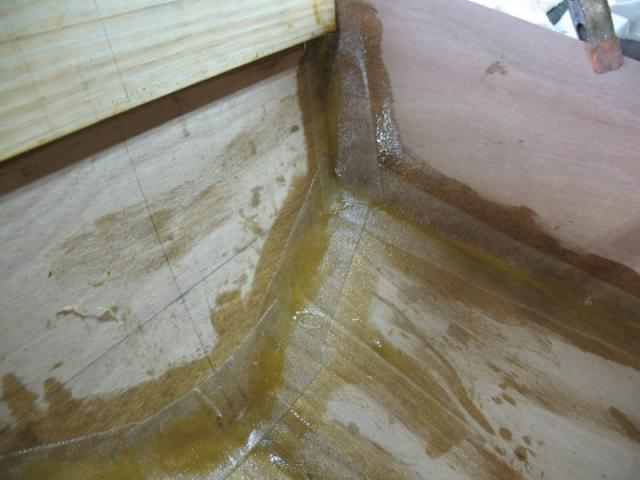
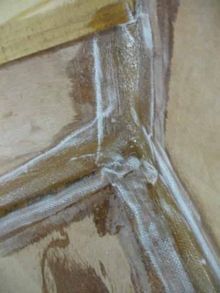
And here's a close up of the tape at the bow. |
Next, the boat gets flipped, all the wires are pulled and the chines get rounded and taped. Probably a short day.
The boat is a 6 foot 6 inch MiniPaw dinghy from B and B Yacht designs. The 7th boat I've built from his designs.
The first chore today was to remove the center frame, apply glue and reinstall. It had been put in dry to allow for possible alignment needs.
 |
The boat was turned over and there were many twisted wires to be removed. |
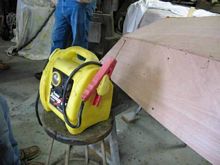 |
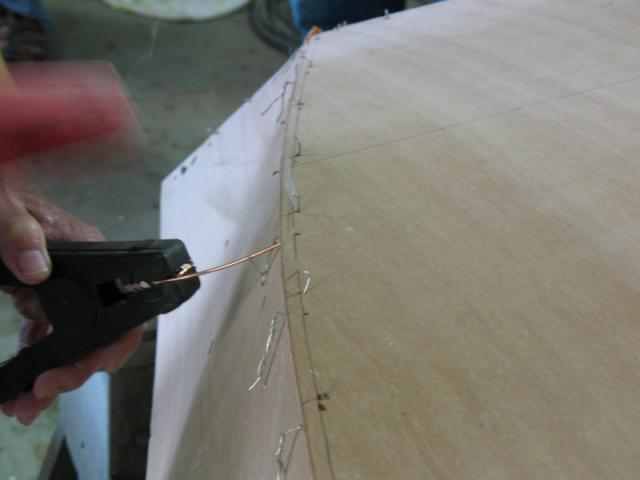
The quickest way I've found to do that is to heat the wires which melts the epoxy around them, allowing them to be easily pulled. I use a Jump-it with some heavy copper wires in the clamps. |
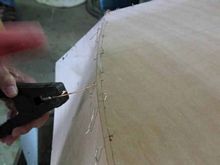 |
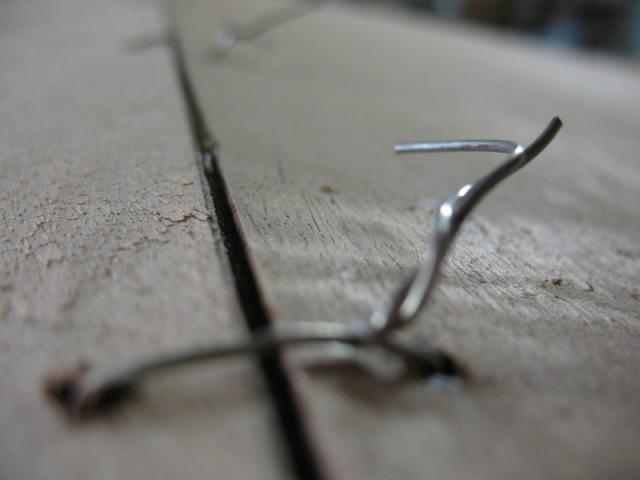
After you clip the wire on one side, then touch one lead to one side. |
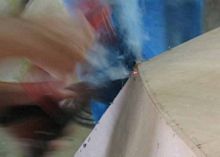 |
And "POP" the other side. All it takes is making a spark. Too long and the wire goes red hot, and scorches the wood. Not a problem if the boat is to be painted.
Catching that tiny spark was NOT easy. |
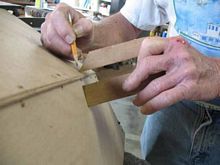 |
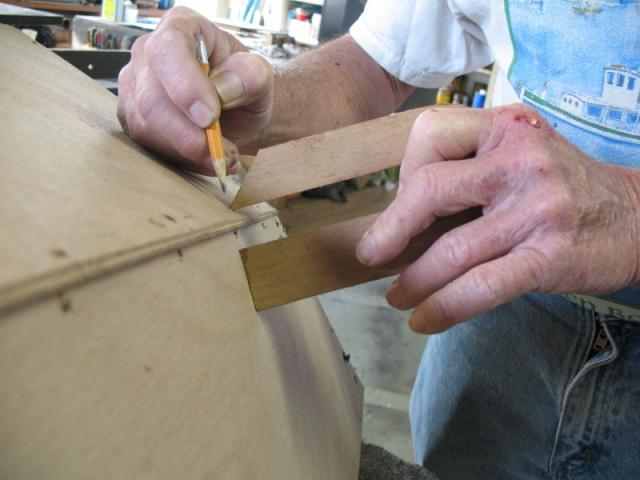
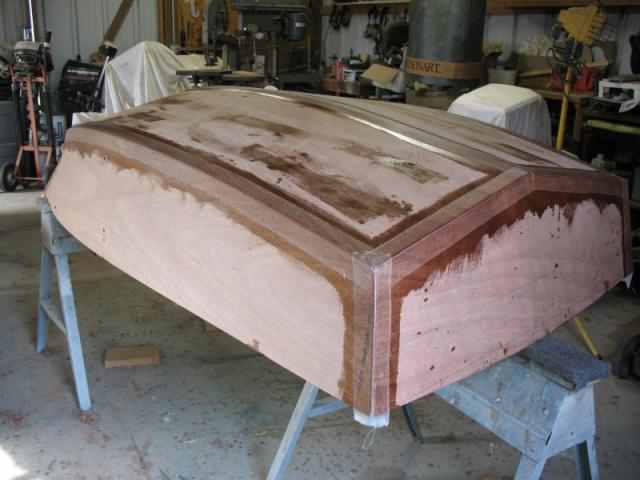
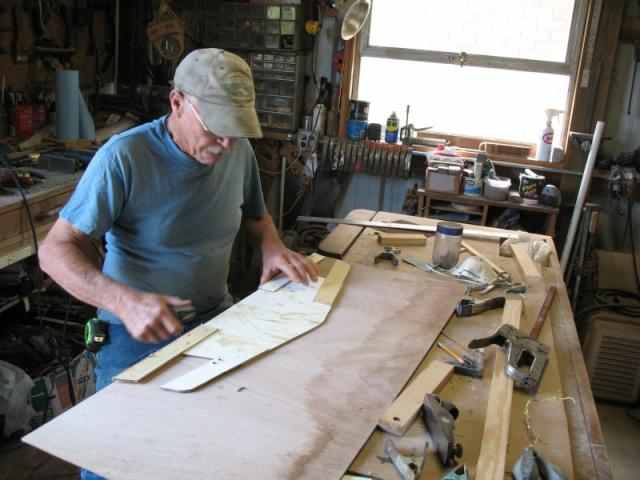
The bottom ply is sized to over hang the sides slightly, which allows for some adjustment. But you need to transfer the location of the side, onto the bottom, so you know where it is. This simple little jig does the trick. |
 |
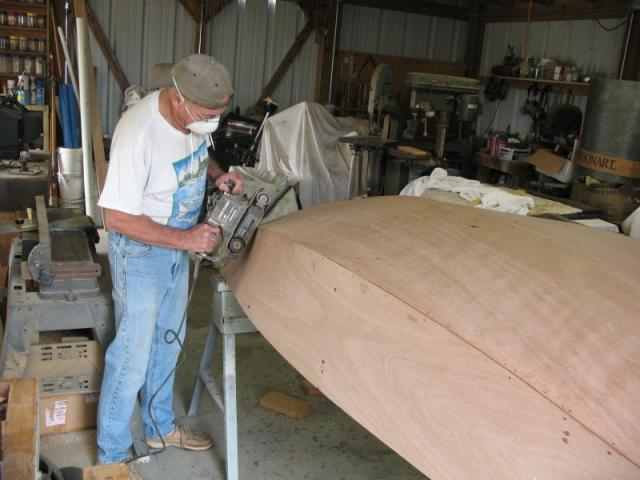
Then you can take down the edge to the side, first by sanding. |
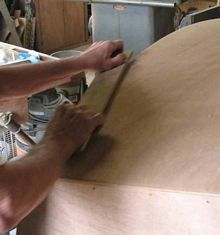 |
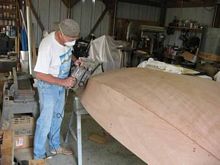
And then using the block planes, and ending up with a long board. We also call that a "Torture Board". This one is sized for an opened out 3 x 21 sanding belt. Takes out any highs down to the lows. |
 |
Then you pre-cut the fiberglass tape, roll it up and lay it out in roughly the orientation. It'll go in, so can be just grabbed as needed. |
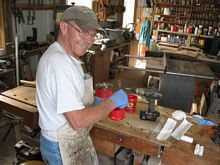 |
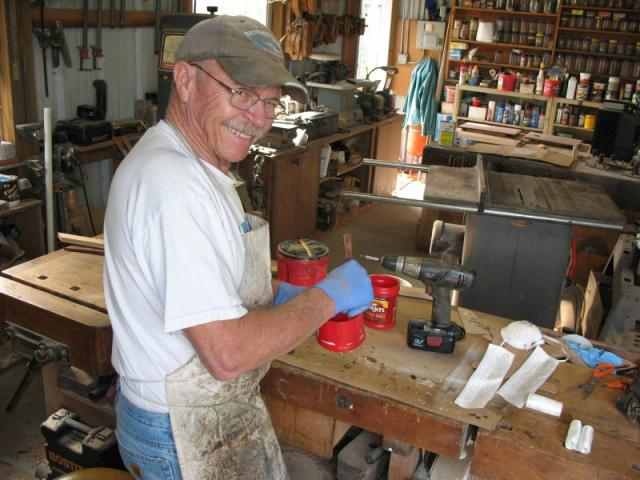
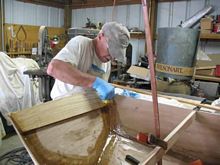
Then we have some more fun, mixing epoxy. Hard part is pretty much over. |
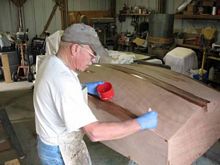 |
Pre-wet the areas that'll be taped. Note the keel was done first so there's no need to lean across wet epoxy. Obvious huh? See the apron? |
 |
And put the tape in place - just enough to get it wet, with no puddles. It should leave a matte look. |
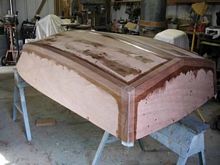 |
And it's all done, waiting to cure. |
...work begins in a bit.
Not a tremendous lot of progress today. Had some company - friends I'd stop working to visit any day.
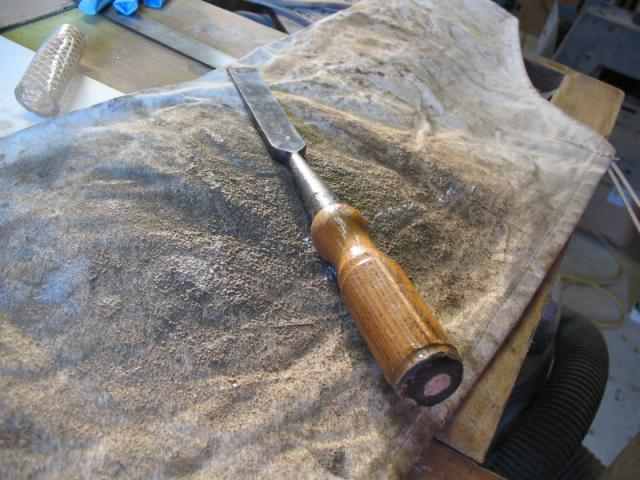
But, the first order of business was to grind the fiberglass tape edges smooth. Nasty, dusty job, so no pictures during the process.
 |
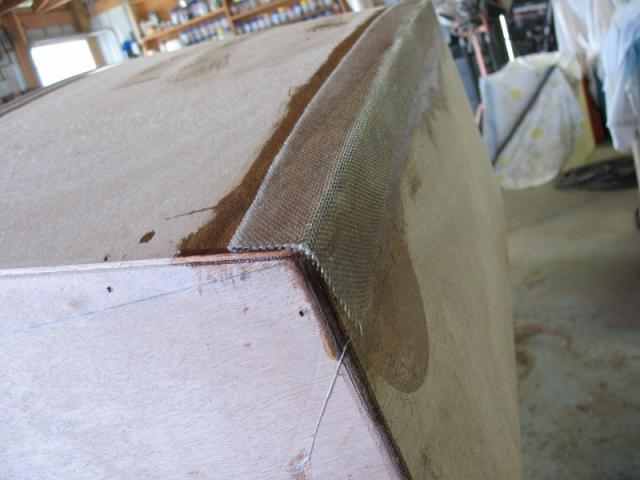
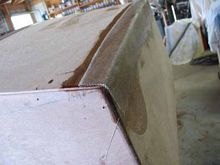
Here's what it looked like after grinding though. |
 |
Here's a closer look. This is in the corner of the stern transom. |
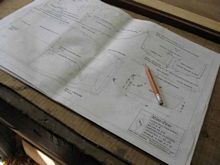 |
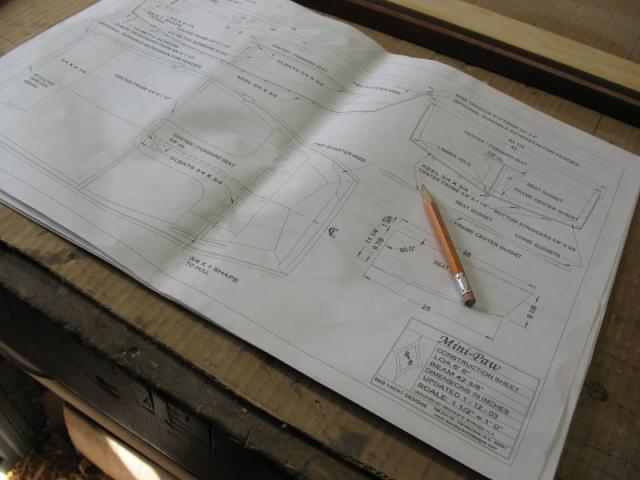
And then back to the plans - next step is getting the parts under the seat set up and fitted. I'm making some minor modifications so this takes a bit longer. |
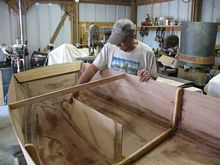 |
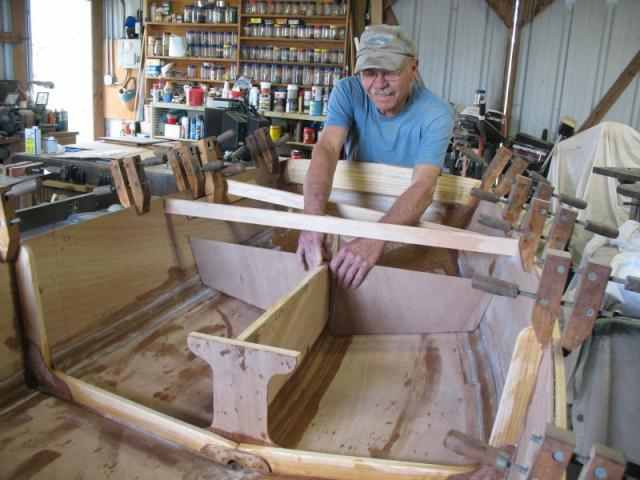
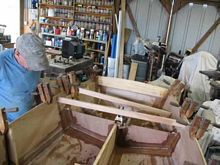
Center line bulkhead, seat support being fitted. |
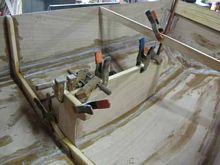 |
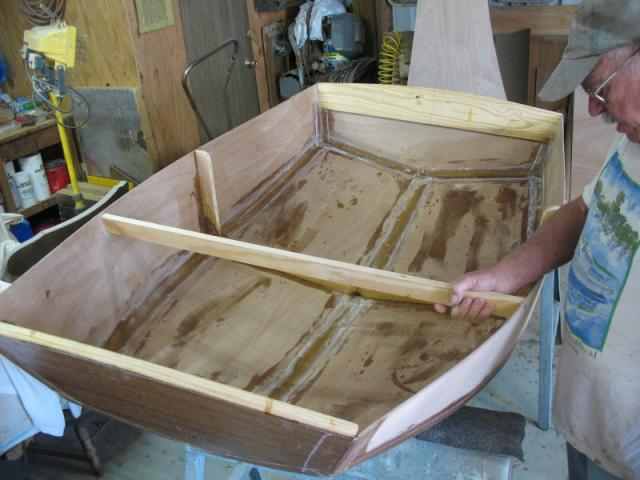
All parts fitted and clamped into place. |
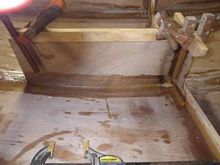 |
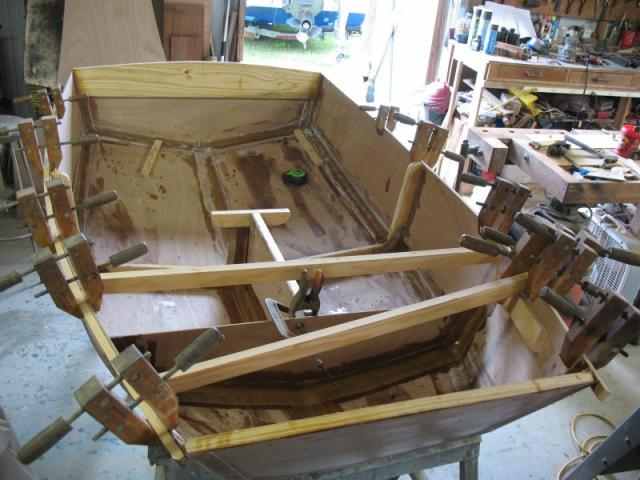
And everything filleted and taped. |
 |
Here I'm using up some excess filleting material on transom corners. I always leave a few small jobs so I can use up excess, or try to anyway. |
The next goal is to finish the framing for under the rowing seat, layout the seats, and glass the bottom of the after section. Hopefully.
and I'm really done counting days.
Really, I didn't make a whole bunch of progress this day. I had some other things to do, and the dinghy work was kinda fiddley. But here ya go:
 |
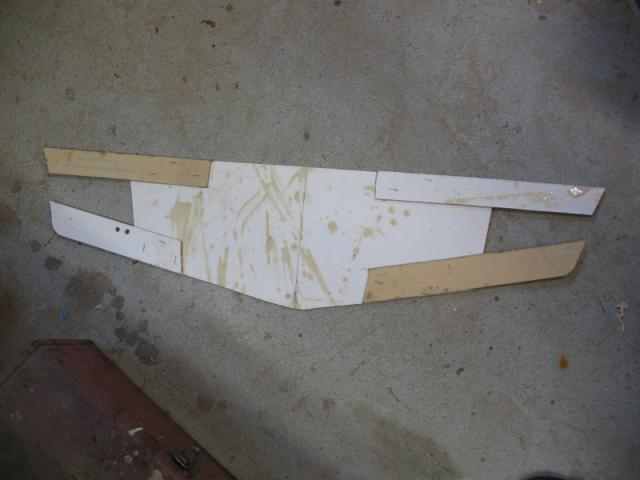
I'm building a storage compartment in bow of dinghy, which isn't on plans, so every thing has to be built "in place". After much measuring, re-leveling, re squaring, etc, a pattern was made from heavy cardboard for the cross ways (thwartships) bulkhead. |
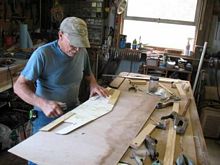 |
The pattern was then transferred to the plywood. |
 |
And cut out and fitted into place. |
 |
Then filleted and taped. |
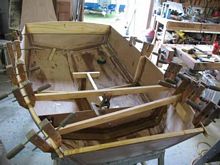 |
Sometimes it takes a LOT of clamps to make sure every thing stays put, where it should, because once the epoxy kicks, it's set in stone so to speak. |
 |
And a final shot, just because it was a neat shot and I liked it. |
I quit early today - this older guy was tired.
Next Time: Fitting seats - glassing exterior
|