Part 1 - Part 2 - Part 3 - Part 4 - Part 5
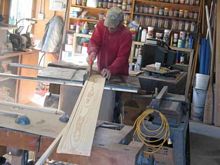 |
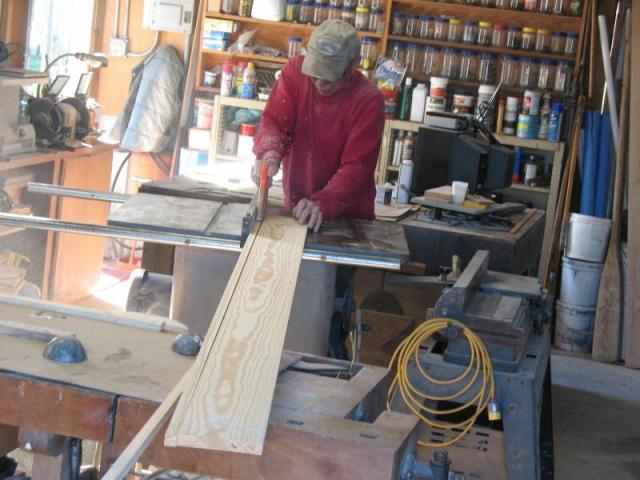
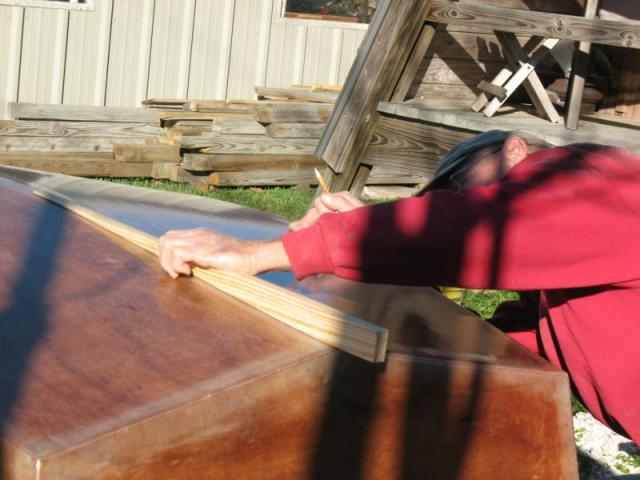
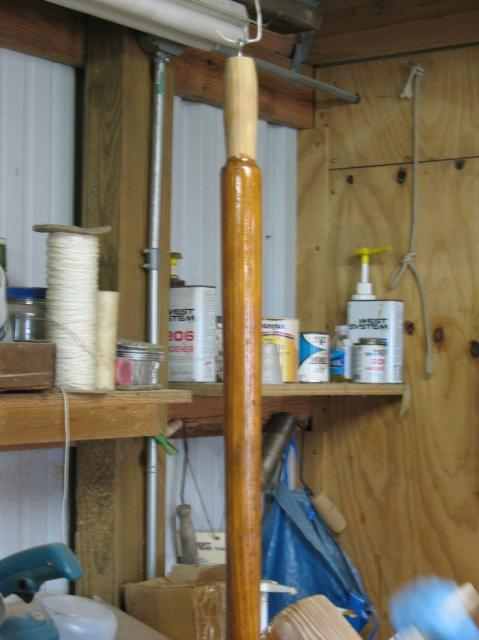
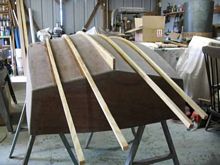
While the dinghy was laying out getting some sun, I started cutting the wood for the keel and bilge runners, 3/4 by 3/4 keel, and four shorter 3/4 square bilge runners to protect that 4 MM ply hull when it gets dragged over rough beaches-and it will. |
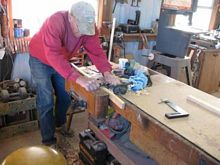 |
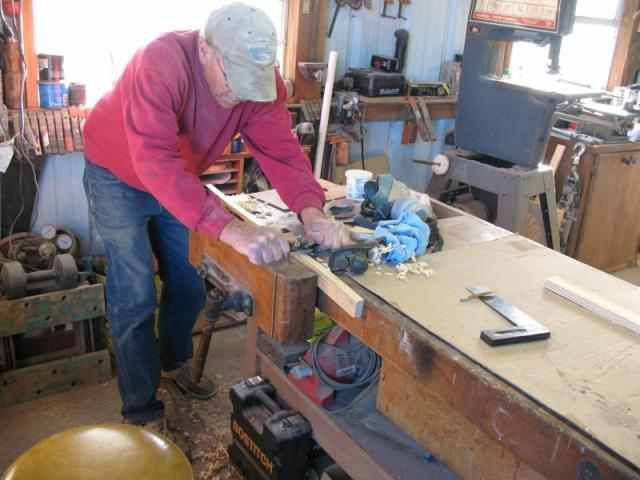
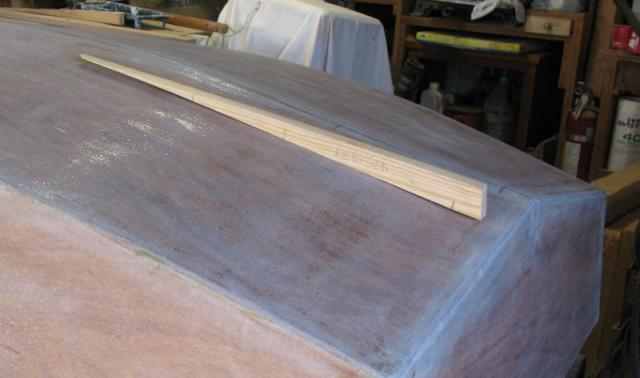
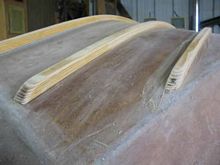
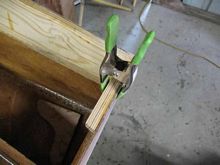
The keelson (or deadwood) gets shaped to the curve of the hull, but wants to be straight on the other side. Best tool for the job, once the curve is roughed out on the band saw, is a spokeshave. |
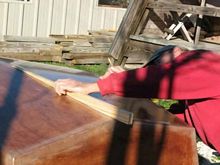 |
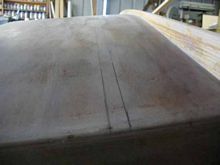
Then the keelson gets it's final fitting to the hull. |
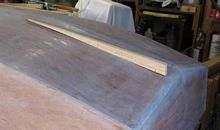 |
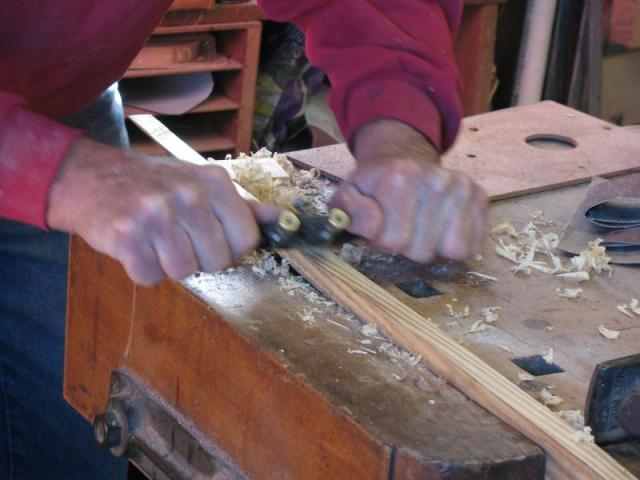
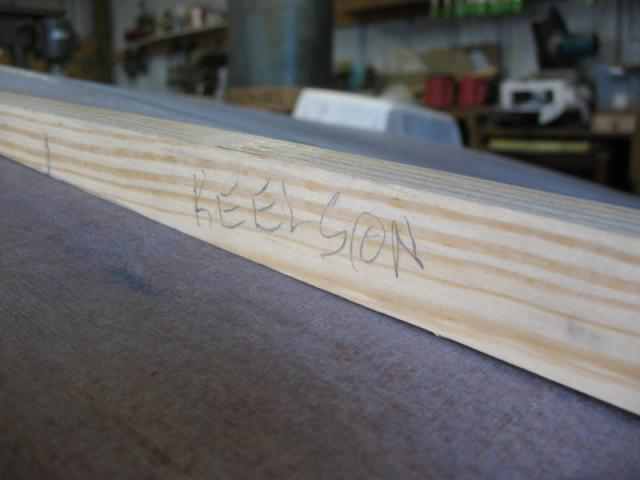
The fitted piece marked for where the fasteners will hit. |
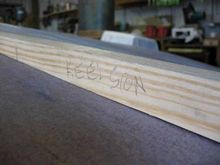 |
Of course, it gets labeled to keep it from being mixed with scrap wood and lost. And yes, that has happened, sadly. |
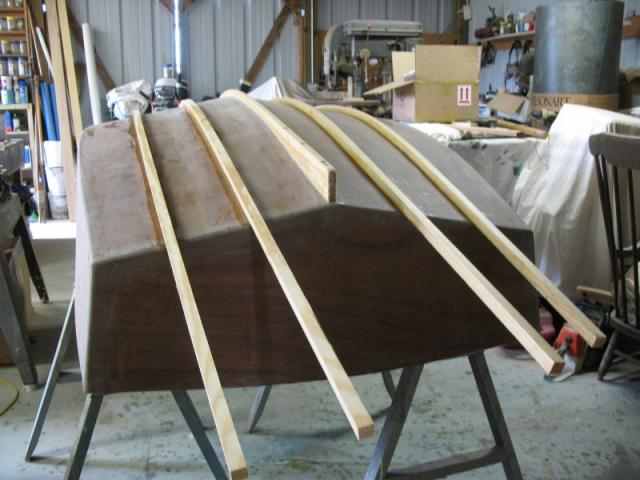
It was Dinghy time again after a break.
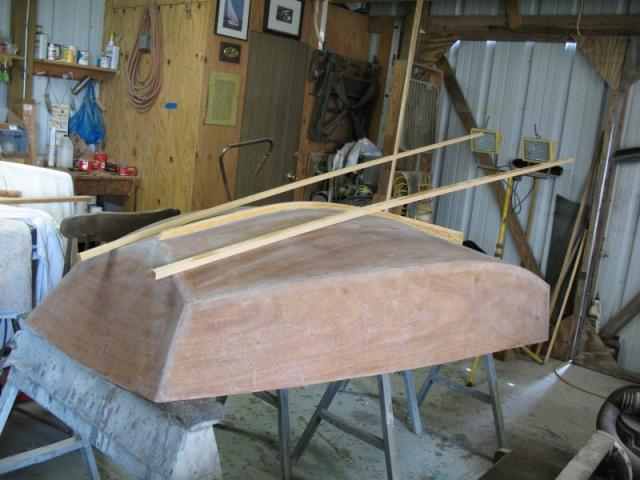
When we left off, the bottom was ready for stringers. These serve a multiple purpose. They stiffen the 4 MM ply and serve to protect the hull bottom from shells or what not when the boat is dragged up onto a beach. Dinghies tend to live a hard life.
This dink gets four stringers running parallel to the keel and skeg.
 |
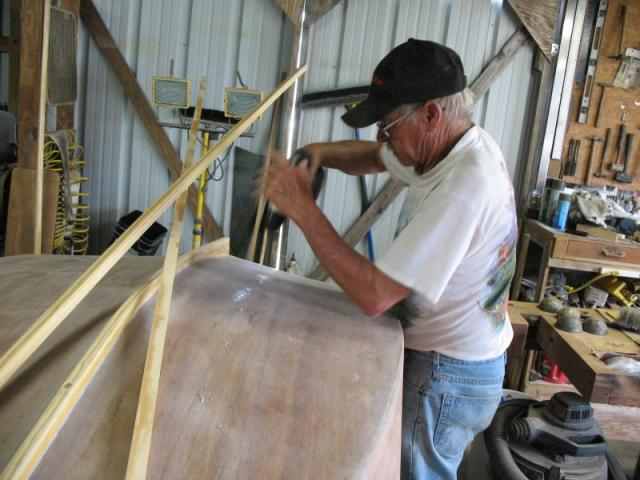
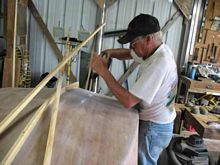
The first two screwed in place at forward end, to hold them there while holes were drilled. |
 |
Marked for where to drill holes. |
 |
Holes being drilled for the screws (to be driven from inside). |
 |
Epoxy being brushed on. |
 |
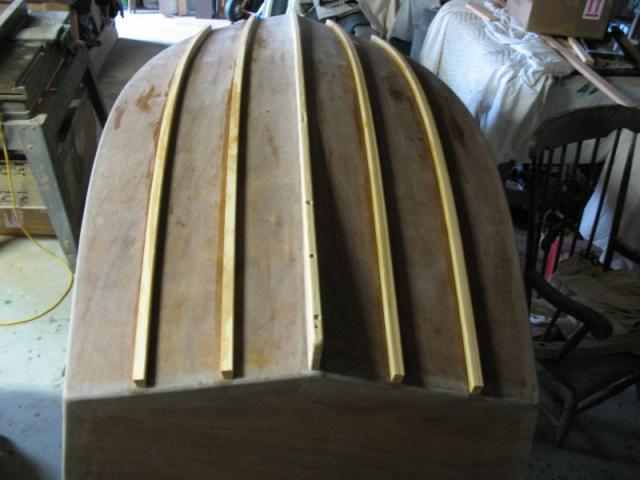
Stringers installed (a bit over long, but that gives you bending leverage). |
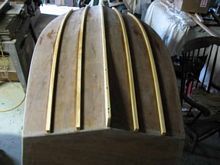 |
And trimmed to the correct length at the stern. |
 |
And the bow. |
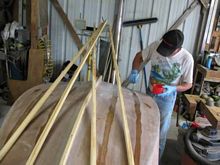
Except for a coat of epoxy on the stringers, the hull bottom is done. And yeah, it takes two people to install the stringers, unless you have REALLY long arms.
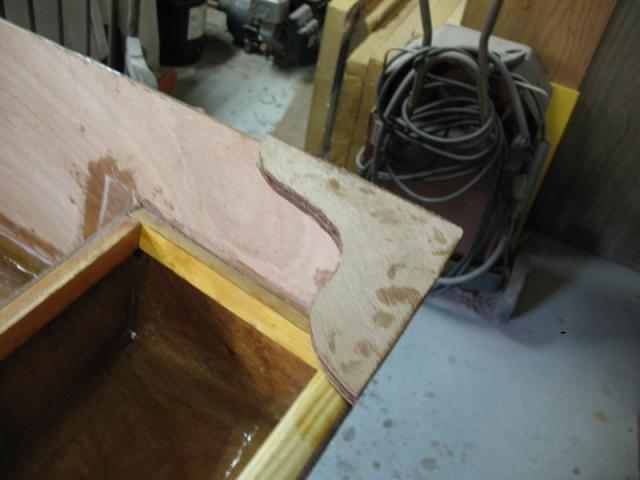
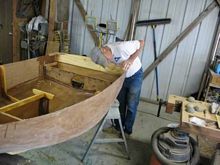
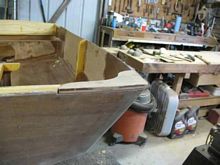
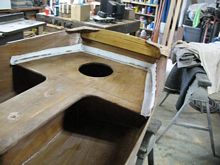
Now the boat is right side up, and the last interior work has begun.
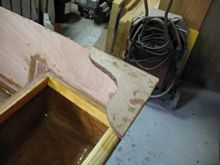 |
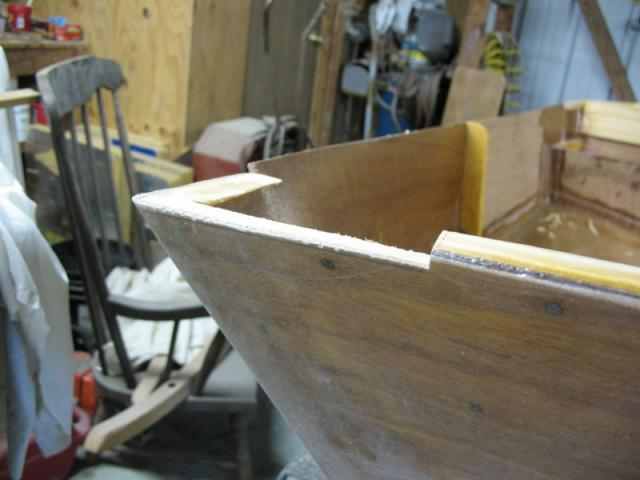
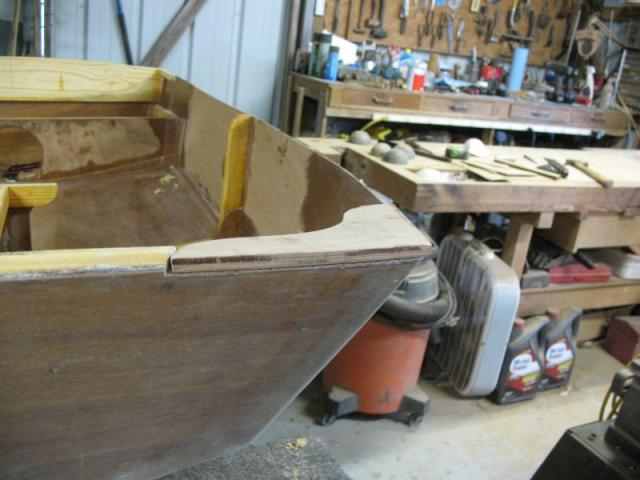
Fitting gussets (or Knees) in the four corners, to keep the boat from spreading. These are made from two layers of 4 MM epoxied together. They'll be inlet into the stern transom and the cleats, flush with the hull edge. |
 |
And cleating for those knees to ride on. |
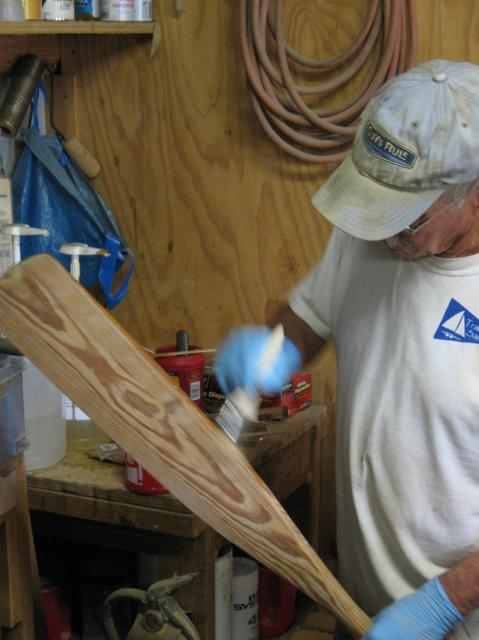
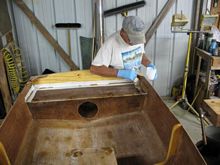
And while that epoxy cures, the oars get some attention. These are a pair I had forgotten about up in the shop rafters. Turns out they are a perfect size. All sanded and epoxy coated. Then they'll be painted white.
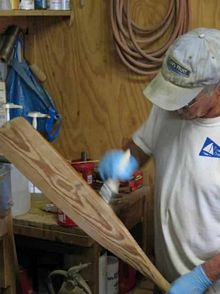 |
Why not varnished? Ever lose an oar at night and try to find it again? Varnished? White is much easier to see. |
The dinghy is getting close to "ready for paint" so hopefully I'll manage a bit of time this week to work on it too. We'll see.
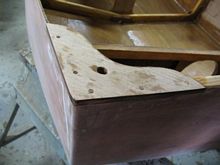
I managed to sneak in an hour today to work on the dinghy. Not a whole lot to report, but did get a couple of knees fitted in the bow.
 |
Checking to see what has to go away at the stern. |
 |
Notched for the knee to sit, bow. |
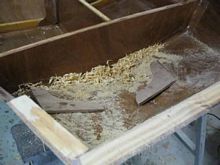 |
Lots of shavings left after fitting. |
 |
And the knee, ready to glue and boat nail. |
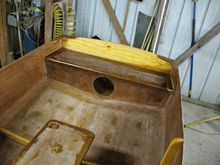
Next is the stern knees and then sand and install seats.
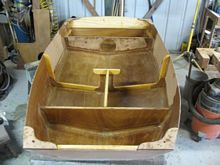
I finally jumped back into it, and it's getting close.
 |
One morning last week I managed to get the knees installed - Bow and stern. |
 |
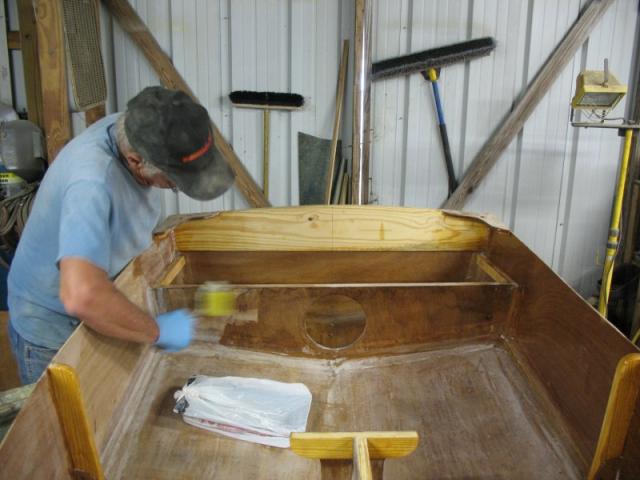
Yesterday I got the final epoxy work done. |
 |
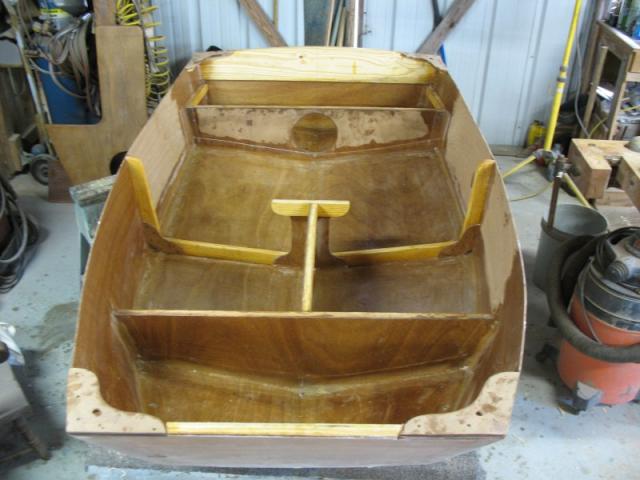
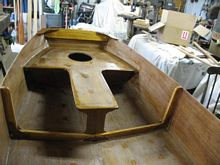
Here it is, ready for the seats (this was actually before the previous pic).
You can see the bow seat in the left background is ready to go. |
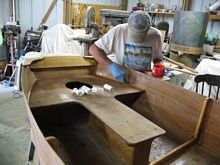 |
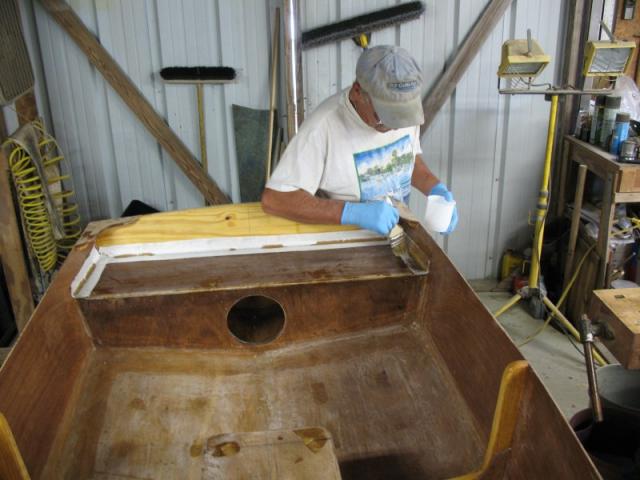
The seat tops getting fillets, ready for fiberglass tape. The holes are where it's screwed and glued to the frames. |
 |
Bow tape laid out, ready for wet out. |
 |
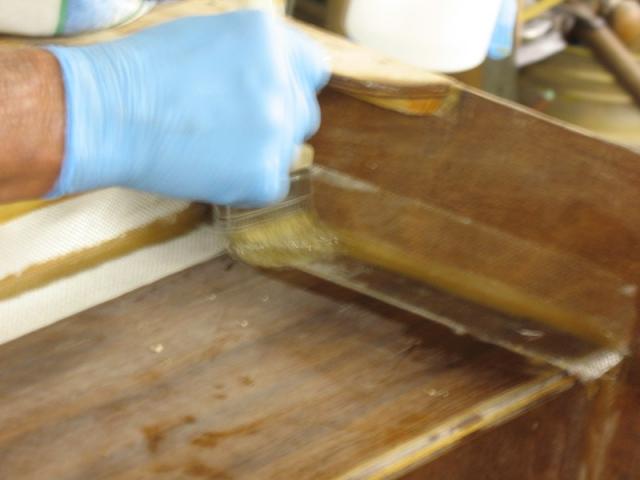
Taping and wetting out stern seat. |
 |
Stern all taped and wet out. |
 |
Bow all taped. |
 |
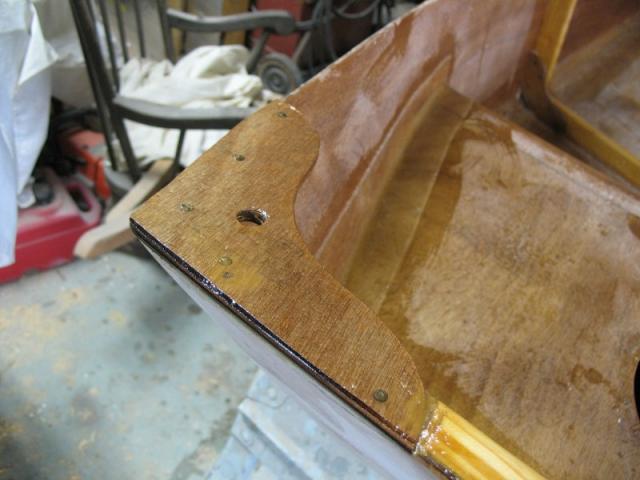
The knees got a final epoxy coating. |
Next, the final sanding inside to feather edge the tape, a final coat of epoxy over the tape edges, sand that, and the boat will be ready for paint.
Next Time: Paint, install gunnels, launch
|