|
Part 1 - Part 2 - Part 3 - Part 4 - Part 5
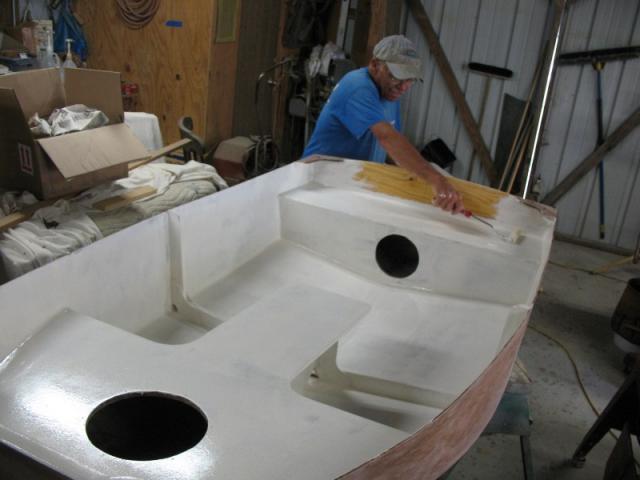
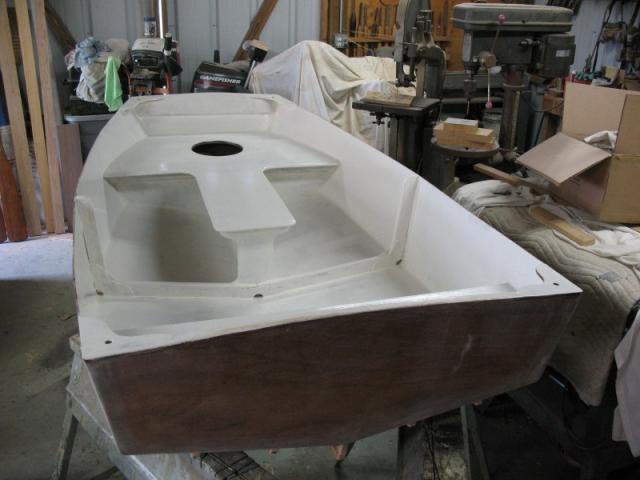
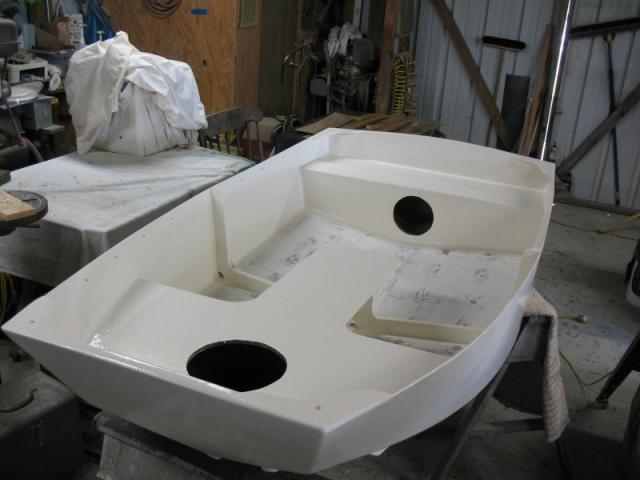
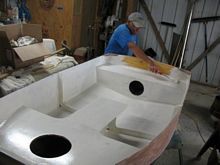
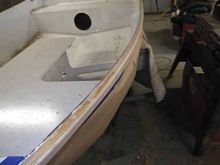
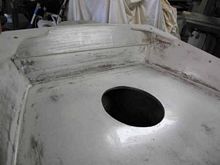
Yes, it's FINALLY painting time.
The paint is some Pettit's EasyPoxy, and is left over (unopened cans) from when I built my trimaran. Probably got the stuff in 1979. I opened the cans, stirred it up (hard work that) and tested it. It dried like a rock, and with good gloss. So it's getting used.
Rolling it onto the stern seat.
 |
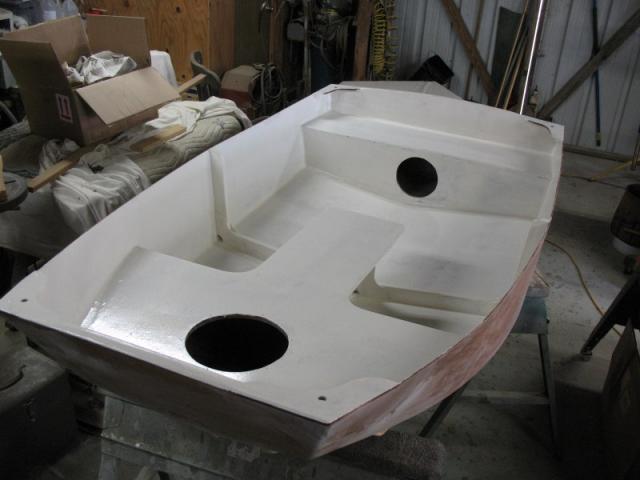
Seats and floor will get painted with Interlux Interdeck as a second coat. All else gets a second coat of EasyPoxy. Hoping to be finished painting by the end of this coming weekend. |
After painting, only adding access covers, rub rails and row locks will be left to do.
Oh, and splash testing of course
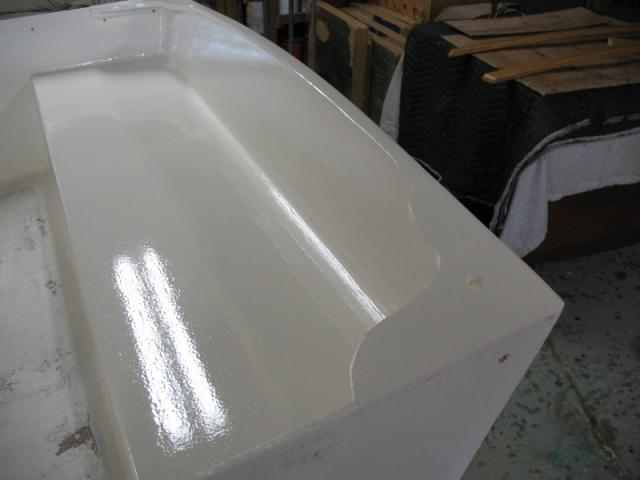
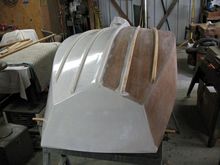
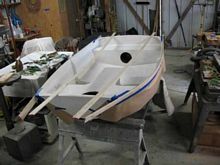
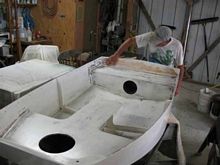
Just a few pics showing the outside being painted. First coat now on, in and out. One more coat and it's rub rail time.
 |
Half done. |
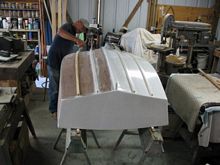 |
Brushing edges of runners. Rest gets rolled. |
 |
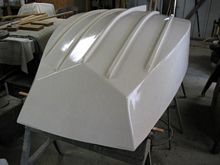
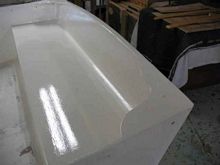
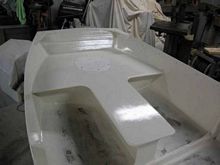
And a white boat. |
 |
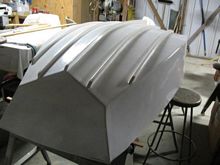
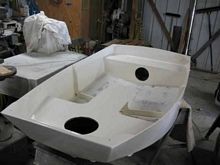
Second and last coat of paint on outside, It doesn't look a lot different, just glossier. |
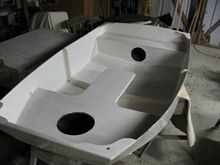 |
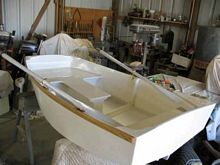
Turned over again, ready for final paint inside, later today. |
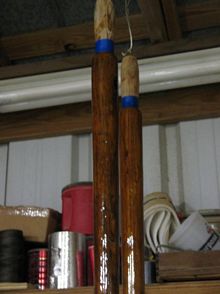 |
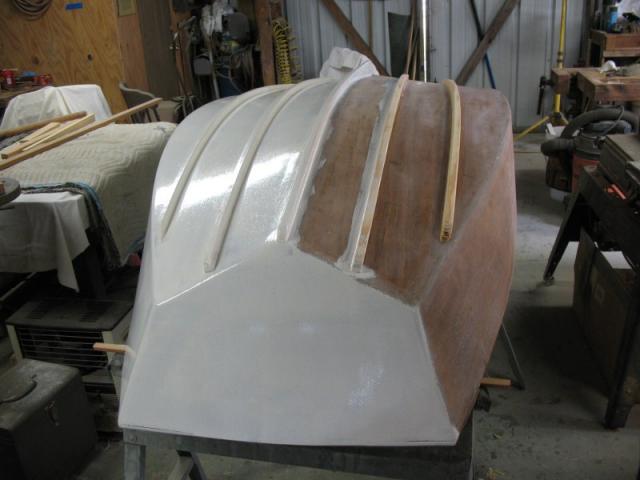
Oars epoxy coated, ready for sanding and painting- |
Getting closer all the time.
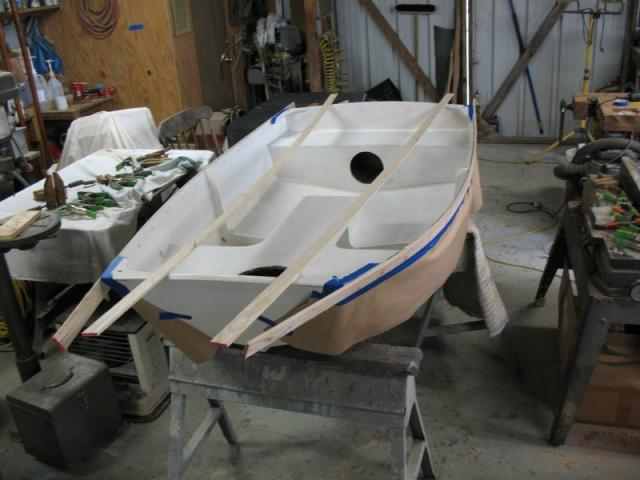
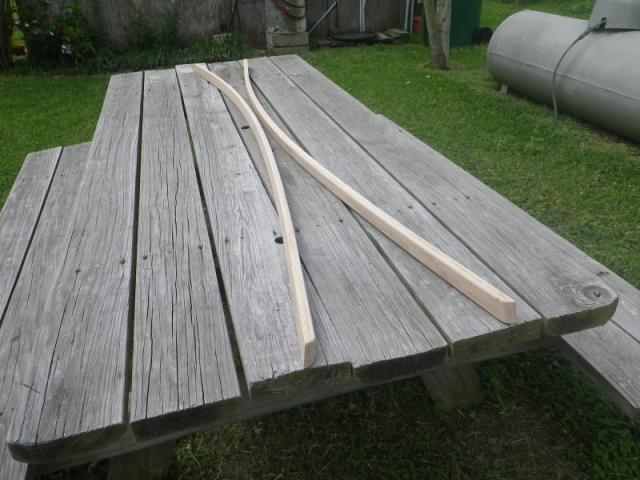
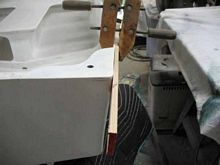
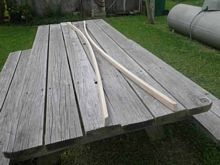
I decided that it made more sense to work on the rub rails, prior to painting the inside, since then I could work on them off the boat, and be free to paint.
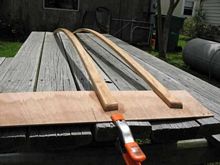
I had an 8 foot piece of fairly clear Ash in the shop, left from another job, so decided Ash rub rails would be really nice. The board was just over 3 inches wide, x 3/4 thick, so gave me a pair of 1-1/2 wide rails. I resawed them to just under 3/8 inch, giving me two layers. I figured those would be much easier to bend around the thin ply hull sides than a 3/4 thick one piece rail.
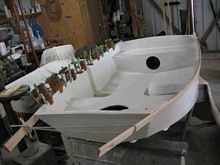 |
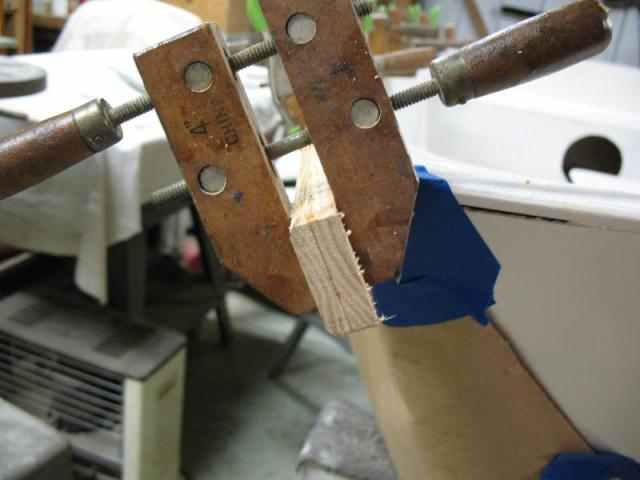
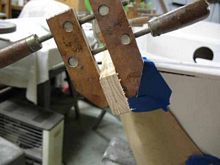
First I screwed the first layer on each side from the inside And using a cut off wheel in a Dremel, cut the screw points flush. No glue used, so this would be removable later. When they are finally installed, the same holes will be used for the final screws. The cut off screws will be discarded. |
 |
Here's a pic of the end of one of them installed. |
 |
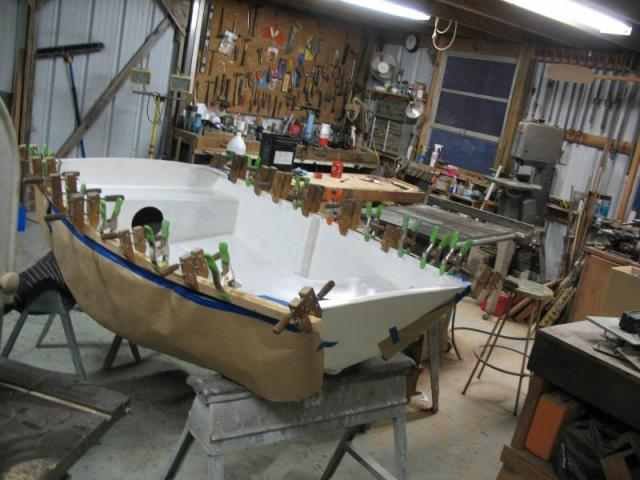
Then laid out the second layer, ready to be clamped in place. |
 |
Fitted it all in place. |
 |
And glued it up. The hull was masked off to prevent epoxy drips on the paint. |
 |
A pic of the ends after gluing, and a rough trim. |
 |
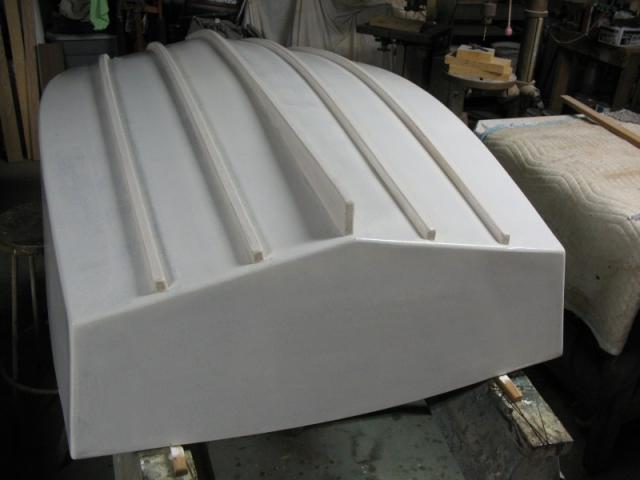
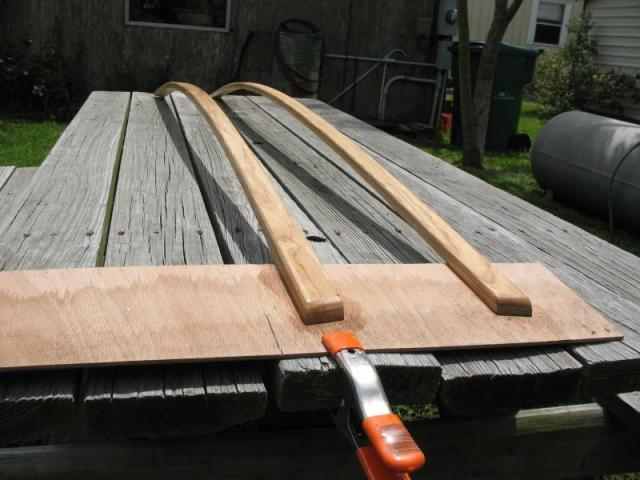
After the epoxy had cured, the clamps were removed and the to edges were planed down level with the hull sides. |
 |
Any of the top round over that had been removed in planing was re-cut. |
 |
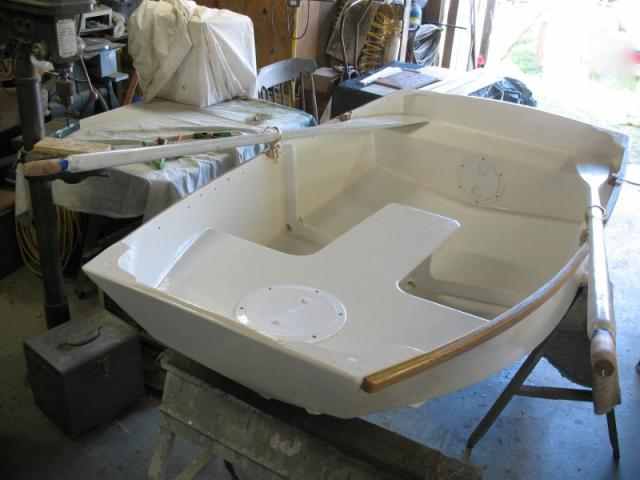
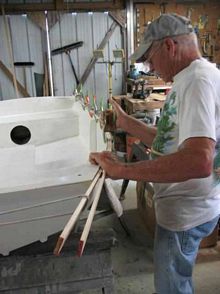
The rails were then unscrewed, sanded, and gotten ready for varnishing. |
 |
Showing the ends after rounding, and sanding. |
 |
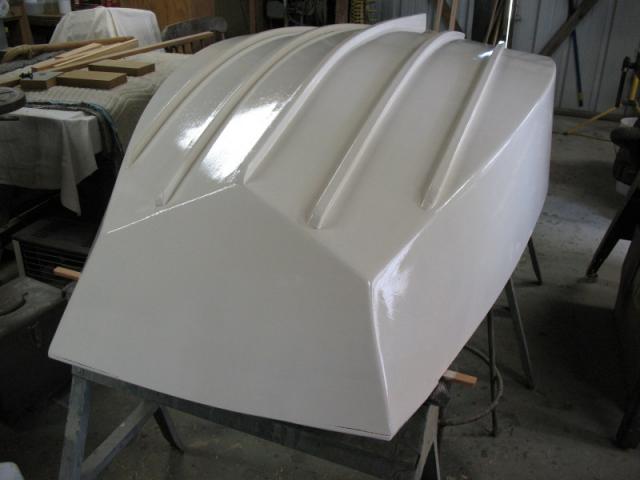
And the first coat of varnish laid on - it will three coats in total. For anyone curious, it's Epifanes. |
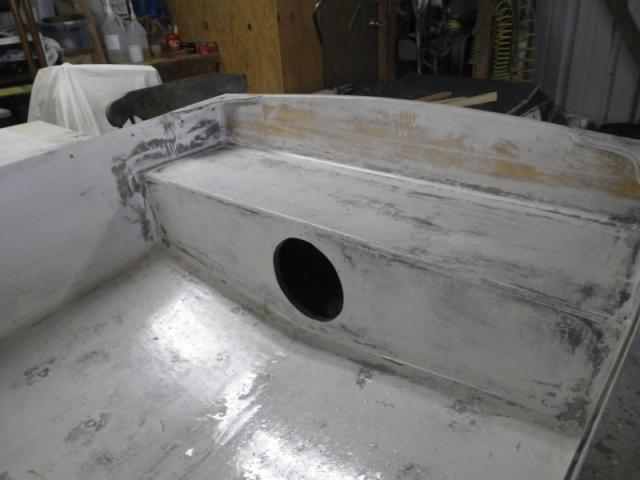
Since I've been showing the good parts of the build, it's only fair you see one of the screw ups.
I had painted the interior with a first coat, back before I painted the hull. I decided to do the rub rails next because the interior still had some soft spots - sticky places, in the paint.
Well, it was kinda bad!
When I feathered the tape edges on the seats, I brushed on a coat of epoxy to cover. Apparently, I didn't give that epoxy long enough to fully cure before I painted, hence, very sticky paint.
Epoxy requires a fairly precise mix ratio of hardener to resin or it doesn't work well. Too little hardener and it doesn't cure. Too much and it stays soft. Even mixed correctly, as this was (I use metered pumps) there is a certain period where the epoxy is releasing free amines. These are the cause of the "Amine Blush" which is easily handled by a simple plain water wash. In this case though, the epoxy had just not completed it's cure, most likely due to the cooler weather we've had here, and the coat of paint blocked the finishing of the cure.
I washed off the sticky paint with mineral spirits, and after several days, the epoxy is hard cured, and my test patches of paint are also not sticky.
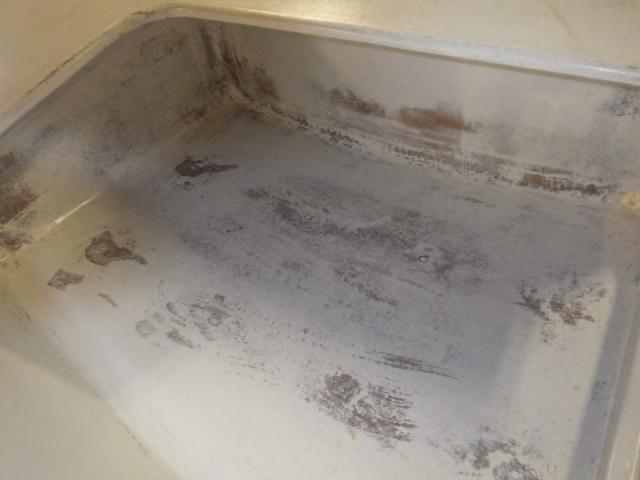
But here's what the wash down left. As you can see, the paint is gone from where the fiberglass tape is around the seat edges, and also from spots where I just used up the remainder, covering screw heads, etc.
 |
In the bow |
 |
In the stern |
 |
and the old man contemplating the goof. |
After allowing the epoxy to finish curing for several days, I repainted the interior, and today laid on the second and final coat. The hull bottom will get non skid tomorrow. It has to be taped off and I wanted to wait an extra day for the interior paint to dry.
 |
Over all view |
 |
Stern seat |
 |
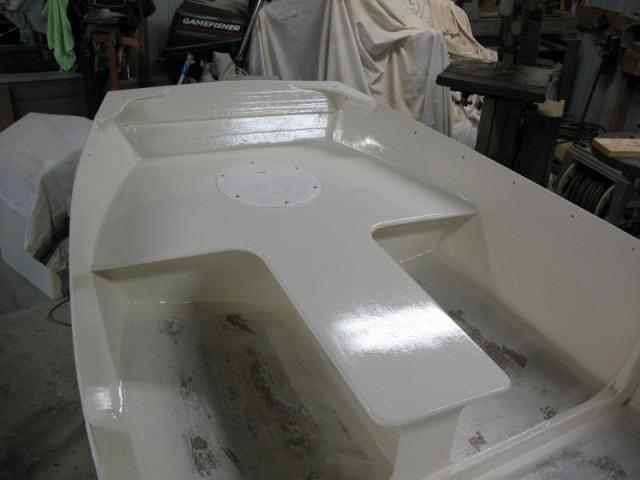
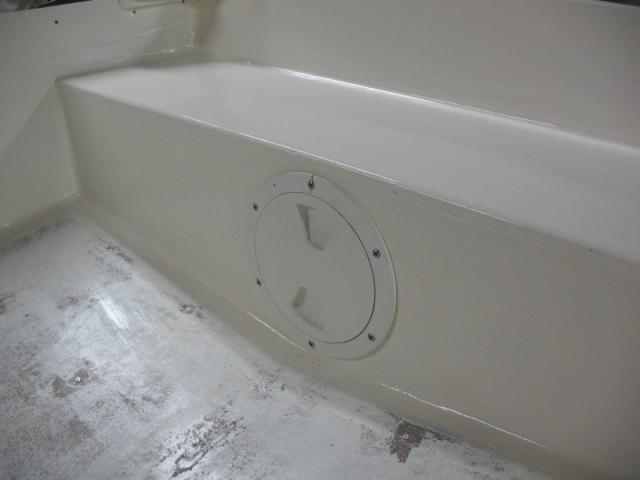
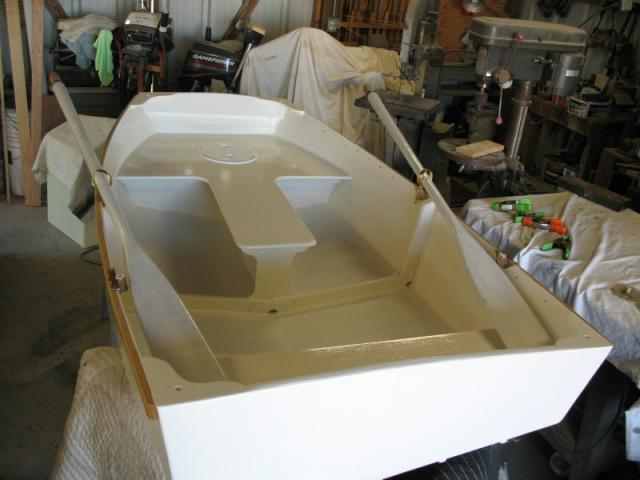
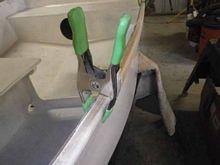
After it cured over today, I installed the deck plates in the bow |
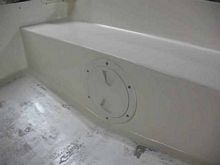 |
and stern |
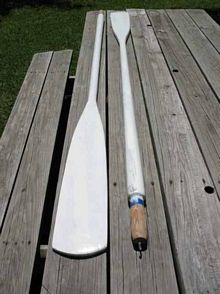 |
and got a coat of paint on the oars |
Next, second coat on the oars, install rub rails and row locks, and paint inside hull with non skid.
 |
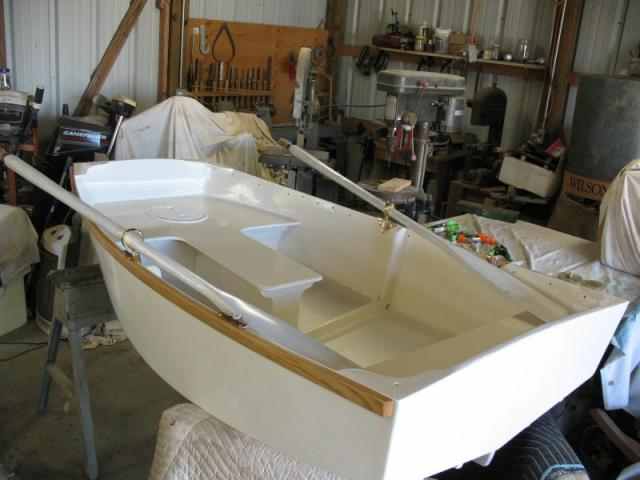
Non skid done, rub rails on, oar locks installed (Bronze). Weather permitting, she gets wet tomorrow. I still need a towing eye up front, and the oars need one more coat of paint, but that can come next week. |
I hope everyone enjoyed this pictorial of the build.
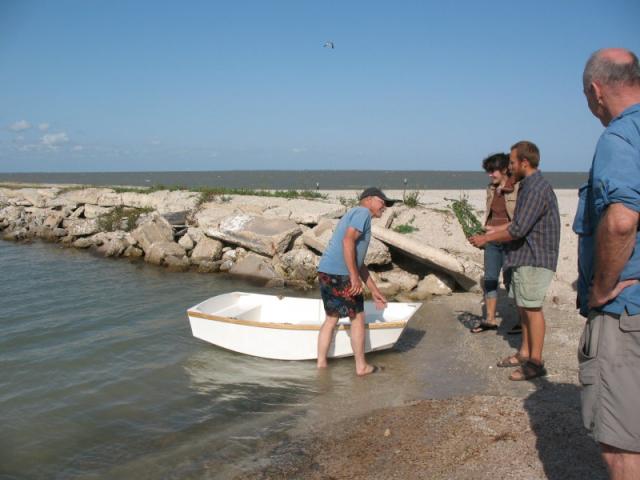
Despite the fact it was blowing over 20, and our beach was a lee shore, we found some calm water between the rock groins of the local launch ramp and splashed the dinghy.
I have videos of rowing in some heavier stuff, and a floatation test, as soon as I figure how to upload to UTube and post them, I will. I'm totally satisfied with my mods, as I shoved the boat down as hard as I could, until it refused to go further. Then got aboard with water up to the seats, and it floated with the rails out.
Some of the crew who assisted below. James and Rachel of the Peanut Butter Diet, who presented Invention with a palm frond dream catcher, Matt (JMF on the chats) and a few others were present.
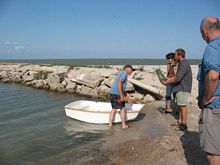 |
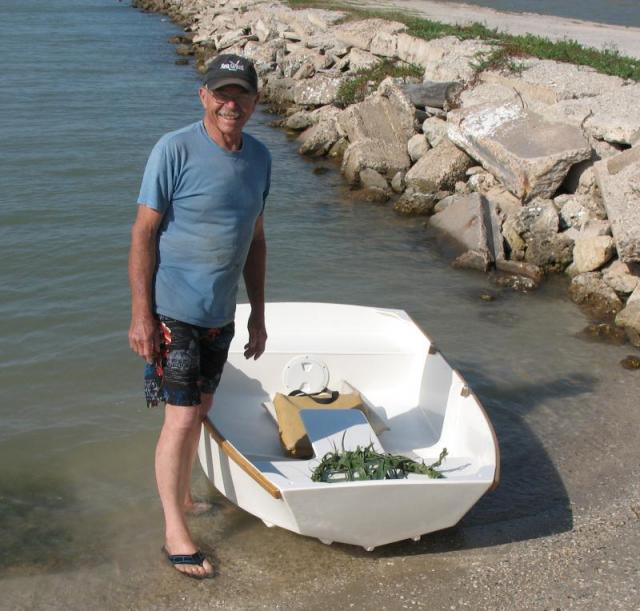
So the dinghy got wet on some sand next to the concrete ramp. |
 |
And here's the builder standing by at the splash, dream catcher in the bow. |
 |
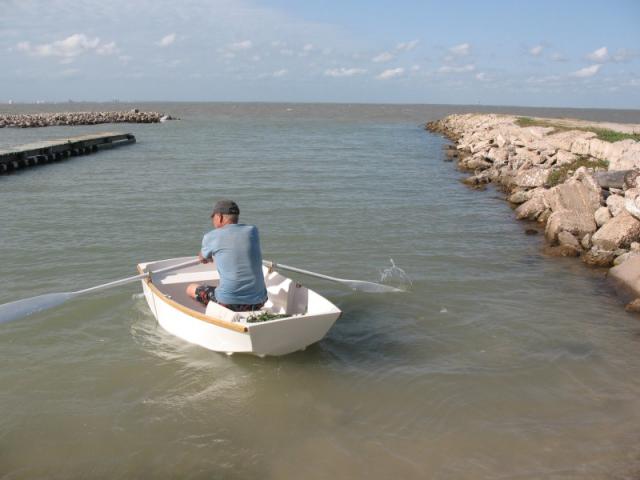
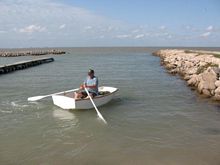
First row, from the bow. Note, if you look out to the end of the rocks, you can see where the calm ended. In one videos you can see the waves breaking over those rocks. |
 |
And from the stern. Trim looks pretty decent. |
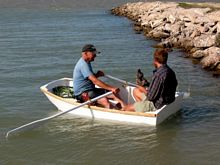 |
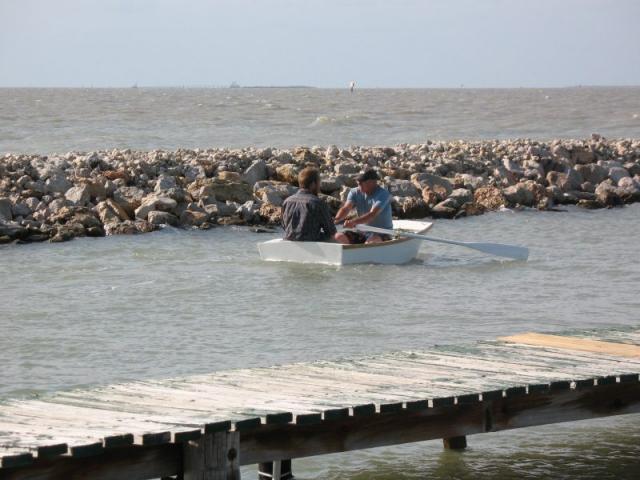
Then we tried with two aboard |
 |
and ventured out into the edge of the waves. |
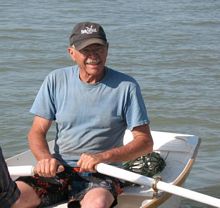 |
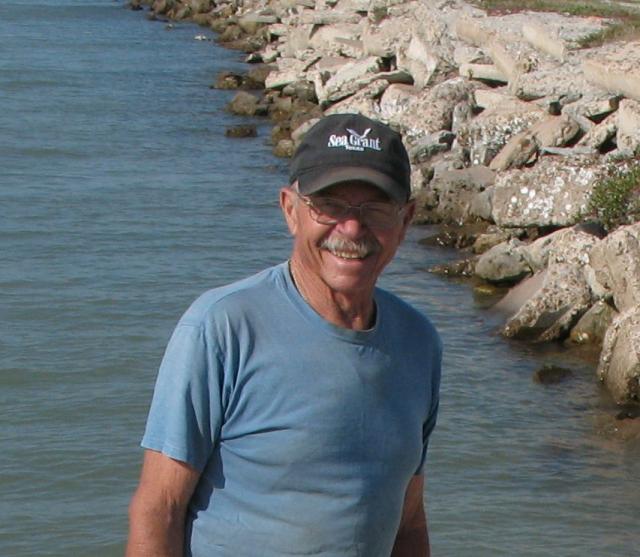
Here's the builder with a grin on his face that stayed most of the afternoon. |
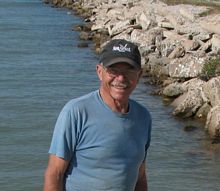 |
And a final shot of that happy grin on an old guy. |
Then we retired to the house, for veggies, baked chicken and many coconut rum and pineapple juice beverages.
|